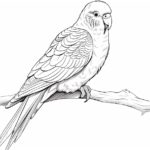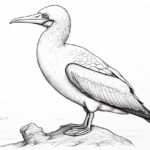
If you’ve ever been captivated by the beauty of birds and wanted to capture their essence on paper, you’ve come to the right place. This step-by-step guide will teach you how to draw a bird. Whether you’re a beginner or an experienced artist looking to improve your skills, this tutorial will provide clear and concise instructions to help you create a stunning bird drawing.
Materials Required
Before we dive into the process of drawing a bird, let’s gather all the necessary materials. You’ll need:
- A pencil – We recommend using a graphite pencil with a range of hardness (2H to 6B) to achieve different shades and textures.
- Paper – Opt for a smooth, high-quality paper that can handle the details and shading involved in bird drawing. A heavier paper, such as drawing or watercolor paper, would be ideal.
- Eraser – Keep a good quality eraser handy to correct mistakes and adjust as needed.
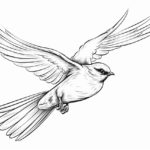
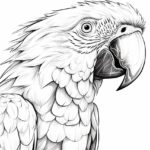
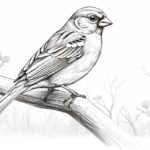
- Reference images – Find photographs or illustrations of birds that inspire you. This will help you understand the bird’s anatomy and features better.
Now that you have all the necessary materials, let’s begin the process of drawing a bird.
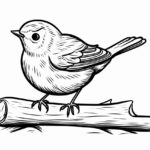
Step 1: Basic Shapes
Start by lightly sketching the basic shapes of the bird. Birds come in various shapes and sizes, so it’s essential to observe your reference image carefully. Begin with a circle or an oval for the body and add smaller circles for the head, wings, and tail. These shapes will serve as the foundation for your drawing.
Step 2: Outline the Body
Using the basic shapes as a guide, begin outlining the bird’s body. Pay attention to the proportions and curves of the bird, ensuring that they closely resemble your reference image. Start with light, loose lines, as you can refine and darken them later.
Step 3: Add Details
With the body outlined, it’s time to start adding details. Look closely at your reference image to observe the bird’s specific features, such as the beak, eyes, and feet. Slowly and carefully, add these details to your drawing, using light, precise strokes. Remember, it’s okay to make mistakes at this stage; you can always erase and correct them.
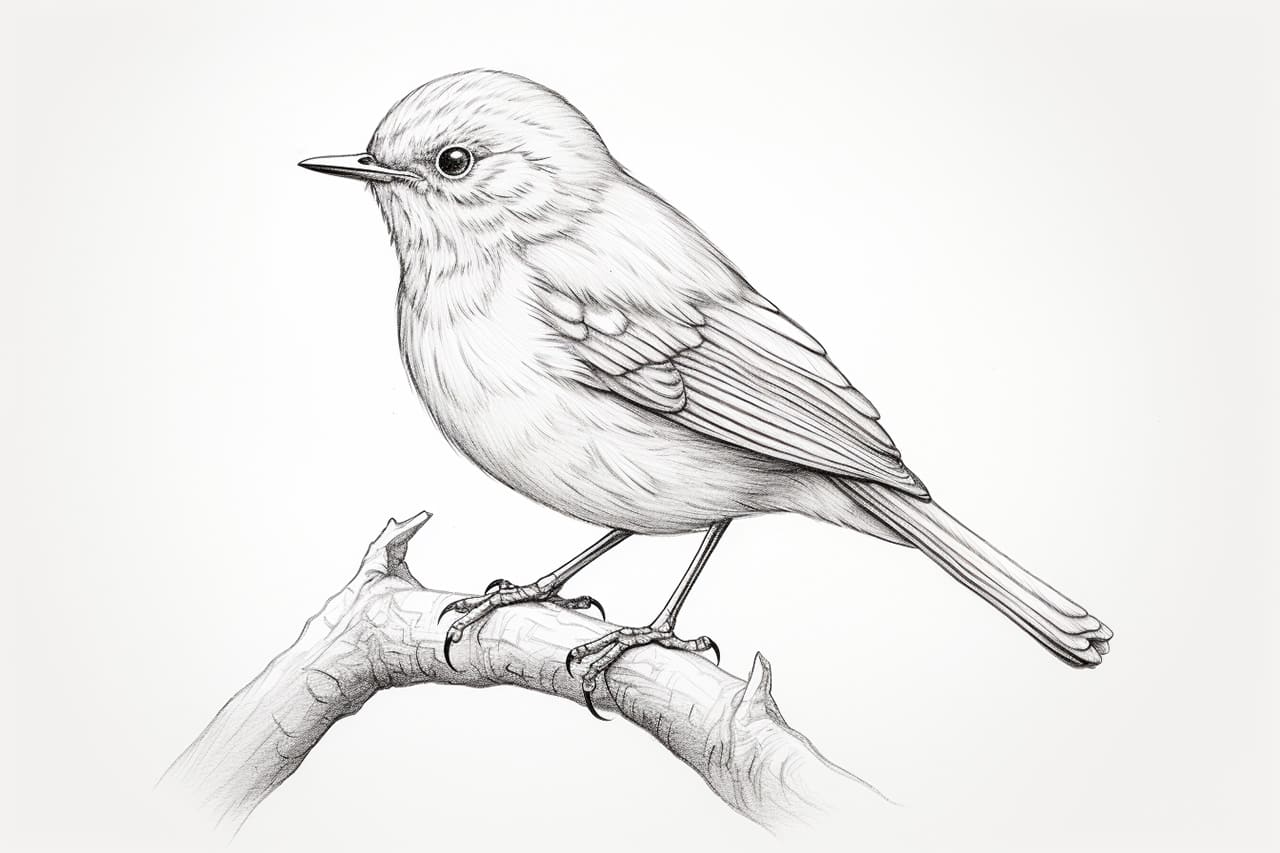
Step 4: Shading
Now that you have the basic outline and details of the bird, it’s time to bring it to life through shading. Shading adds depth and dimension to your drawing, creating a realistic, three-dimensional appearance. Observe your reference image closely to identify areas of light and shadow on the bird’s body. Use your pencil to shade these areas, gradually building the tones and textures.
Step 5: Refine and Add Texture
To further enhance your bird drawing, refine the outlines and add texture to the feathers. Take your time to carefully observe the feather patterns and textures in your reference image. Use a combination of short, gentle strokes and cross-hatching techniques to recreate these textures on your drawing. Remember to start with light strokes and gradually darken them as needed.
Step 6: Final Touches
Once you’re satisfied with the overall appearance of your bird drawing, take a moment to make any final adjustments. Examine your drawing closely for any areas that need refinement or small details that may have been missed.
Conclusion
Congratulations! You have successfully learned how to draw a bird. By following these step-by-step instructions and practicing regularly, you can continue to refine your skills as an artist. Remember, drawing is a journey that requires patience and persistence. Embrace any mistakes or challenges you encounter along the way, as they are opportunities for growth and improvement. With time and practice, your bird drawings will become more realistic and captivating.