Aloha! If you’re looking to bring a slice of paradise to your artwork, what better way than to draw a beautiful Hawaii flower? Hawaii is known for its vibrant and exotic flowers, and in this step-by-step guide, I’ll show you how to draw a Hawaii flower in your and capture its essence in your drawings. So grab your pencils and let’s get started!
Materials Required
Before we dive into the drawing process, let’s make sure you have all the necessary materials. Here’s what you’ll need:
- Drawing paper: Choose a smooth and sturdy paper that can handle pencil work.
- Pencils: A set of graphite pencils ranging from H (light) to B (dark) will give you the necessary range of shades.
- Eraser: A kneaded eraser is ideal for lifting any mistakes or lightening areas of your drawing.
- Blending stump or cotton swabs: These will help you achieve smooth shading and blending effects.
- Reference photo: Find an image or a real Hawaii flower to use as a reference. It will help you capture the details accurately.
Now that you have all the materials ready, let’s begin the drawing process.
Step 1: Sketch the Basic Shape
Start by lightly sketching a simple oval shape for the flower’s center. This will serve as a guide for the proportions and placement of the petals.
Step 2: Add the Petals
Using the center oval as a reference, start adding the petals around it. Hawaii flowers often have large, vibrant petals with pointed tips. Draw each petal using light and curved lines, radiating outwards from the center.
Step 3: Refine the Shape
Once you have the basic petal shapes in place, take a closer look at your reference photo and refine the shape of each petal. Pay attention to any unique characteristics or patterns that make the Hawaii flower distinctive.
Step 4: Add Details
Now it’s time to add some details to your flower. Hawaii flowers often have intricate designs or markings on their petals. Use your reference photo to guide you in replicating these details accurately. Take your time and use light, short strokes to capture the texture and patterns.
Step 5: Shade and Blend
To give your Hawaii flower depth and dimension, it’s important to add shading. Identify the areas of your drawing that would be in shadow and use a darker pencil to fill in those areas. Gradually build up the shading, using a lighter touch for the areas that are less shadowed.
To achieve a smooth transition between the light and dark areas, use a blending stump or a cotton swab to blend the shades together. This will create a realistic and soft effect.
Step 6: Final Touches
Take a step back and evaluate your drawing. Are there any areas that need refining or adjusting? Make any necessary changes to ensure that your Hawaii flower looks balanced and visually appealing.
Once you’re satisfied with the overall look, you can darken some of the lines to enhance the definition and contrast in your drawing.
Conclusion
Drawing a Hawaii flower allows you to bring the beauty and vibrancy of the islands into your artwork. By following these step-by-step instructions, you’ll be able to capture the essence of a Hawaii flower and create a stunning piece of art. So put your artistic skills to work, and let the aloha spirit guide your creativity!
Remember, practice makes perfect, so don’t worry if your first attempt isn’t exactly as you envisioned. Keep trying, and with each drawing, you’ll improve your techniques and achieve even better results.
Now go grab your pencils, and let’s bring the tropical paradise of Hawaii to life on paper!
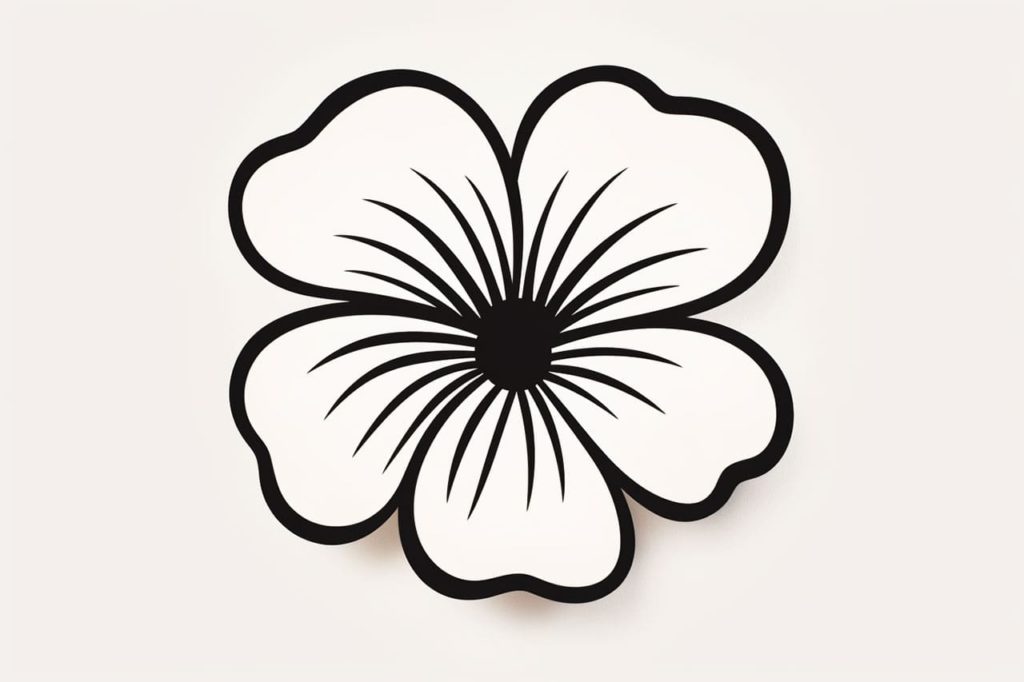
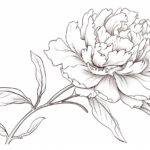
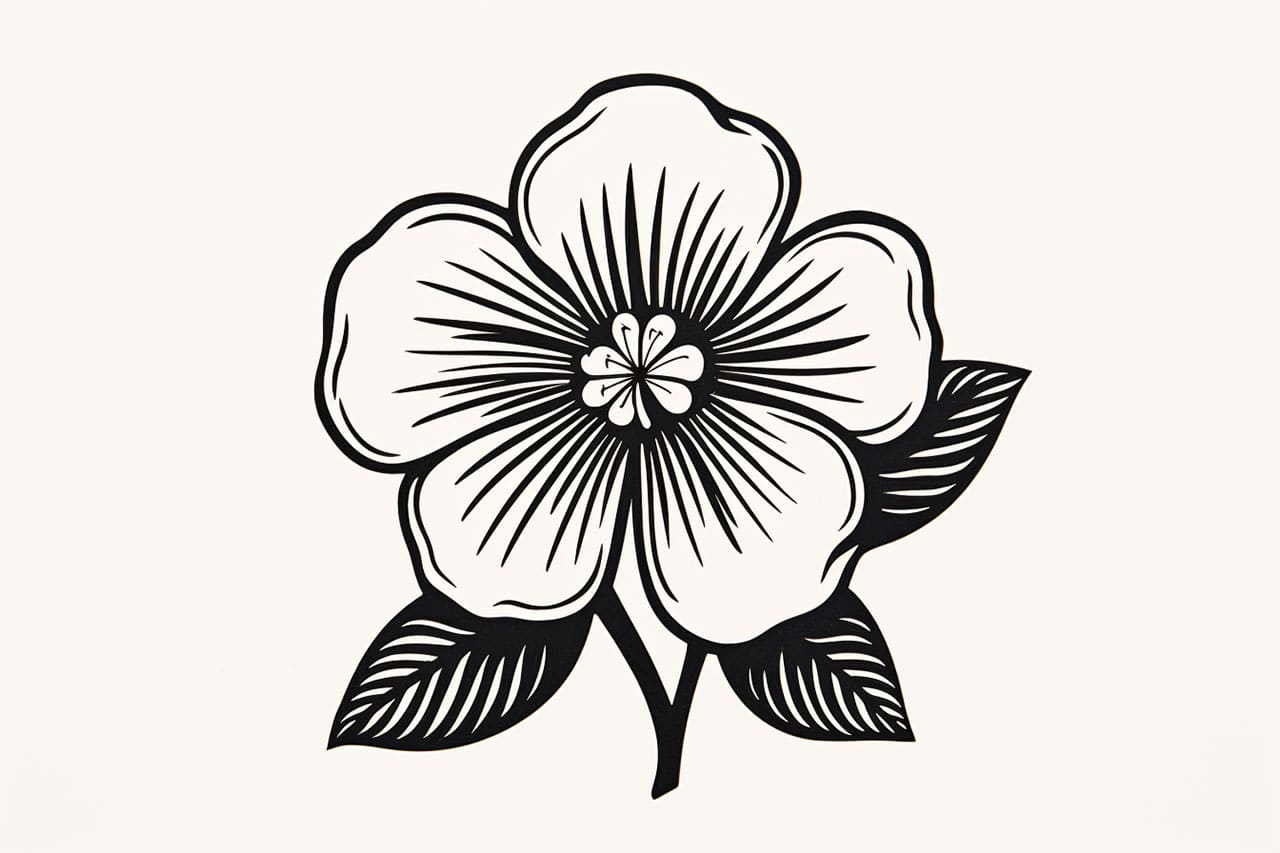
Gallery of Hawaii Flower Drawings