How to Draw a Carnation Flower
Learn how to draw with this step-by-step tutorial.
Materials You'll Need
- Drawing paper
- Pencil (HB or 2B)
- Eraser
- Colored pencils
- Markers
- Blending stump
- Watercolor paints
Ready to add a touch of floral elegance to your art? Carnations, with their delicate, ruffled petals and graceful stems, make a stunning subject for artists of all skill levels. Drawing these intricate blooms may seem challenging, but with the right steps, you'll be able to capture their beauty on paper with ease.
In this step-by-step guide, I'll walk you through the entire process of how to draw a carnation flower—from sketching its signature layered petals to adding realistic details and soft shading. Whether you're creating floral-themed artwork, designing greeting cards, or simply exploring your artistic side, this guide will help you bloom with creativity.
So, grab your favorite pencils, some paper, and let's bring this timeless flower to life with every stroke! ✨

Learn How to Draw Flowers Step-by-Step
This simple and straightforward guide teaches you how to draw many different kinds of flowers with step-by-step instructions. It's perfect both for total beginners and experienced artists who want to expand their skills.
Materials Required
To draw a carnation flower, you will need the following materials:
-
Eraser
-
Drawing paper
-
Colored pencils or markers (optional for coloring the final drawing)
Now that you have all the necessary materials, let's dive into the step-by-step process of drawing a carnation flower!
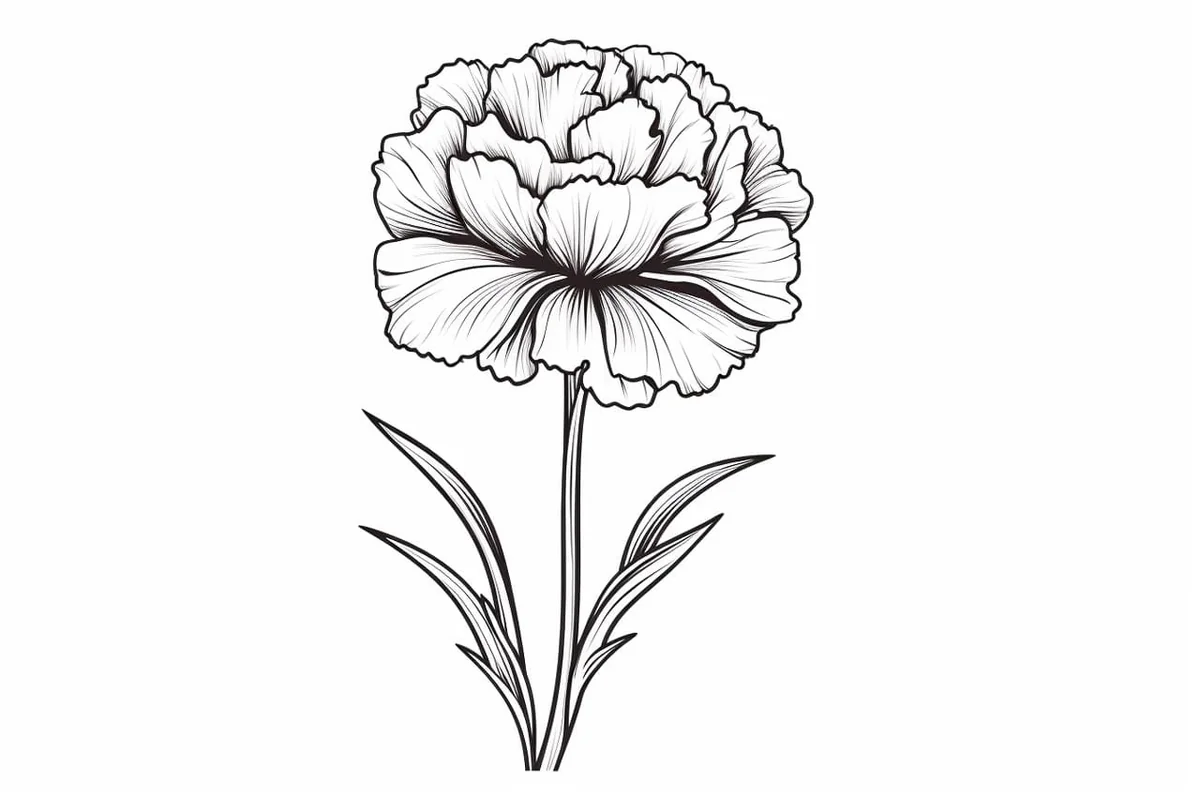
Photo References for a Carnation Flower


How to Draw a Carnation Flower: Blooming Step by Step
Step 1: Shape the Blooming Foundation
Begin by lightly sketching a rough circular or oval shape at the center of your paper. This will serve as the base structure for your carnation. Think of it as a guide for where the frilly petals will unfold. Keep your pencil strokes light and loose—carnations are all about soft, natural flow.
Step 2: Sculpt the Petals' Frilly Edges
Time to add the carnation's signature ruffles! Starting at the edge of the circular outline, draw wavy, uneven lines that mimic the flower's frilly petals. Alternate the lengths and directions of your curves—carnations are anything but uniform. Let the petals overlap slightly, creating layers that radiate outward from the center. The more random the lines, the more realistic your bloom will appear.
Step 3: Layer the Petal Details
Give your petals personality by adding texture. Use short, curved lines along the petal edges to mimic the delicate, rippling look of a real carnation. Some petals should appear more open, while others can curl inward slightly for added depth. Varying petal size and direction will make your flower feel lively and dynamic.
Step 4: Create the Flower's Heart
Now, focus on the heart of the flower. Inside the central area, draw a cluster of small, curved lines and overlapping petal shapes to create a dense, layered look. These inner petals should be tighter and closer together, forming a natural focal point that suggests the flower's textured center. Add a few fine lines extending from the center to represent subtle stamen details.
Step 5: Refine and Define the Bloom
It's time to tidy up! Go over your petal outlines, refining their shapes to emphasize the frilly, serrated edges of the carnation. Erase any leftover sketch lines that no longer fit your refined drawing. Make the curves and overlaps clear and smooth to highlight the flower's layered structure.
Step 6: Add Shading for Depth
To bring your carnation to life, add soft shading. Decide on a light source (from the top or side) and gently shade the opposite side of each petal where shadows would naturally fall. Use small, light strokes to blend the shading gradually. Add deeper shadows where petals overlap for extra dimension. Enhance texture by using light, directional lines along the petal surfaces.
Step 7: Bloom with Color (Optional)
Ready to add some vibrant flair? Use colored pencils or markers to bring your carnation to life. Start with soft pinks, reds, or even purples—common carnation shades. Blend lighter hues near the petal tips and deepen the color toward the center for a rich, layered effect. You can even mix in soft greens for the stem and leaves if you want a complete floral masterpiece.
With these steps, your carnation drawing will blossom into a beautiful, lifelike flower that practically blooms off the page. Enjoy the creative process and let your artistic garden flourish!
Gallery of Carnation Flower Drawings


Tip: To effectively capture the unique texture of a carnation's petals, consider using a combination of soft and hard pencils, like a 2B for initial outlines and a 6B for deeper shading. Start by lightly sketching the flower's basic shape, focusing on the overall silhouette and the layered petal structure, which resembles a ruffled ribbon. Once your outline is set, use the 6B pencil to create depth by applying gentle pressure in the areas where the petals overlap and where shadows naturally occur. For added realism, blend the shading with a blending stump or your fingertip to create smooth transitions. Finally, don't forget to incorporate fine details with an eraser to highlight areas where light catches the petals, giving your carnation that stunning, lifelike quality!
Flourishing Finish: Your Carnation in Full Bloom
Nice job! You've successfully drawn a stunning carnation flower from start to finish, capturing its delicate, frilled petals and elegant shape. Drawing flowers can be a soothing and creatively rewarding experience, and now you have a beautifully detailed carnation to show for your artistic efforts.
But why stop here? Consider adding more flowers to create a blossoming bouquet or designing an entire garden scene around your carnation. Try experimenting with different floral species like roses, lilies, or daisies to expand your botanical drawing skills. Play with new techniques like watercolor washes or mixed-media backgrounds to add extra flair.
Remember, the magic of art lies in the process as much as the final piece. Every sketch and every petal drawn is a step toward improving your craft. So, keep your pencils sharp, your creativity blooming, and let your artistic garden flourish. Happy drawing and may your imagination continue to blossom! ✨