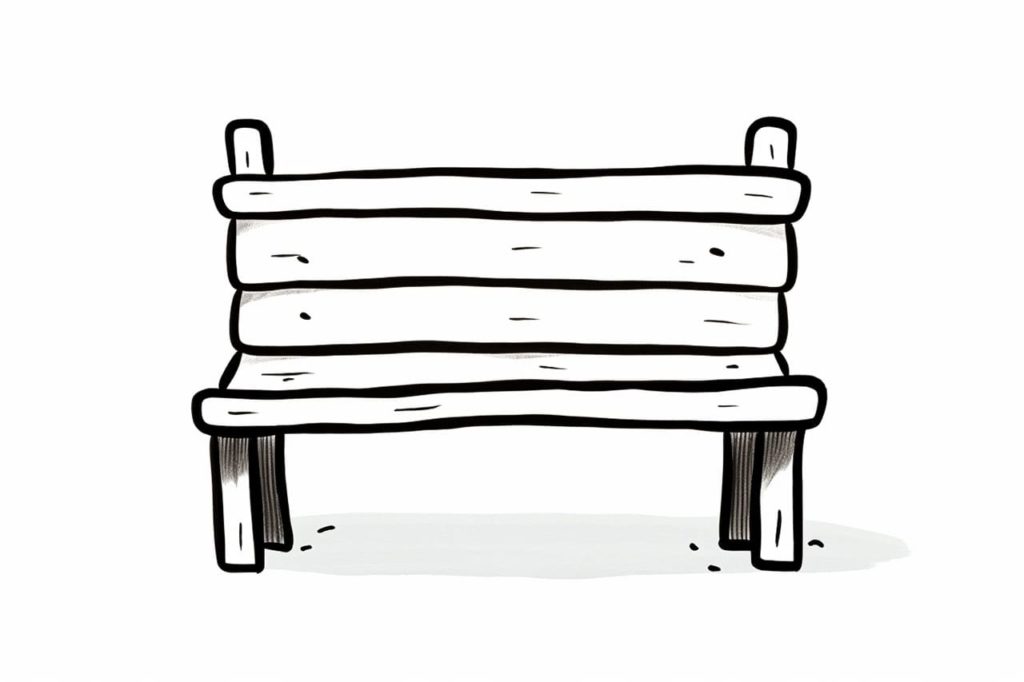
Welcome to this step-by-step guide on how to draw a bench. Whether you are an aspiring artist or simply want to learn a new skill, this tutorial will help you create a realistic and detailed drawing of a bench. With clear instructions and helpful tips along the way, you’ll be able to bring a bench to life on paper. So, let’s get started!
Materials Required
Before we begin, gather the following materials:
- Drawing paper or sketchbook
- Pencils (preferably HB or 2B)
- Eraser
- Ruler
- Optional: Colored pencils or markers for adding color to your drawing
Now that we have everything we need, let’s dive into the steps of drawing a bench.
Step 1: Establish the Base Shape
Begin by drawing a horizontal line slightly closer to the bottom of the paper, which will serve as the ground. Next, draw a vertical line perpendicular to the ground line, positioned towards the left side of the paper. This vertical line will represent the backrest of the bench. Connect the two lines at their respective endpoints with two horizontal lines, one at the top and one at the bottom. This will create the basic outline of the bench.
Step 2: Draw the Seat and Backrest
Using the guidelines established in the previous step, draw the seat of the bench by connecting the two horizontal lines with two additional parallel lines. Make sure to leave some space between the seat and the ground to create the illusion of depth. Then, extend the vertical line representing the backrest upwards, curving it slightly for a more natural look. Connect the top endpoint of the curved line to the horizontal line at the top, finalizing the shape of the backrest.
Step 3: Add the Legs
Now, it’s time to add the legs of the bench. On each side of the bench, draw two vertical lines starting from the bottom of the seat and extending downwards to the ground. These lines will represent the front legs. To create a sense of stability, draw shorter vertical lines at the back corners of the seat, angling them slightly inward. These will serve as the back legs of the bench.
Step 4: Refine the Shape and Details
With the basic structure in place, it’s time to refine the shape of the bench and add some details. Begin by sketching a curve along the bottom of the seat to give it a rounded appearance. Then, carefully erase any unnecessary guidelines and lines from the previous steps. Add thickness to the legs by drawing slightly wider lines, and consider adding decorative elements such as curved patterns or feet to the legs to enhance the overall look of the bench.
Step 5: Enhance the Depth and Dimension
To add depth and dimension to your drawing, employ shading techniques. Start by identifying the direction of the light source. Imagine that the light is coming from the top left, for example. Shade the areas that would naturally be in shadow, such as the underside of the seat and the parts of the legs that are farther from the light source. Use parallel lines or circular motions to create a smooth gradient from darker to lighter areas.
Step 6: Optional – Add Color
If you’d like to add color to your drawing, now is the time to do so. Consider the material of the bench and choose appropriate colors. For instance, a wooden bench could be shaded with different tones of brown, while a metal bench could be shaded with grays. Use colored pencils or markers to apply color to your drawing, focusing on layering and blending to achieve a realistic effect. Remember to consider the direction of the light source when applying color as well.
Conclusion
Congratulations! You have successfully learned how to draw a bench using simple and clear steps. By following this guide and practicing regularly, you can improve your drawing skills and create stunning artwork. Remember to start with the basic shape, add details progressively, and use shading techniques to enhance depth and dimension. Don’t be afraid to experiment and add your own personal touch to your drawings. Keep up the practice, and soon you’ll be able to draw benches, and other objects, with confidence and precision.
Gallery of Bench Drawings

Fun Facts About Benches
- Benches have been used for centuries and can be found in many public spaces, from parks to sports arenas.
- The iconic “Central Park Bench” design has been a symbol of outdoor seating culture in New York City since the 1930s.
- Some of the oldest benches were carved from stone and used by the ancient Greeks and Romans in their public baths and amphitheaters.
- In Japan, many benches incorporate artistic designs, reflecting cultural elements like cherry blossoms or traditional patterns.
- Benches made from sustainable materials, such as recycled plastic or reclaimed wood, have grown in popularity for eco-conscious urban planning.
- The world’s longest bench is located in Littlehampton, England, and stretches over 1,000 feet along the seafront.
- The “Talking Benches” concept involves adding speakers to benches, sharing stories or playing music to entertain those resting on them.
- Some artists have transformed benches into public art projects, turning them into interactive or visually striking installations.
- Public benches often serve as important social gathering points, facilitating conversations and connections among people.
- Certain weather-resistant benches are designed to withstand extreme conditions, ensuring they remain a fixture in varying climates.
Suggestions for Scenes and Settings for Bench Drawings
- Parkside Relaxation: Sketch a peaceful park scene where a family is enjoying a sunny day, sitting on a classic wooden bench under the shade of a large tree.
- Cityscape View: Depict a bench on a busy city street, with people bustling by and towering skyscrapers in the background.
- Sunset by the Lake: Illustrate a bench by a tranquil lake, capturing the reflections of a vivid sunset on calm waters.
- Bench with a View: Show a scenic overlook with a bench offering a panoramic view of mountains or rolling countryside, perfect for sunset watching.
- Winter Wonderland: Create a cozy scene of a snow-covered bench in a quiet park, with snowflakes gently falling and pine trees in the background.
- Artful Urban Bench: Design a futuristic or artistic bench in a bustling square, where passersby interact with its unique form and function.
- Garden Oasis: Picture a bench amidst a blooming garden, surrounded by colorful flowers and a babbling fountain nearby.
- Seaside Repose: Draw a bench on a windswept boardwalk facing the ocean, with seagulls soaring overhead and waves crashing on the beach.
- Mysterious Forest: Imagine a weathered bench deep in an ancient forest, surrounded by towering trees and shrouded in mist.
- Romantic Evening: Illustrate a pair of lovebirds sharing a heartfelt moment on a bench under a starlit sky, perhaps with twinkling lights strung above.