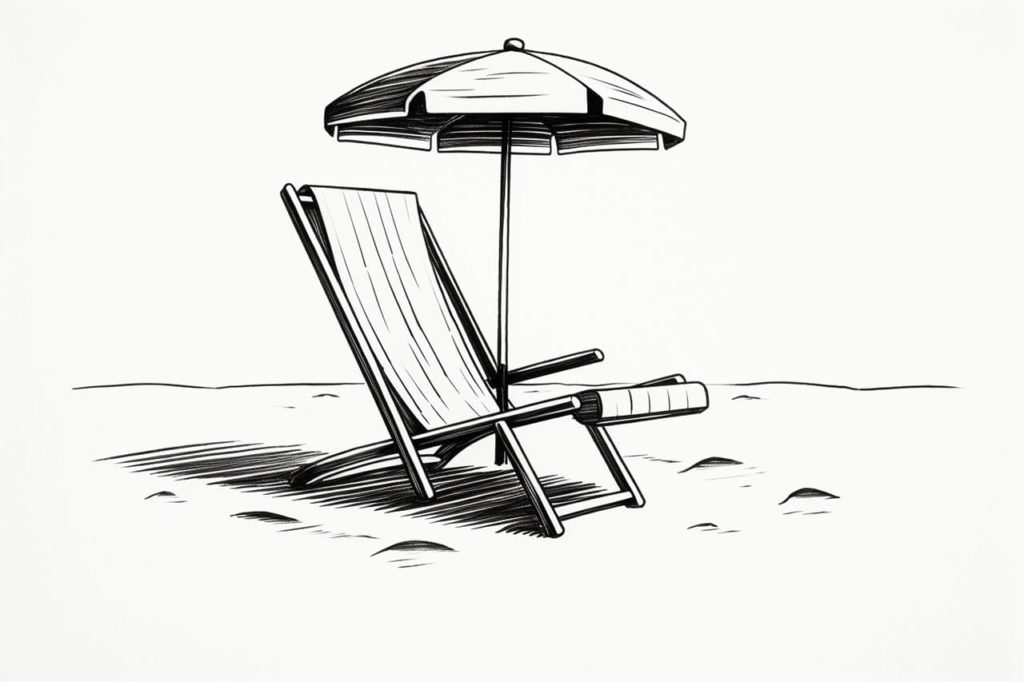
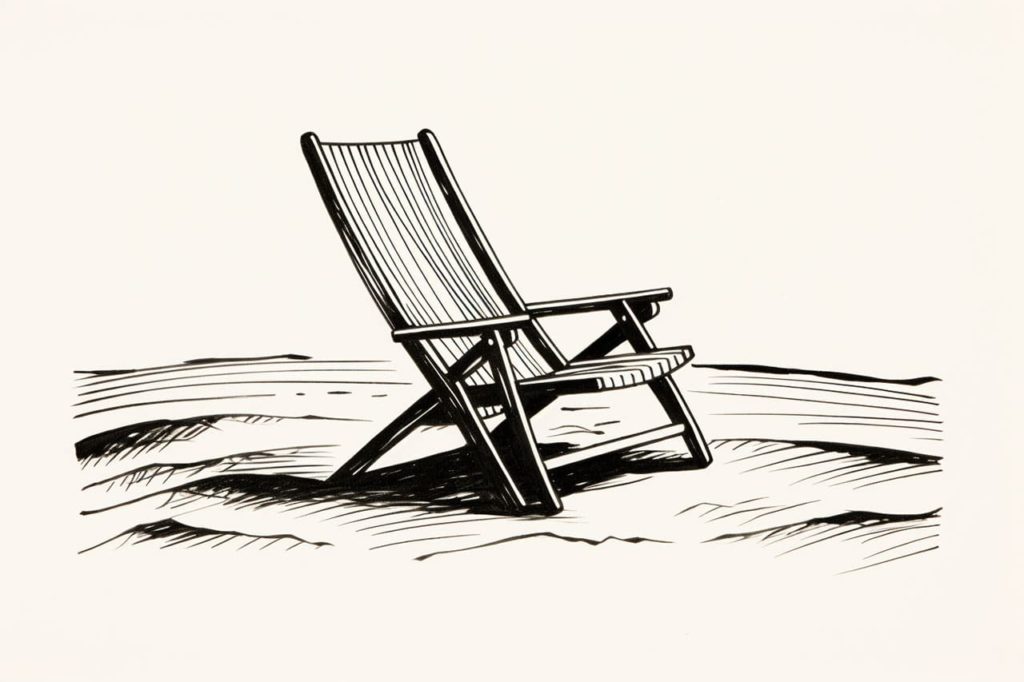
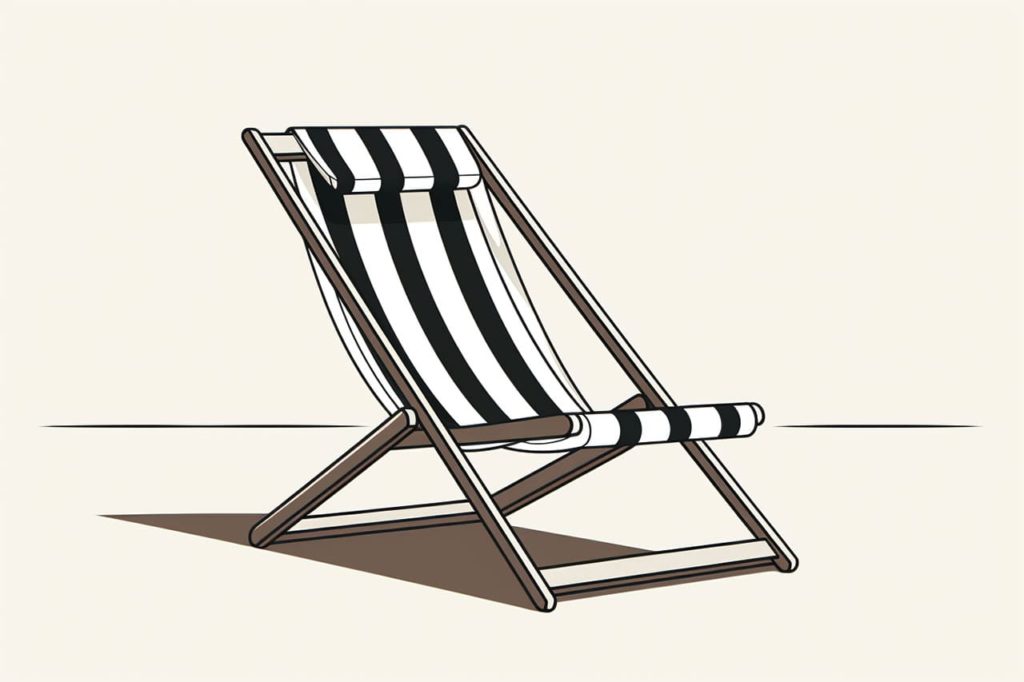
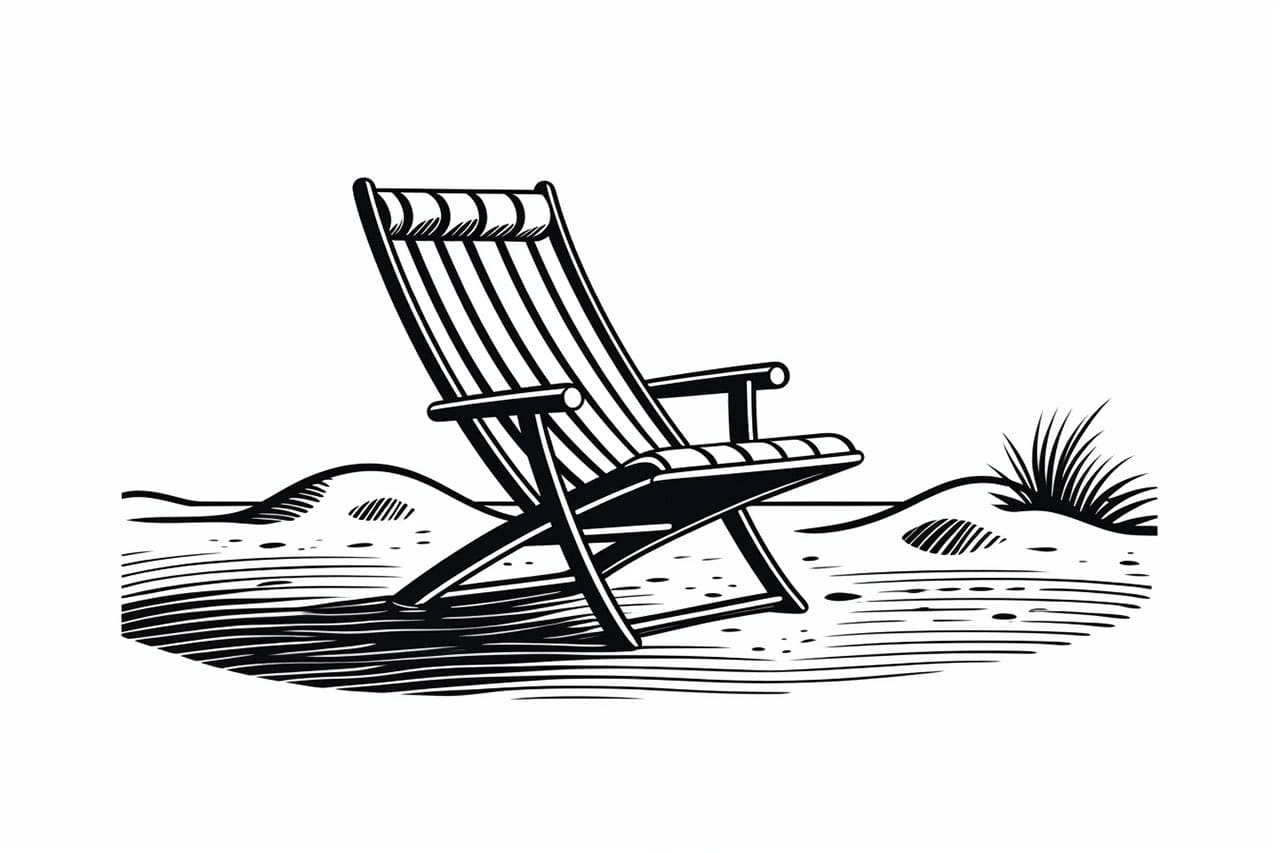
Welcome to this step-by-step guide on how to draw a beach chair! Whether you’re an experienced artist looking to expand your skills or a beginner eager to learn, this tutorial will help you create a vibrant and realistic beach chair drawing. So, grab your art supplies and get ready to bring the essence of summer to your paper!
Materials Required
Before we dive into the step-by-step process, make sure you have the following materials ready:
- Drawing paper or sketchbook
- Pencil
- Eraser
- Fine-tip black pen
- Colored pencils or markers (optional)
- Ruler (optional)
Now that we have everything we need, let’s get started!
Step 1: Outline the Basic Shape of the Beach Chair
To begin drawing a beach chair, first, lightly sketch a rectangular shape near the bottom of your paper. This rectangle represents the seat of the chair. Ensure that it’s proportional to the size you want for your chair. Leave enough space at the top of the paper to accommodate the backrest and an umbrella if you plan to include one.
Now, extend two straight lines upward from the top corners of the seat rectangle. These lines will form the backrest of the chair. Keep them parallel to each other and make sure they reach the desired height for the backrest.
Step 2: Add Curves to the Backrest and Seat
To give your beach chair a more comfortable and inviting look, it’s time to add curves. Connect the top ends of the two straight lines that make up the backrest with a gentle, flowing arc. This curve should be smooth and not too pronounced.
For the seat, add a slight curve to both the front and back edges of the rectangular shape. This subtle curvature will mimic the natural shape of a beach chair’s seat, making it appear more comfortable and ergonomic.
Step 3: Draw the Armrests
To create the armrests, extend two lines diagonally downward from the bottom corners of the backrest. These lines should be parallel to the sides of the seat rectangle. At the bottom ends of these diagonal lines, connect them with a horizontal line. This forms the front edge of the armrests. Ensure that this line is level to maintain symmetry.
Step 4: Add Detail to the Armrests
To make the armrests appear three-dimensional, you can add some depth and dimension by drawing curved lines along the outer edges of the armrests. These curves should slightly dip downward towards the center of the chair. This creates the impression of a hollowed-out area where the arms can comfortably rest. This added detail will make your beach chair look more realistic and comfortable.
Step 5: Sketch the Legs
Now, let’s draw the legs of the beach chair. Begin by drawing two long vertical lines that extend from the bottom corners of the seat rectangle. These lines represent the chair’s legs. Make sure they are straight and evenly spaced.
To provide stability to the beach chair, add horizontal crossbars at regular intervals along the length of the legs. The number of crossbars you add can vary based on your desired level of detail and the style you want for your chair. Ensure that these crossbars are parallel to each other and evenly spaced for a balanced look.
Step 6: Create the Backrest Support
To give the backrest proper support, draw two diagonal lines that connect the midpoint of the backrest to the top of the back legs. These diagonal lines should be parallel and evenly spaced. This structure ensures that the backrest remains stable and secure.
With these steps, you’ve successfully outlined and added details to your beach chair drawing. Depending on your artistic preferences, you can further enhance your drawing by adding color, shading, and additional elements such as an umbrella, beach towel, or a scenic background to create a complete beach scene.
Step 7: Refine the Shape and Add Detail
Take a moment to review the overall shape of your beach chair drawing. Make any necessary adjustments to ensure symmetry and balance. Once you are satisfied with the shape, you can begin adding more intricate details, such as slats on the seat and backrest, as well as decorative elements on the legs and armrests.
Step 8: Ink Your Drawing
Using a fine-tip black pen, trace over the final lines of your beach chair drawing. This will make your artwork more distinct and polished. Take your time and be careful not to smudge the ink as you go. Once the ink is dry, erase any remaining pencil marks from your drawing.
Step 9: Add Color (Optional)
If you prefer a colored beach chair drawing, now is the time to bring it to life! Use colored pencils or markers to add vibrant shades to your artwork. Consider selecting colors that evoke the relaxing and tropical atmosphere of a beach setting. Experiment with different color combinations to create a personalized touch.
Conclusion
Congratulations! You have successfully learned how to draw a beach chair, step by step. By following these instructions and practicing regularly, you’ll improve your artistic skills and be able to capture the essence of any subject. So, keep creating and enjoying the process. Happy drawing!
Gallery of Beach Chair Drawings
