Welcome to this step-by-step guide on how to draw a bench. Whether you are an aspiring artist or simply want to learn a new skill, this tutorial will help you create a realistic and detailed drawing of a bench. With clear instructions and helpful tips along the way, you’ll be able to bring a bench to life on paper. So, let’s get started!
Materials Required
Before we begin, gather the following materials:
- Drawing paper or sketchbook
- Pencils (preferably HB or 2B)
- Eraser
- Ruler
- Optional: Colored pencils or markers for adding color to your drawing
Now that we have everything we need, let’s dive into the steps of drawing a bench.
Step 1: Establish the Base Shape
Begin by drawing a horizontal line slightly closer to the bottom of the paper, which will serve as the ground. Next, draw a vertical line perpendicular to the ground line, positioned towards the left side of the paper. This vertical line will represent the backrest of the bench. Connect the two lines at their respective endpoints with two horizontal lines, one at the top and one at the bottom. This will create the basic outline of the bench.
Step 2: Draw the Seat and Backrest
Using the guidelines established in the previous step, draw the seat of the bench by connecting the two horizontal lines with two additional parallel lines. Make sure to leave some space between the seat and the ground to create the illusion of depth. Then, extend the vertical line representing the backrest upwards, curving it slightly for a more natural look. Connect the top endpoint of the curved line to the horizontal line at the top, finalizing the shape of the backrest.
Step 3: Add the Legs
Now, it’s time to add the legs of the bench. On each side of the bench, draw two vertical lines starting from the bottom of the seat and extending downwards to the ground. These lines will represent the front legs. To create a sense of stability, draw shorter vertical lines at the back corners of the seat, angling them slightly inward. These will serve as the back legs of the bench.
Step 4: Refine the Shape and Details
With the basic structure in place, it’s time to refine the shape of the bench and add some details. Begin by sketching a curve along the bottom of the seat to give it a rounded appearance. Then, carefully erase any unnecessary guidelines and lines from the previous steps. Add thickness to the legs by drawing slightly wider lines, and consider adding decorative elements such as curved patterns or feet to the legs to enhance the overall look of the bench.
Step 5: Enhance the Depth and Dimension
To add depth and dimension to your drawing, employ shading techniques. Start by identifying the direction of the light source. Imagine that the light is coming from the top left, for example. Shade the areas that would naturally be in shadow, such as the underside of the seat and the parts of the legs that are farther from the light source. Use parallel lines or circular motions to create a smooth gradient from darker to lighter areas.
Step 6: Optional – Add Color
If you’d like to add color to your drawing, now is the time to do so. Consider the material of the bench and choose appropriate colors. For instance, a wooden bench could be shaded with different tones of brown, while a metal bench could be shaded with grays. Use colored pencils or markers to apply color to your drawing, focusing on layering and blending to achieve a realistic effect. Remember to consider the direction of the light source when applying color as well.
Conclusion
Congratulations! You have successfully learned how to draw a bench using simple and clear steps. By following this guide and practicing regularly, you can improve your drawing skills and create stunning artwork. Remember to start with the basic shape, add details progressively, and use shading techniques to enhance depth and dimension. Don’t be afraid to experiment and add your own personal touch to your drawings. Keep up the practice, and soon you’ll be able to draw benches, and other objects, with confidence and precision.
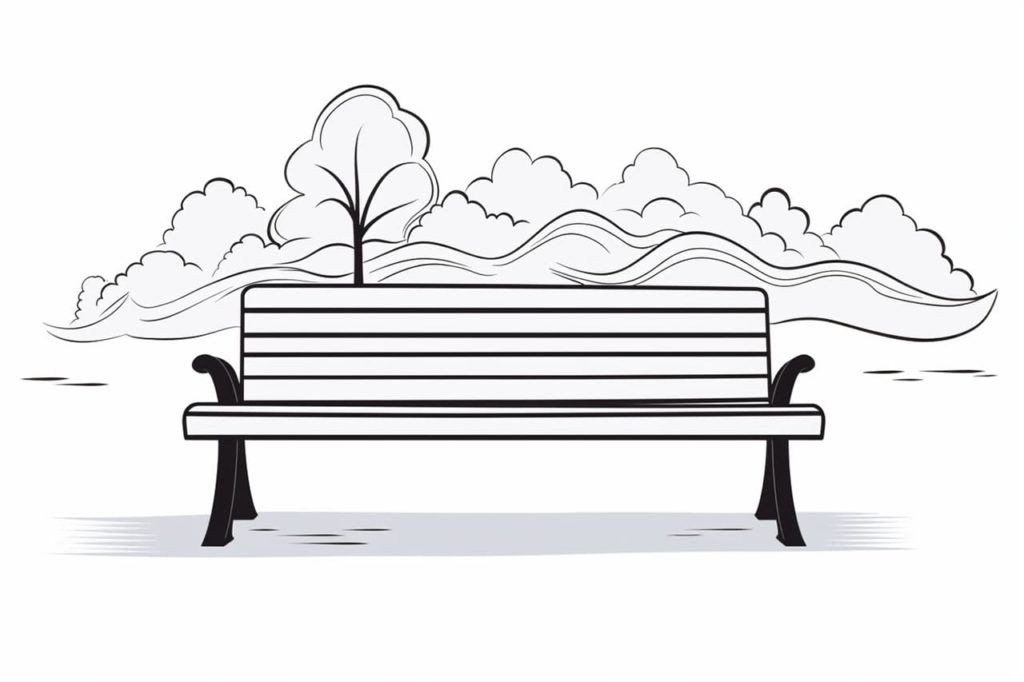
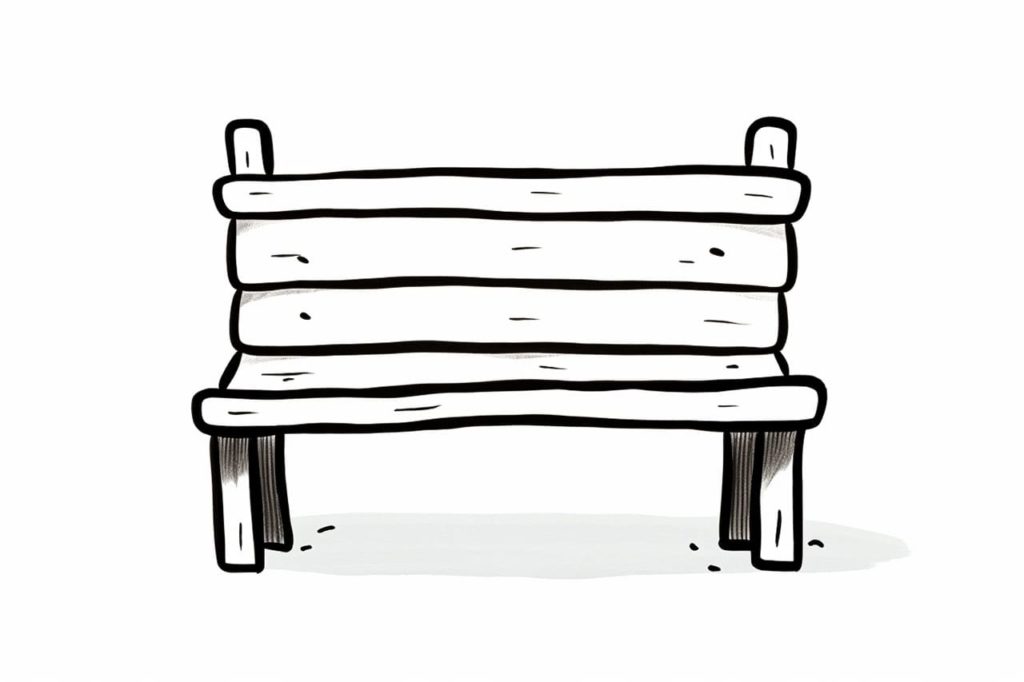
Gallery of Bench Drawings