Drawing a microphone may seem challenging, but with the right guidance and a few simple steps, you can create a realistic depiction of this iconic object. In this article, we will break down the process of how to draw a microphone into easy-to-follow, step-by-step instructions. Whether you’re an aspiring artist or just looking for a fun creative activity, grab your pencil and let’s get started!
Materials Required
Before we dive into the steps, let’s make sure you have all the necessary materials on hand. Here’s what you’ll need:
- Drawing paper or sketchbook
- Pencil (preferably HB or 2B)
- Eraser
- Ruler (optional)
- Fine-tip black marker or pen (optional, for outlining)
- Colored pencils or markers (optional, for adding color)
Now that you have everything you need, let’s move on to the step-by-step instructions.
Step 1: Basic Outline
Start by lightly sketching a vertical line that will serve as a guide for the microphone’s body. This line will help you maintain the proportions as you draw. Next, draw a smaller horizontal line at the top of the vertical line, creating a T-shape. This will be the base for the microphone’s head.
Step 2: Head Shape
Using the guide you just created, sketch a rounded shape at the top of the T-line to form the outline of the microphone’s head. This shape should be wider at the bottom and narrower at the top, resembling an upside-down teardrop.
Step 3: Grille
Inside the head shape, draw a series of curved lines horizontally across the width. These lines represent the grille of the microphone, which is the part that captures sound. Make sure the lines are evenly spaced and slightly curved to follow the contour of the head shape.
Step 4: Body
Now it’s time to draw the microphone’s body. Extend the vertical line downward, starting from the bottom of the head shape. As you bring the line down, gradually curve it outward to create a cylindrical shape. The lower part of the body should be wider than the upper part.
Step 5: Base
At the bottom of the microphone’s body, draw a wider oval shape to form the base. The base should be slightly wider than the body and serve as the microphone’s support. Ensure that the oval connects smoothly to the body, creating a seamless transition.
Step 6: Connector
To add detail to your microphone, draw a small circular shape at the bottom of the head. This represents the connector where the microphone is plugged into audio equipment. You can add a few lines or dots inside the circle to indicate the connection points.
Step 7: Stand
To complete the microphone, draw a stand extending from the bottom of the base. The stand can be as simple or elaborate as you like. It could be a straight vertical line, a curved shape, or even a tripod-style stand. Use your imagination and creativity to give your microphone a unique look.
Step 8 (Optional): Ink or Outlining
At this point, you may choose to outline your drawing with a fine-tip black marker or pen. This step is optional but can give your artwork a more defined and polished appearance. Be careful not to smudge any pencil lines while adding the ink.
Step 9 (Optional): Adding Color
If you prefer to add color to your microphone drawing, you can use colored pencils or markers for this step. Consider the material and color of the real microphone you are referencing, or feel free to use your imagination and experiment with different color combinations. Remember to blend colors smoothly and add shading to create depth and dimension.
Congratulations! You have successfully drawn a microphone. With practice, you can refine your technique and create even more detailed and realistic drawings.
Conclusion
Drawing a microphone is a fantastic way to showcase your artistic skills and creativity. By following these step-by-step instructions, you can create a stunning representation of this iconic object. Whether you choose to stick with pencil sketches or add color and ink, remember that practice is key to improving your drawing abilities. So grab your materials, have fun, and enjoy the process of bringing your microphone to life on paper!
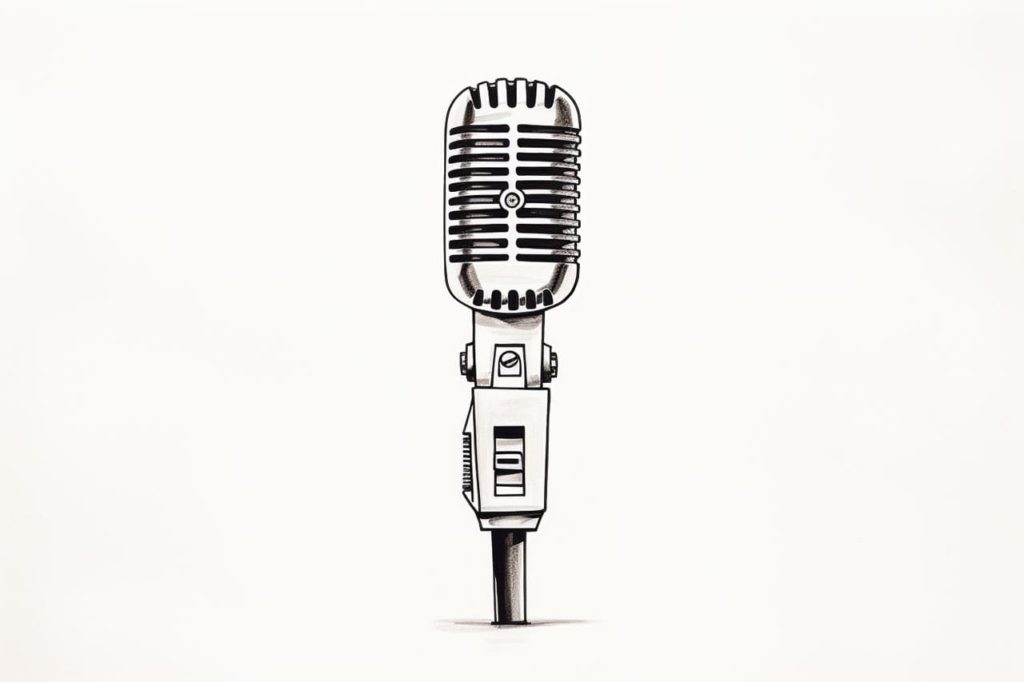
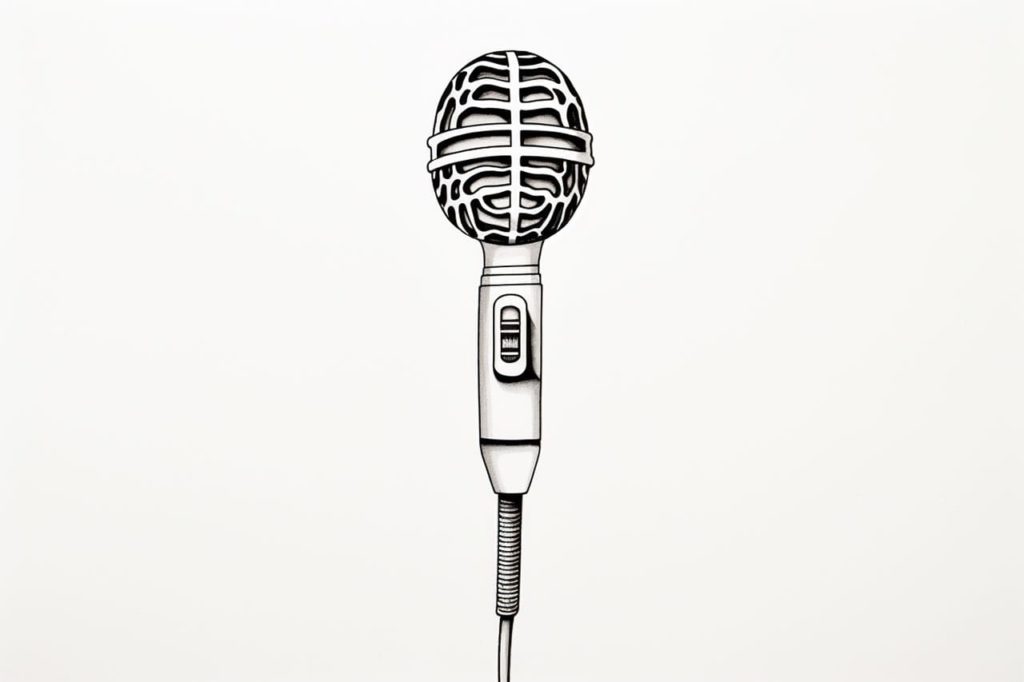
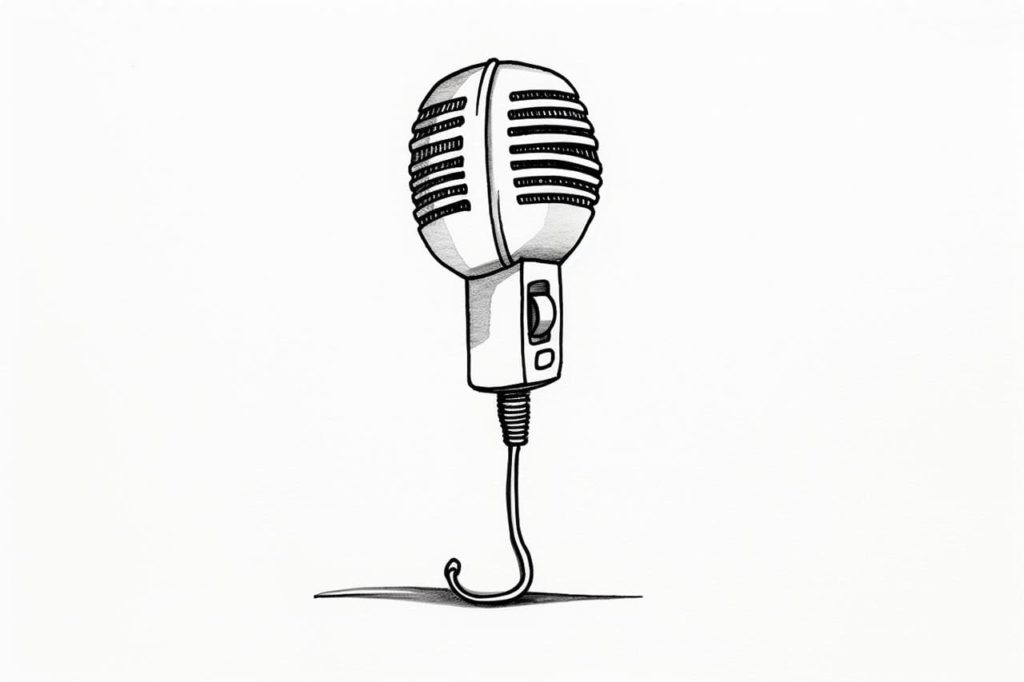
Gallery of Microphone Drawings