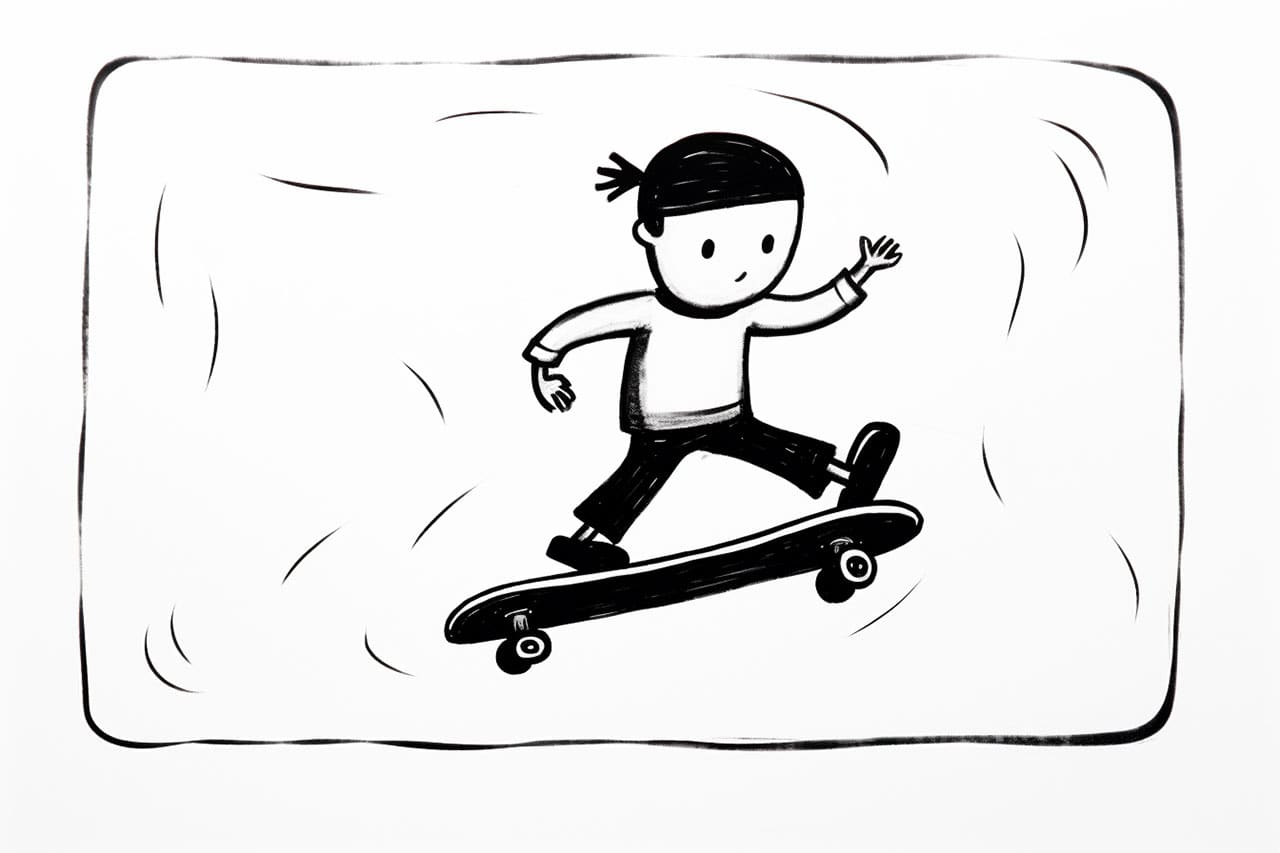
Drawing a skateboard can be a fun and rewarding experience, whether you’re an aspiring artist or just looking to try something new. In this step-by-step guide, I will walk you through the process of how to draw a skateboard in a clear and concise manner. So grab your pencils and let’s get started!
Materials Required
To begin drawing a skateboard, you will need the following materials:
- Paper (preferably a sketch pad)
- Pencils (HB or 2B for sketching, and various shades of gray for shading)
- Eraser
- Ruler
- Compass or circular object for drawing wheels (optional)
Now that you have all your materials ready, let’s begin the creative process!
Step 1: Sketch the Basic Shape
Start by sketching the basic shape of the skateboard using light and simple strokes. A skateboard is typically a rectangular shape with rounded edges, so use your ruler to draw straight lines for the sides and the top, and then round off the corners to give it a more organic feel.
Step 2: Add the Trucks
Skateboard trucks are the metal T-shaped components that hold the wheels, so let’s draw them next. Position the trucks at the bottom of the skateboard, making sure they are centered and aligned. They should be rectangular in shape, with a diagonal line running across them to represent the angle of the trucks.
Step 3: Draw the Wheels
Using your compass or a circular object of your choice, draw the wheels of the skateboard. Place them on either side of the trucks, making sure they are evenly spaced and aligned. Wheels are typically circular, so make sure to draw them with smooth curves.
Step 4: Add Details to the Deck
To make your skateboard drawing more realistic, it’s important to add some details to the deck. Start by drawing a line down the center of the skateboard, representing the division between the top and bottom layers. Next, you can add some graphics or logos to the deck if you wish, but keep in mind that simplicity is key.
Step 5: Refine the Outline
Once you have the basic shape and details in place, it’s time to refine the outline of the skateboard. Go over your initial sketch and darken the lines where necessary, ensuring that the shape is well-defined. Pay close attention to the curves and angles to achieve a more accurate representation.
Step 6: Shade and Add Depth
To make your skateboard drawing truly come to life, it’s important to add shading and depth. Start by identifying the light source, and then create areas of shadow accordingly. Use your range of gray pencils to add subtle shading to the deck, trucks, and wheels, giving them a three-dimensional appearance.
Step 7: Add Texture
To enhance the realism of your skateboard drawing, you can add some texture to the deck, trucks, and wheels. For example, you can create wood grain patterns on the deck by drawing parallel lines in the direction of the grain. Use your imagination and observe real skateboards or reference images for inspiration.
Step 8: Finalize the Drawing
Once you are satisfied with the shading and texture, take a step back and evaluate your drawing as a whole. Make any necessary adjustments or refinements to ensure that all the elements are cohesive and well-balanced. Darken any lines that need emphasis and erase any stray marks or guidelines.
And voila, you have successfully drawn a skateboard! Now that you know the step-by-step process, feel free to experiment with different styles and designs to create your own unique skateboard drawings.
Conclusion
Drawing a skateboard is a great way to express your creativity and improve your artistic skills. By following the step-by-step instructions provided in this guide, you now have the knowledge and confidence to create your very own skateboard drawings. So grab your pencils, let your imagination run wild, and enjoy the process!


