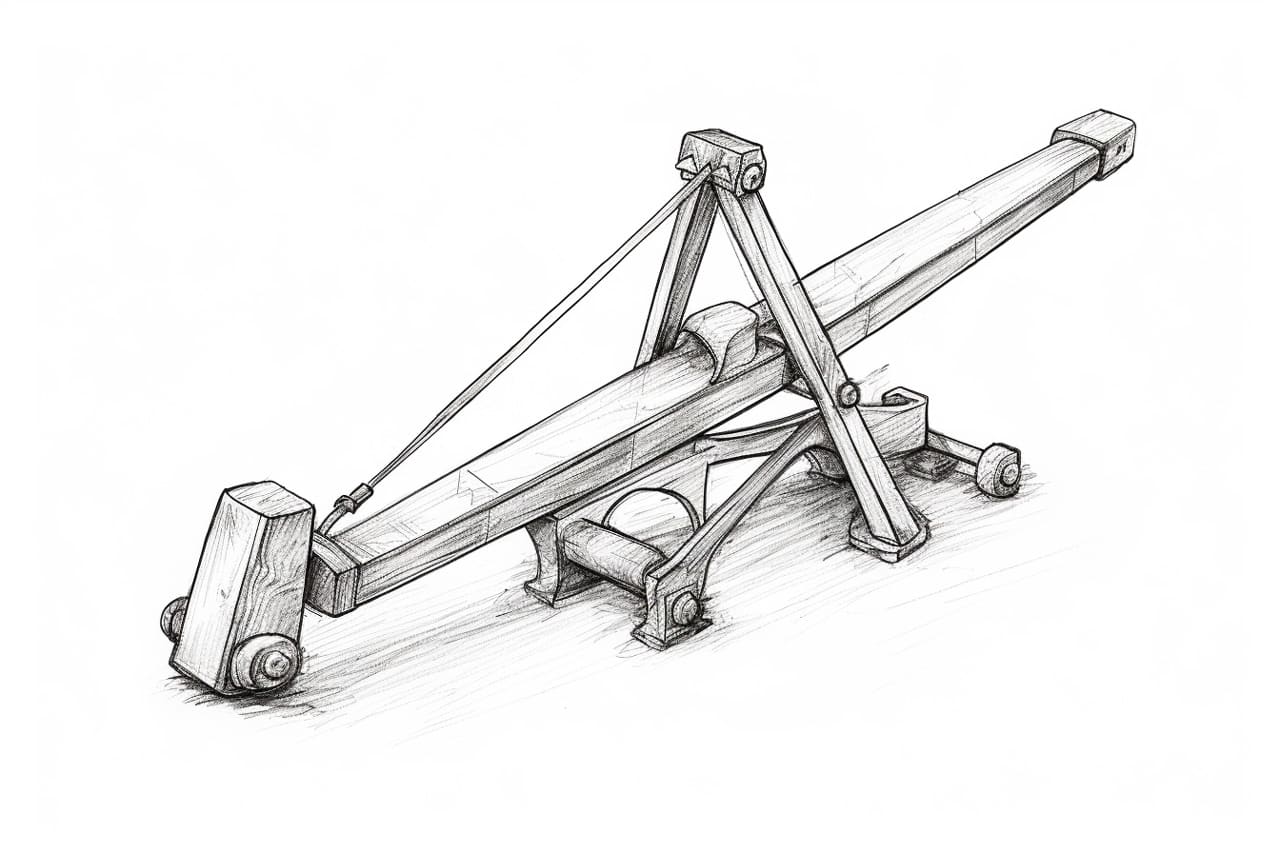
Welcome to this step-by-step guide on how to draw a catapult. In this article, I will walk you through the process of creating a detailed and accurate drawing of this ancient siege weapon. Whether you’re an aspiring artist or just someone looking for a fun drawing project, this tutorial will provide you with all the necessary steps to create your very own catapult illustration. So let’s get started!
Materials Required
Before we begin, make sure you have the following materials on hand:
- Drawing paper or sketchpad
- Pencil (preferably HB or 2B)
- Eraser
- Ruler
- Fine-tip markers or pens (optional)
- Colored pencils or markers (optional)
Now that you have everything you need, let’s move on to the step-by-step instructions.
Step 1: Basic Outline
Start by drawing a horizontal line near the bottom of your paper. This will serve as the ground. Then, draw two vertical lines on either side of the ground line to create the supports for the catapult. These lines should be slightly angled inward.
Step 2: Platform
Next, draw a rectangular platform on top of the supports. This is where the catapult mechanism will be placed. Make sure the platform is wide enough to hold the entire mechanism and extends slightly beyond the supports on both sides.
Step 3: Arm and Base
Now, draw a long and narrow rectangle diagonally across the platform. This will represent the arm of the catapult. At the end of the arm, draw a smaller rectangle to form the base. The base should be perpendicular to the arm and positioned on the side opposite the platform.
Step 4: Counterweight
On the other end of the arm, draw a larger rectangle. This will serve as the counterweight for the catapult. Make sure it is proportional to the rest of the drawing and positioned towards the end of the arm.
Step 5: Details and Support Structures
Add some details to the platform, such as crossbars or planks, to give it a more realistic look. Then, draw diagonal lines on the supports to create a bracing effect. These lines should intersect with the ground line.
Step 6: Wheels and Axle
To make your catapult mobile, draw two circles at the base of each support. These will represent the wheels. Connect the wheels with a thin rectangle to represent the axle.
Step 7: Ropes and Pouch
Draw two straight lines extending from the base of the arm to the front of the platform. These will be the ropes that provide tension for the catapult. At the end of the ropes, draw a rounded shape to represent the pouch where the projectile is placed.
Step 8: Additional Details
Add any additional details to your catapult, such as ropes, gears, or bolts, to enhance the drawing. You can also add textures or shading to make it more visually appealing.
Step 9: Finalize and Ink
Once you’re satisfied with your pencil drawing, go over the lines with a fine-tip marker or pen. This will make the lines more defined and give your drawing a finished look. You can also erase any unnecessary pencil lines at this point.
Step 10: Color (Optional)
If you prefer a colored illustration, you can use colored pencils or markers to add color to your catapult drawing. Experiment with different shades and tones to bring your artwork to life.
Conclusion
Congratulations! You have successfully learned how to draw a catapult. By following these step-by-step instructions, you have created a detailed and accurate representation of this ancient siege weapon. Whether you choose to leave it as a pencil drawing or add color, your artwork is sure to impress. Remember to practice regularly and have fun with your drawing projects. Happy creating!