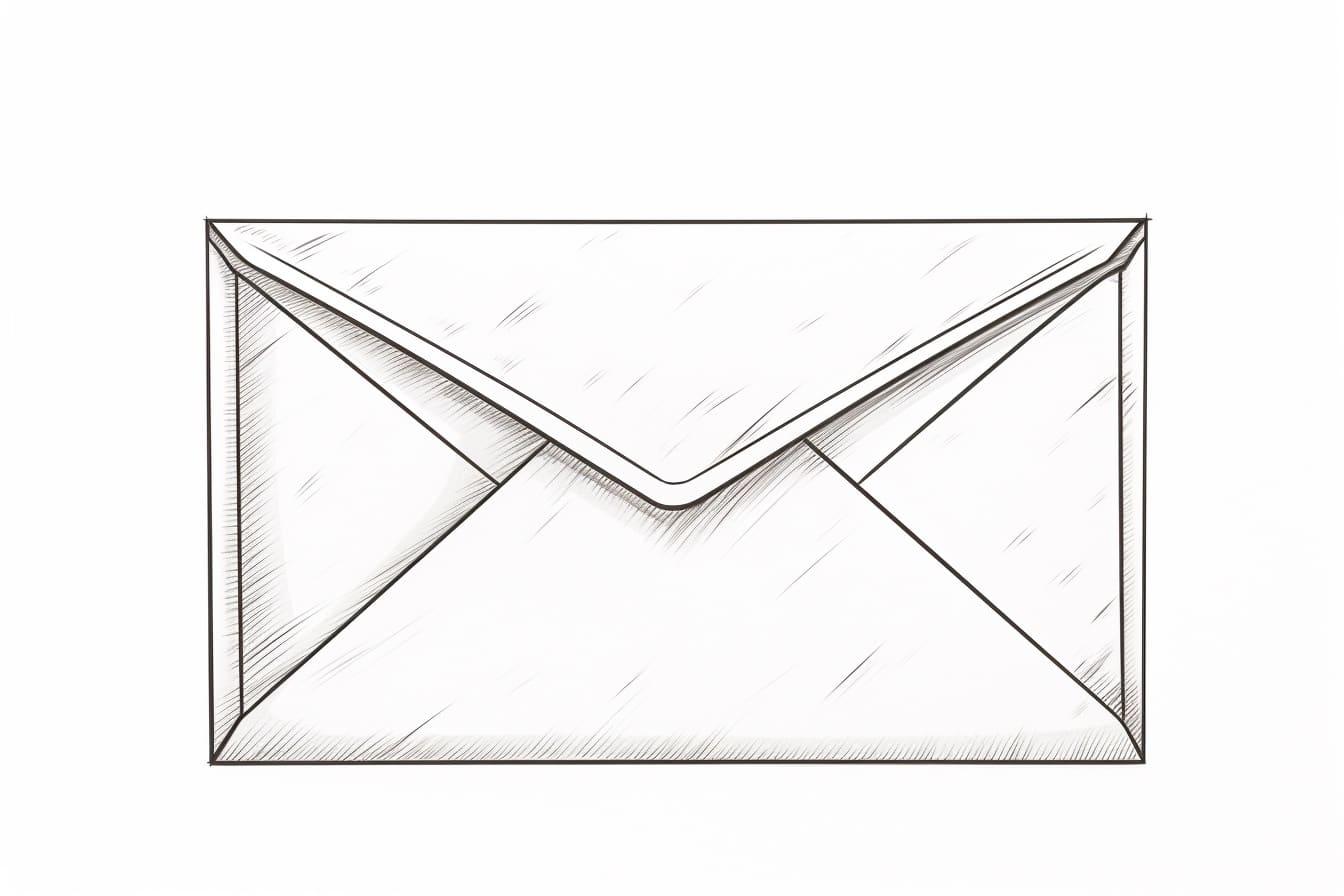
Welcome to the world of drawing Envelopes! Envelopes may seem like a simple and everyday object, but when approached with an artistic eye, they can become a fascinating subject for your artwork. In this lesson, we will explore the various shapes, sizes, and textures of envelopes, and learn how to capture their details through drawing techniques. Get ready to unleash your creativity and dive into the art of drawing Envelopes like never before!
Materials Required
To draw an envelope, you will need the following materials:
- Drawing paper or sketchbook
- Pencil
- Eraser
- Ruler
- Fine-tip black pen or marker (optional for outlining)
- Colored pencils, markers, or crayons (optional for coloring)
These basic materials will help you create a simple drawing of an envelope. Feel free to add any additional materials or tools based on your preferences and artistic style.
How to Draw an Envelope: a Step-by-step Guide
Step 1: Setting Up Your Materials
Gather all the necessary materials for drawing an envelope. You will need a pencil, eraser, ruler, and a piece of paper. Make sure your work area is well-lit and free of distractions.
Step 2: Drawing the Outline of the Envelope
- Start by drawing a horizontal line near the bottom of your paper. This will serve as the base of the envelope.
- From the ends of the line, draw two vertical lines going up, forming a rectangular shape.
- Connect the top ends of the vertical lines with a slightly curved line to create the flap of the envelope.
Step 3: Adding Details to the Envelope
- Draw a smaller rectangle inside the larger one, leaving some space between the two shapes. This will create the border of the envelope.
- Add a triangle shape at the top of the flap to represent the envelope’s seal.
- Draw a straight line across the flap to indicate where the envelope is folded.
Step 4: Refining and Finalizing the Drawing
- Use your ruler to straighten any uneven lines and refine the edges of the envelope.
- Erase any unnecessary guidelines and adjust the proportions as needed.
- Add shading to give the envelope a more three-dimensional look. Shade the flap to create a shadow effect.
- Add any additional details, such as address lines or stamps, to complete the drawing.
Step 5: Review and Make Adjustments
Take a step back and review your drawing of the envelope. Make any final adjustments to ensure everything looks balanced and proportionate. Add any extra details or shading if necessary.
Step 6: Sign and Date Your Drawing
Once you are satisfied with your envelope drawing, sign and date it in the corner of the paper. This will serve as a record of your creative work and progress.
Conclusion
In conclusion, drawing an envelope is a great way to practice your basic shapes, proportions, and shading techniques. By following the step-by-step instructions provided in this article, you can create a realistic and detailed envelope drawing that showcases your artistic skills. Remember to take your time, be patient with yourself, and enjoy the process of bringing this simple everyday object to life on paper. With practice and dedication, you will continue to improve your drawing abilities and gain confidence in your artistic talents. So grab your pencils and paper, and start sketching your own beautiful envelope masterpiece today!
Fun Facts About Envelopes
- The world’s largest envelope was created in 2013 by the Braintree District Council in the UK. It measured 10 meters by 7 meters and was used to promote a local arts festival.
- The first known use of an envelope-like object dates back to 3500 BC in the ancient city of Ur, where clay envelopes were used to protect and store important documents.
- In the 19th century, envelopes were often handcrafted and decorated with intricate designs, known as “fancy envelopes,” which were highly sought after by collectors.
- The concept of the self-sealing envelope was patented in 1902 by Americus F. Callahan, revolutionizing the way envelopes were sealed and making them more convenient to use.
- Envelopes come in a wide variety of sizes and styles, including standard business envelopes, window envelopes, padded envelopes, and even novelty envelopes shaped like animals or other objects.
- The color of an envelope can convey a specific message or emotion. For example, white envelopes are often used for formal correspondence, while brightly colored envelopes are more eye-catching and can create a sense of excitement.
- Envelopes are an essential part of the postal system, helping to protect and conceal the contents of mail while also providing a space for addressing and postage.
- The world’s largest envelope manufacturer is Cenveo, based in the United States, producing billions of envelopes each year for a wide range of purposes.
- Envelopes have become a popular medium for artists and designers to showcase their creativity, with envelope art exhibitions and contests held around the world.
- The Guinness World Record for the most envelopes opened in one minute is held by Ashrita Furman, who opened 35 envelopes in 60 seconds in 2017.

