If you’re an artist looking to add some realism to your drawings, being able to draw wires can be a useful skill to have. Whether you want to draw electrical wires, barbed wire, or simply add some texture to your artwork, this step-by-step guide will walk you through the process of how to draw a wire.
Materials Required:
To draw a wire, you will need the following materials:
- Pencil: A graphite pencil with a range of hardness (H to B) will be suitable for sketching and shading.
- Paper: Choose a smooth paper with a weight of at least 90lb (140gsm) to prevent smudging.
- Eraser: Have a kneaded eraser or a soft vinyl eraser to correct any mistakes.
- Ruler: A straight edge ruler will help you maintain the straightness of the wire.
- Reference: It’s always helpful to have a visual reference of the type of wire you want to draw.
Now that you have your materials ready, let’s get started.
Step 1: Sketch the Outline
Begin by lightly sketching the outline of the wire using your pencil. You can use a ruler to ensure the straightness of the wire if desired. Keep the lines faint so that they can be easily erased or adjusted later.
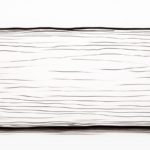
Step 2: Add Thickness
To give the wire some dimension, add thickness to the outline. Imagine the wire as a cylinder and lightly shade one side of the wire to create a shadow. This will make the wire appear rounded and realistic.
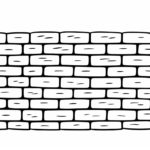
Step 3: Add Texture
Depending on the type of wire you’re drawing, you may want to add some texture to make it more convincing. For electrical wires, lightly sketch diagonal lines across the surface to represent the twisted strands. For barbed wire or other textured wires, draw small irregular shapes or spikes along the length of the wire.
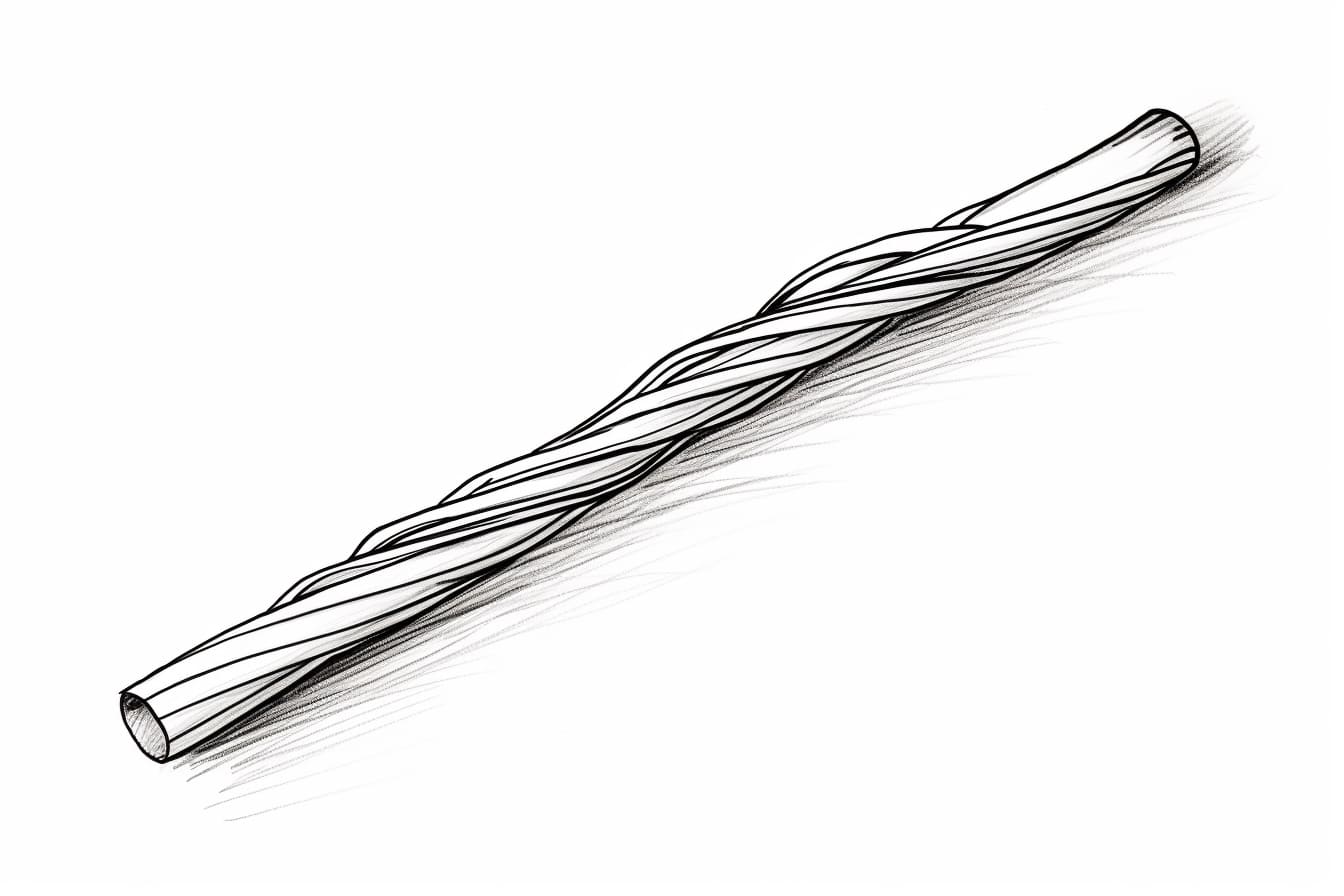
Step 4: Shade and Highlight
To give the wire a metallic appearance, add shading and highlights. Determine the light source in your drawing and shade the areas that are furthest away from the light. Use a range of pencil hardness to create different shades of gray. Then, use an eraser to lighten certain areas, creating highlights where the light would hit the wire.
Step 5: Refine Details
Take a moment to assess your drawing and make any necessary refinements. Look for areas that may need more texture, shading, or highlights. Use your reference image to ensure accuracy and add any additional details that are specific to the type of wire you’re drawing.
Step 6: Finalize the Drawing
Once you’re satisfied with the overall look of your wire, darken the lines with your pencil to make them more defined. Remove any unnecessary sketch lines and erase any stray marks. You can also add a background or incorporate the wire into a larger composition if desired.
Conclusion
Drawing a wire can add depth and interest to your artwork. By following these step-by-step instructions, you can create realistic-looking wires that enhance your drawings. Remember to practice and experiment with different types of wires to develop your skills further. So, grab your materials and start exploring the world of wire drawing today!