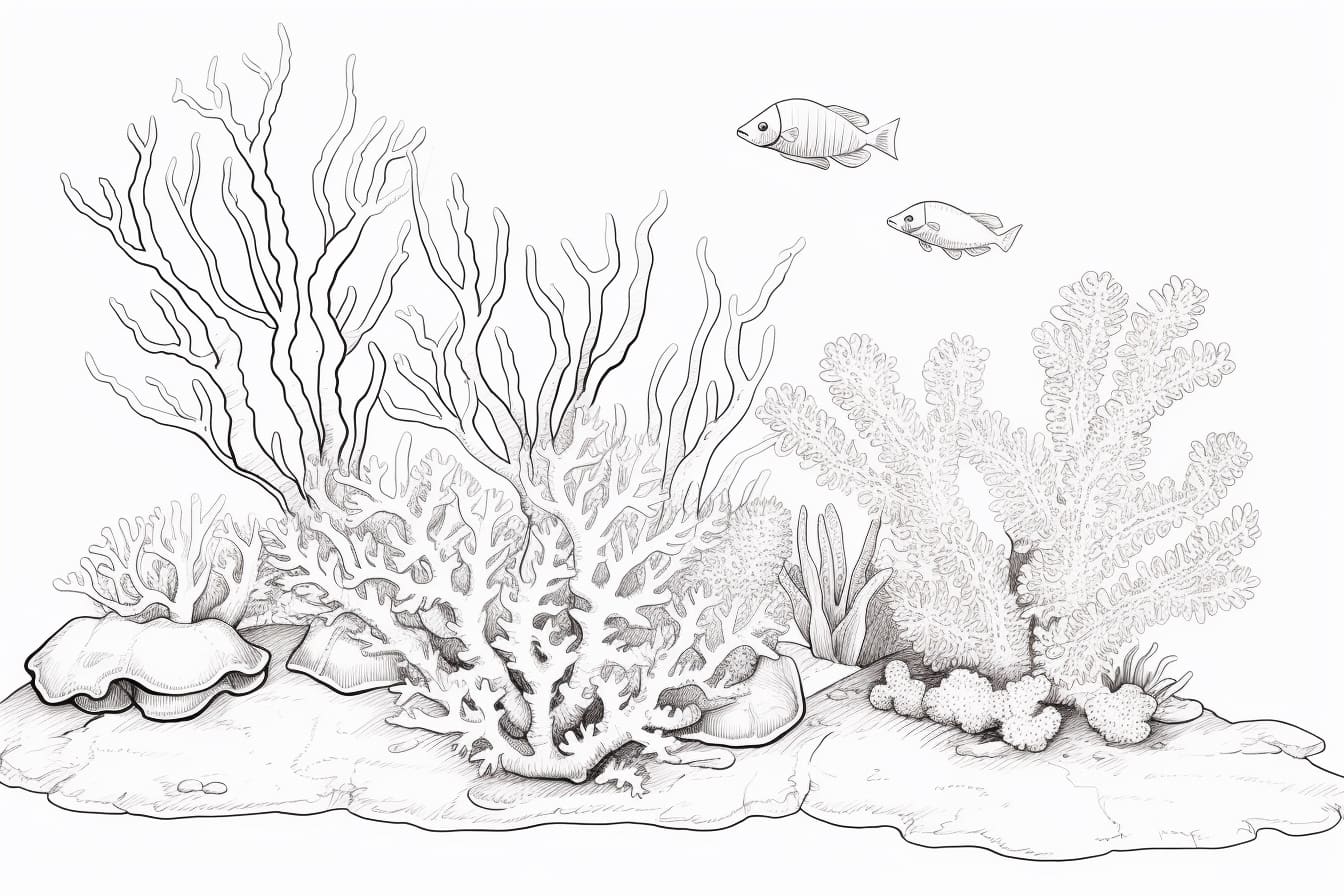
Welcome to this step-by-step guide on how to draw a reef! Whether you are a beginner or an experienced artist, this tutorial will help you create a stunning underwater scene filled with vibrant coral and marine life. So grab your drawing supplies and let’s get started!
Materials Required
To create your reef drawing, you will need the following materials:
- Drawing paper or sketchbook
- Pencil
- Eraser
- Fine tip pens or markers
- Watercolor paints or colored pencils
- Paintbrushes
- Water cup
Now that you have your materials ready, let’s dive into the process of drawing a reef.
Step 1: Sketch the Basic Outline
Start by lightly sketching the basic outline of your reef on your drawing paper. Think about the general shape and size you want for your reef and use light, loose lines to create the structure. Don’t worry about adding any details at this stage, as we will refine the sketch in the following steps.
Step 2: Add Coral formations
Coral formations are the key element of a reef. Begin by adding different shapes and sizes of coral formations to your sketch. Use organic shapes with irregular edges to mimic the natural look of coral. Experiment with different types of coral, such as brain coral, staghorn coral, or sea fan coral, to create variety in your reef.
Step 3: Define the Coral
Once you have added the coral formations, start defining their shapes and textures. Add lines to indicate the ridges and grooves on the coral. You can also add small details like polyps or bumps to make them look more realistic. Take your time to observe reference images of coral to get an idea of their unique characteristics.
Step 4: Draw Marine Life
A vibrant reef is home to a diverse range of marine life. Add fish, sea turtles, starfish, and other underwater creatures to your drawing. Sketch them in a way that complements the coral formations. Pay attention to their proportions and details, such as fins, scales, and patterns.
Step 5: Add Details and Texture
Now that you have the main elements in place, it’s time to add details and texture to your reef. Use fine tip pens or markers to define the edges of the coral formations and the features of the marine life. You can also use a cross-hatching technique to create texture and depth in certain areas.
Step 6: Color Your Reef
Now comes the fun part – adding color to your reef! Decide on a color scheme based on the reference images you have gathered. Use watercolor paints or colored pencils to carefully fill in the coral formations and marine life. Start with lighter shades and gradually build up the colors to create depth and dimension.
Step 7: Enhance with Shadows and Highlights
To make your reef drawing look more realistic, add shadows and highlights. Observe how the light falls on the coral formations and the marine life and use darker shades to create shadows and lighter shades to add highlights. This will bring your drawing to life and make it visually appealing.
Step 8: Finishing Touches
Take a step back and evaluate your drawing. Are there any areas that need adjustments or refinements? Make any necessary changes and add any final touches to complete your reef drawing. Use an eraser to remove any stray pencil lines and clean up the overall composition.
Congratulations! You have successfully drawn a beautiful reef. With practice and experimentation, you can create even more intricate and detailed underwater scenes.
Conclusion
Drawing a reef can be a rewarding and enjoyable experience. By following the step-by-step instructions in this guide, you have learned how to create a vibrant underwater scene filled with coral formations and marine life. Remember to have fun and let your creativity flow as you explore the depths of your imagination.
So grab your drawing supplies and start creating your own stunning reef today!


