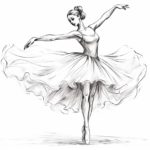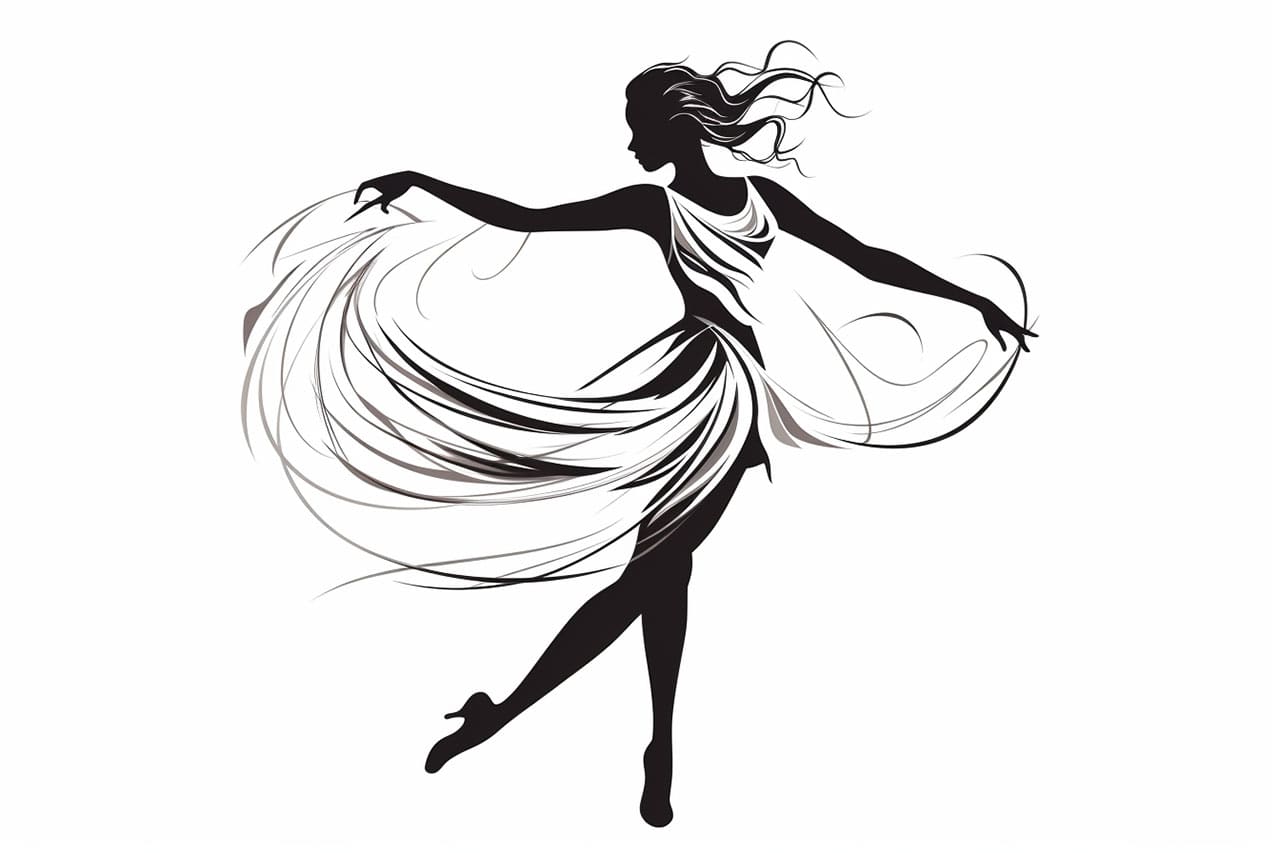
Are you captivated by the beauty and grace of dancers? Do you want to capture their elegance on paper? Look no further! In this step-by-step guide, I will teach you how to draw a dancer. Whether you are a beginner or an experienced artist, this tutorial will provide you with the guidance you need to create a stunning drawing of a dancer in motion. So, let’s get started!
Materials Required
Before we dive into the steps, let’s gather the materials you will need for this drawing:
- A pencil: Start with a medium-soft graphite pencil, preferably in the range of 2B to 4B. You can switch to a softer or harder pencil as per your preference.
- Eraser: Use a kneaded eraser or a soft vinyl eraser to make corrections and lighten lines when necessary.
- Drawing paper: Choose a smooth-surfaced paper that is suitable for sketching. A heavier-weight paper will work best to prevent smudging and create a clean drawing.
- Reference photo: Look for a high-quality reference photo of a dancer that inspires you. You can find images online or use a magazine or book as a reference.
Now that you have all the materials ready, let’s move on to the steps of drawing a dancer.
Step 1: Basic Pose Guidelines
Start by lightly sketching the basic guidelines of the dancer’s pose using simple shapes. Begin with a circle for the head, and then draw lines to indicate the position of the spine and the extremities. Use light strokes to create these guidelines, as they will be adjusted and refined as you progress.
Step 2: Facial Features and Hair
Refine the head shape and add in the facial features of the dancer. Pay attention to the proportions and details of the face, such as the eyes, nose, and mouth. Keep in mind the expression you want to portray and enhance it through your drawing. Add flowing hair to capture the movement and dynamic nature of the dance.
Step 3: Body Proportions and Pose Refinement
Using the initial guidelines as a reference, begin adding curves and contours to define the body of the dancer. Pay close attention to the proportions and position of the limbs, ensuring they reflect the graceful movement of a dancer. Refine the pose by adjusting the angles and curves until you are satisfied with the overall composition.
Step 4: Clothing and Details
Add the specific details of the dancer’s clothing, such as the leotard or tutu. Pay attention to the folds and creases of the fabric, capturing the subtle movements and drapes. Add any additional accessories the dancer may be wearing, such as ballet shoes or jewelry. Focus on the intricate details that make the dancer come to life.
Step 5: Shading and Texture
Now it’s time to bring depth and dimension to your drawing by adding shading and texture. Start by identifying the primary light source in your reference photo. Use light and dark shading techniques to create volume and form. Pay close attention to the subtle play of light and shadow on the dancer’s body, enhancing the three-dimensional effect.
Step 6: Refinement and Final Touches
Take a step back and evaluate your drawing as a whole. Look for any areas that need refinement or adjustments. Erase any unnecessary guidelines and fine-tune the details. Pay attention to the overall balance of your drawing, making sure all elements work harmoniously together. Add any final touches to enhance the realism and aesthetics of your artwork.
Conclusion
Congratulations! You have successfully learned how to draw a dancer step by step. By following these instructions, you have created a beautiful drawing that captures the grace and elegance of a dancer in motion. Remember, practice is key when it comes to improving your artistic skills, so keep on drawing and exploring the world of dance through your art. Keep pushing your boundaries, and with time, you will continue to develop your own unique style. Happy drawing!