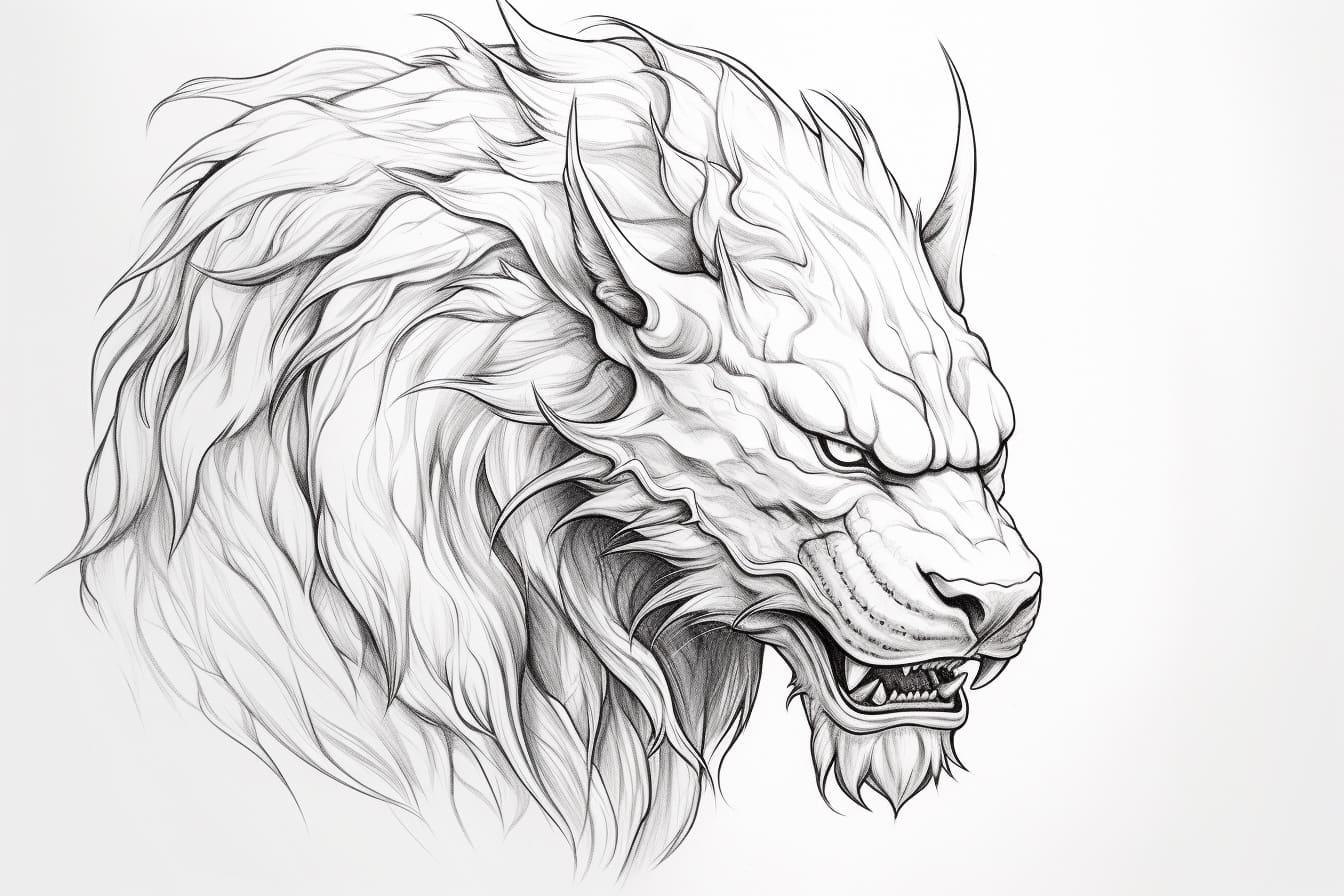
Welcome to this step-by-step guide on how to draw a fantasy creature. Drawing fantasy creatures allows us to let our imagination run wild and create unique and magical beings. Whether you are a beginner or an experienced artist, this tutorial will provide you with the necessary steps to bring your creature to life on paper. So, let’s grab our drawing materials and get started!
Materials Required
To begin drawing your fantasy creature, you will need the following materials:
- Drawing Paper: Select a good quality paper that is suitable for the medium you plan to use, such as graphite pencils, colored pencils, or markers.
- Pencils: Choose a range of graphite pencils with different lead hardness (2B, 4B, 6B, etc.) to achieve various shades and textures in your drawing.
- Eraser: Have a good quality eraser that can easily remove any unwanted pencil marks without damaging the paper.
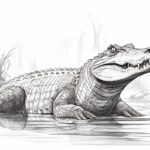
- Reference Images: Collect reference images of various animals, plants, and other creatures to inspire and guide you during the drawing process.
- Optional: If you prefer to add color to your creature, you can also gather colored pencils, markers, or paints of your choice.
Now that you have your materials ready, let’s dive into the step-by-step process of drawing a fantasy creature.
Step 1: Inspiration and Sketching
Every great drawing starts with a solid idea. Begin by brainstorming and gathering inspiration for your fantasy creature. Consider different animal features, mythological creatures, or even elements from nature. Once you have an idea in mind, start sketching rough outlines to get a basic structure and form.
Step 2: Basic Shapes and Proportions
Using basic shapes, such as circles, ovals, or triangles, establish the proportions of your creature. These simple shapes will act as a foundation for the more intricate details later on. Focus on getting the overall body shape and positioning of limbs right.
Step 3: Refining the Structure
Now it’s time to refine the structure of your fantasy creature. Start adding more details to the basic shapes, gradually developing the body, limbs, and head. Pay attention to features like muscle definition, joints, and any unique characteristics you want to incorporate.
Step 4: Adding Facial Features
The face of your creature plays a crucial role in defining its personality. Begin by sketching the eyes, nose, and mouth. Experiment with different expressions and positions to bring your creature to life. Don’t be afraid to make adjustments as you go along.
Step 5: Texturing and Details
To make your creature more realistic and captivating, add textures and details to its body. Observe your chosen reference images to understand how different materials and skin textures look. Use hatching, crosshatching, or shading techniques to add depth and dimension to your drawing.
Step 6: Background and Environment
Consider adding a background or environment to your drawing to give your creature a sense of place. This could be a simple landscape, a fantastical setting, or even a particular habitat that suits your creature’s characteristics. Use your creativity to enhance the overall composition.
Step 7: Final Touches and Refinements
Take a step back and evaluate your drawing as a whole. Make any necessary adjustments or refinements to ensure that the proportions, textures, and details are balanced and visually appealing. Erase any unnecessary guidelines or stray marks to clean up the drawing.
Conclusion
Drawing fantasy creatures can be an exciting and rewarding experience. By following these step-by-step instructions, you can create your own unique and captivating creature on paper. Remember to let your imagination guide you and have fun throughout the process. So grab your drawing materials and start bringing your fantasy creature to life today!