Welcome to this step-by-step tutorial on how to draw a squid! Whether you’re an aspiring artist or simply looking for a fun and creative activity, this guide will take you through the process of drawing a squid in a clear and concise manner. So, grab your materials and let’s get started!
Materials Required
Before we begin, make sure you have the following materials on hand:
- Paper: A blank sheet of paper will be the foundation for your squid drawing.
- Pencil: Start with a pencil so that you can easily make any necessary adjustments or corrections as you go along.
- Eraser: Having an eraser nearby will help you remove any unwanted lines or mistakes.
- Pens or Markers: Once you’re satisfied with your pencil sketch, you can add more definition and color with pens or markers. This step is optional but can add a nice finishing touch to your drawing.
- Reference Image: It’s always helpful to have a reference image of a squid nearby to guide you as you draw. You can find images online or in books.
Now that you have everything you need, let’s dive into the step-by-step process of drawing a squid!
Step 1: Basic Shapes
Start by drawing a large oval shape in the middle of your paper. This will serve as the squid’s body.
Step 2: Tentacles
From the bottom of the oval, draw a series of long, curved lines extending downwards. These lines will become the squid’s tentacles. You can choose how many tentacles to draw, but a common number is eight.
Step 3: Eyes and Beak
At the top of the oval, draw two small circles for the squid’s eyes. Inside each eye, add a smaller circle to represent the pupil. Just below the eyes, draw a small triangular shape for the squid’s beak.
Step 4: Fins
On both sides of the squid’s body, draw two small triangular shapes pointing downwards. These will be the squid’s fins.
Step 5: Suckers
Now let’s add some detail to the tentacles. Along each tentacle, draw a series of small ovals or circles to represent the squid’s suckers. You can arrange these in a staggered pattern or in a more random order.
Step 6: Arms
In addition to the tentacles, squid also have two longer arms. Draw these arms on either side of the body, extending slightly away from the tentacles. The arms should be thinner and more flexible than the tentacles.
Step 7: Finishing Touches
Take a moment to review your drawing and make any necessary adjustments. Erase any overlapping lines or stray marks. You can also darken the outlines of your drawing to make it stand out more.
Conclusion
Congratulations! You’ve successfully drawn a squid. By following these step-by-step instructions and using your creativity, you’ve created a unique and artistic representation of this fascinating creature. Remember, practice makes perfect, so don’t hesitate to try drawing a squid again or experiment with different poses and perspectives. You can also practice drawing some other underwater creatures and plants like a sponge or seaweed. Enjoy the process and have fun exploring the world of art!
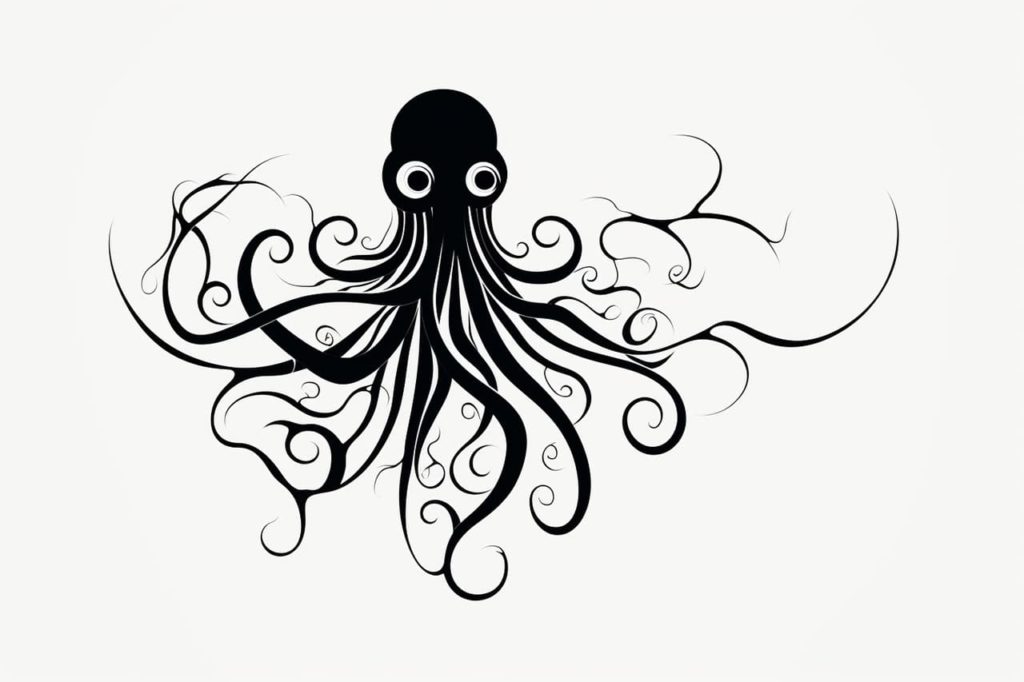
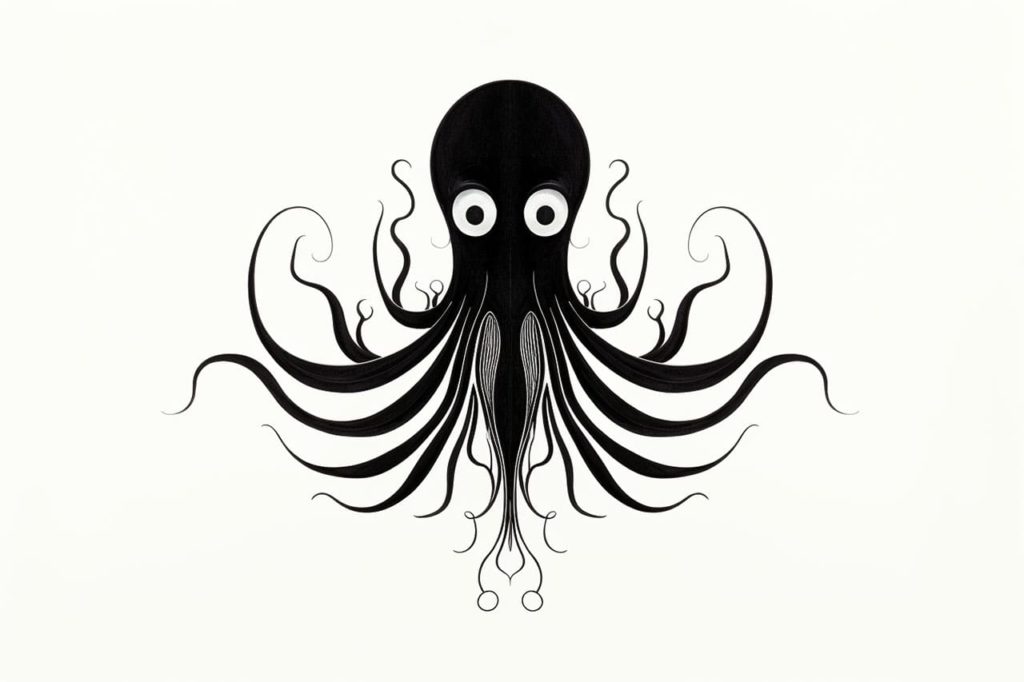
Gallery of Squid Drawings