Welcome to this step-by-step guide on how to draw an open book! Whether you are an aspiring artist or just looking for a fun drawing project, learning how to draw an open book can be both enjoyable and rewarding. In this tutorial, we will take you through each step of the process, providing clear and concise instructions along the way. So grab your drawing materials and let’s get started!
Materials Required
Before we begin, make sure you have the following materials at hand:
- Paper: Select a high-quality drawing paper that is suitable for your chosen drawing media. If you are a beginner, a regular plain white paper will work just fine.
- Pencil: Choose a graphite pencil with a medium or soft lead. It’s best to use a pencil that can be easily erased or smudged for any necessary corrections.
- Eraser: Have a good quality eraser handy to erase any unwanted marks or guidelines.
- Ruler: A straight-edge ruler will be useful to create straight lines and keep your drawing symmetrical.
- Compass: If you prefer drawing precise circles, a compass will come in handy. However, it is not necessary if you feel comfortable drawing circles freehand.
- Fine-tip pen or markers (optional): If you wish to outline or add details with ink, you can have a fine-tip pen or markers ready, although these are not essential.
Now that you have your materials prepared, let’s dive into the step-by-step process of drawing an open book.
Step 1: Draw the Basic Shape of the Book
To start, draw a rectangle shape in the center of your paper, representing the main body of the book. The size of the rectangle will determine the size of your open book, so consider how big or small you want it to be. Use light, gentle strokes to create the outline, as we will be refining it later on.
Step 2: Add the Pages
Inside the rectangle, draw a series of horizontal lines to represent the pages of the book. These lines should follow the shape of the rectangle, but don’t worry about making them perfectly straight. Remember, books have varying page thickness, so it’s alright if the lines are slightly uneven.
Step 3: Create the Binding
At the left edge of the rectangle, draw a vertical line extending from the top to the bottom. This line represents the binding of the book, where the pages are attached. The binding line should not reach the top or bottom edges of the rectangle, leaving a small gap on both ends.
Step 4: Refine the Outline
Next, carefully trace over the basic shapes you’ve drawn, refining the outline of the book. Smooth out any uneven lines and make sure the pages are evenly spaced. Take your time with this step to ensure the overall proportions and symmetry are accurate.
Step 5: Add Details to the Binding
To make the binding more realistic, add some details. Draw a series of short vertical lines along the binding line, indicating the individual pages. These lines should be evenly spaced and extend partially into the pages area.
Step 6: Sketch the Cover
Now it’s time to add details to the cover of the book. Start by drawing two diagonal lines from the top corners of the rectangle, converging towards a point at the center of the top edge. These lines will create the illusion of a three-dimensional cover.
Step 7: Refine the Cover Details
Once the basic shape of the cover is in place, refine the details. Add curved lines to indicate the spine of the book, connecting the top and bottom edges of the cover. You can also draw additional lines to suggest texture or any design elements on the cover.
Step 8: Sketch the Open Pages
To give the book a more realistic appearance, draw a series of curved lines within the pages area. These lines should follow the general shape of the pages, mimicking the way pages naturally curve when a book is open. Feel free to add more or fewer lines, depending on the level of detail you desire.
Step 9: Erase Unnecessary Guidelines
Take a moment to review your drawing and erase any unnecessary guidelines or construction lines. Pay attention to the areas where guidelines overlap the final shape, and make sure to leave only the essential lines that define the book’s structure.
Step 10: Add Shadows and Shading (Optional)
If you want to take your drawing to the next level, you can add shadows and shading to create depth and dimension. Use your pencil or markers to darken areas where shadows would naturally fall, such as the inner part of the pages or along the crease of the open book. Gradually build up the shading, keeping in mind the direction of the light source for consistency.
Conclusion
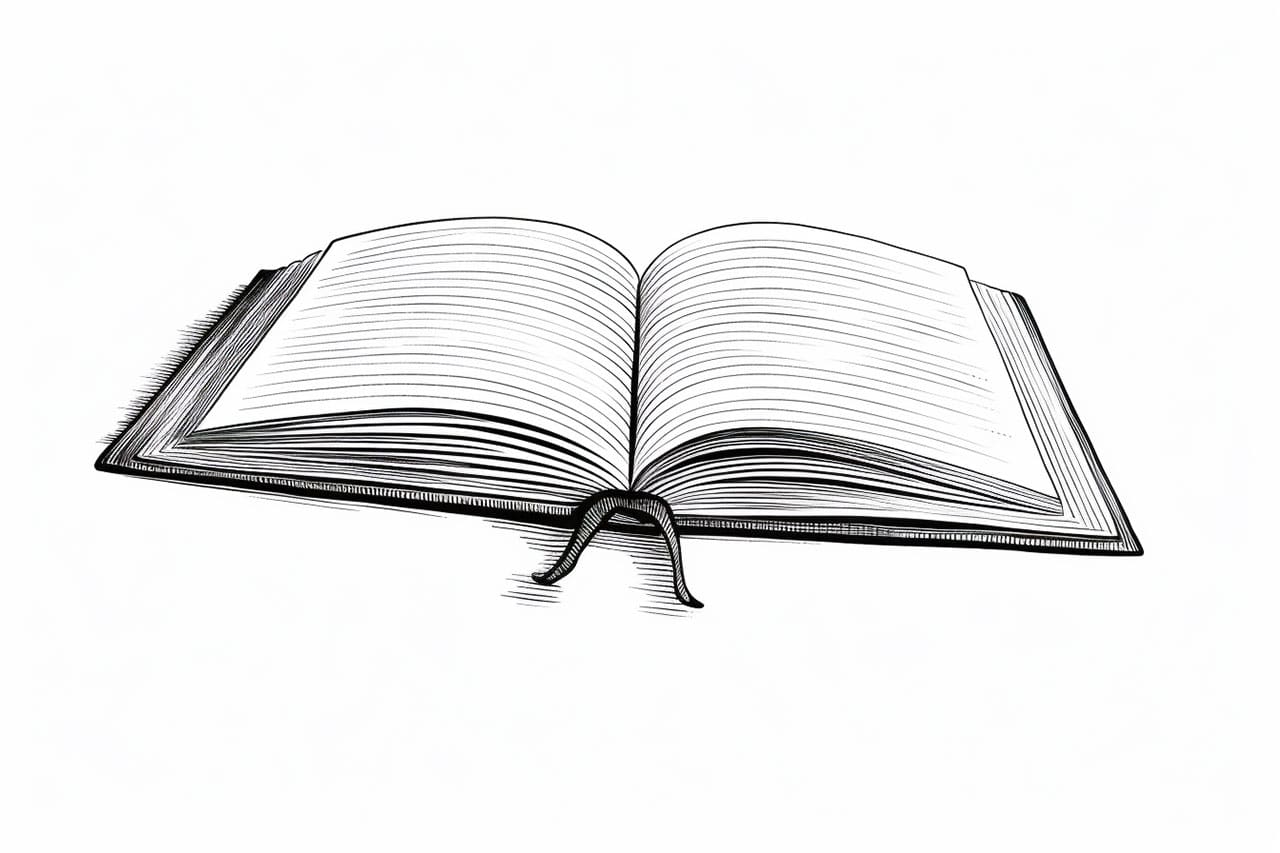
Congratulations! You’ve successfully learned how to draw an open book from start to finish. Remember, practice makes perfect, so don’t be discouraged if your first attempt isn’t exactly what you envisioned. With time and patience, your drawing skills will continue to improve. Keep exploring different angles, poses, and styles to enhance your drawing abilities. We hope you enjoyed this tutorial and that it has sparked your creativity. Happy drawing!
Gallery of Open Book Drawings