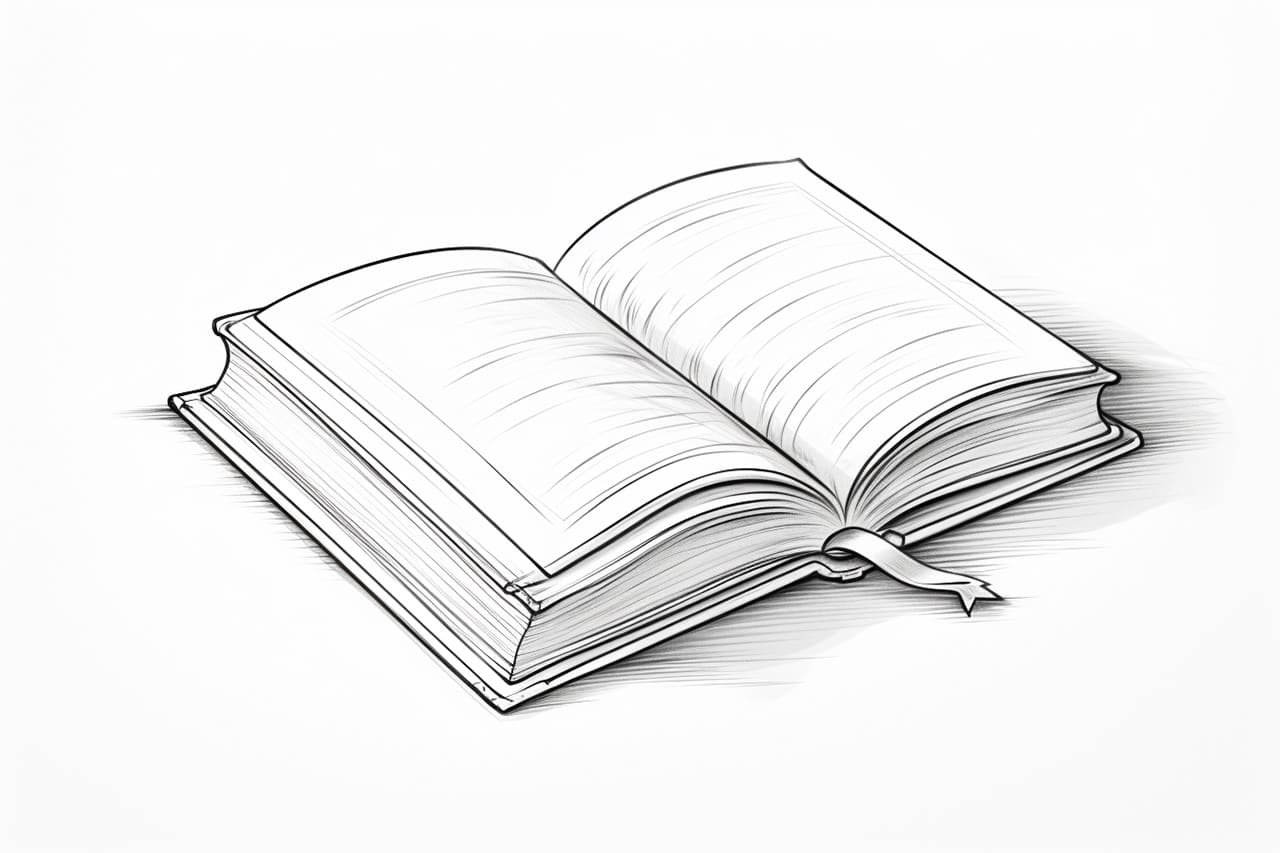
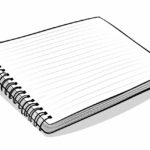
Welcome to this step-by-step guide on how to draw a book! Whether you’re an aspiring artist or just looking to improve your drawing skills, this tutorial will provide you with easy-to-follow instructions to help you create a realistic and detailed book illustration. So grab your pencils and let’s get started!
Materials Required
Before we dive into the drawing process, let’s make sure you have all the necessary materials. Here’s what you’ll need:
- Drawing paper: Choose a smooth, heavyweight paper that can handle various drawing techniques.
- Pencils: Have a range of graphite pencils with different lead hardness, such as HB, 2B, 4B, and 6B.
- Eraser: Select a kneaded eraser for easy shaping and a regular eraser for precise corrections.
- Sharpener: Make sure you have a pencil sharpener handy to keep your pencils sharp throughout the process.
- Ruler: Use a ruler to create straight lines and maintain accurate proportions.
- Reference images: Find pictures of books for inspiration and as a reference for shapes and details.
Now that you have all your materials ready, let’s begin drawing our book!
Step 1: Sketch the Basic Shape of the Book
Start by lightly sketching a rectangular shape to define the main body of the book. Use your pencil to draw a straight vertical line and two parallel horizontal lines at the top and bottom. This will serve as the foundation for the book’s structure.
Step 2: Add Thickness to the Book
Using the same guidelines from the previous step, draw additional lines parallel to the existing ones to create the thickness of the book. Keep the lines equally spaced and maintain the proportions of the book’s shape.
Step 3: Define the Book’s Spine
At the left edge of the book’s main shape, draw a straight vertical line slightly longer than the width of the book. This will represent the spine of the book, which connects the front and back covers. Ensure that the line is centered and aligned with the rest of the book.
Step 4: Draw the Book’s Covers
On both sides of the spine, extend the horizontal lines to create the front and back covers of the book. The length of the lines will determine the height of the covers. Keep the lines parallel and equal in length for a symmetrical look.
Step 5: Refine the Shape of the Book
Now it’s time to refine the shape of the book by adding more details. Use your pencil to round the corners of the book’s covers, giving them a softer and more realistic appearance. You can also slightly round the edges of the book itself to make it appear worn or used.
Step 6: Add Pages to the Book
Draw a series of vertical lines close together along the right side of the book, representing the pages. Start from the top and work your way down, ensuring that the lines are evenly spaced and extend from the top of the book to the bottom.
Step 7: Create Depth with Shadows and Highlights
To make your book drawing more three-dimensional, add shadows and highlights. Use your shading techniques to darken the areas where shadows would naturally fall, such as the crease between the covers and the spine. At the same time, lightly shade the areas that would catch the light, such as the top edges of the covers.
Step 8: Add Textures and Details
Now, let’s add some textures and details to make the book drawing more realistic. Use your pencil to lightly draw horizontal lines across the covers and spine, mimicking the appearance of a textured surface. You can also add small details like the author’s name or book title on the spine or cover for an extra touch of authenticity.
Step 9: Refine and Finalize Your Drawing
Take a step back and evaluate your drawing so far. Make any necessary adjustments or corrections to ensure that the proportions and details are accurate. Use an eraser to clean up any stray lines or smudges. Finally, darken your lines and add any final touches to complete your book drawing.
Conclusion
Congratulations! You have successfully learned how to draw a book step by step. By following these instructions and practicing regularly, you’ll be able to create realistic and detailed book drawings that showcase your artistic skills. Remember to be patient and enjoy the process of drawing. Happy creating!

