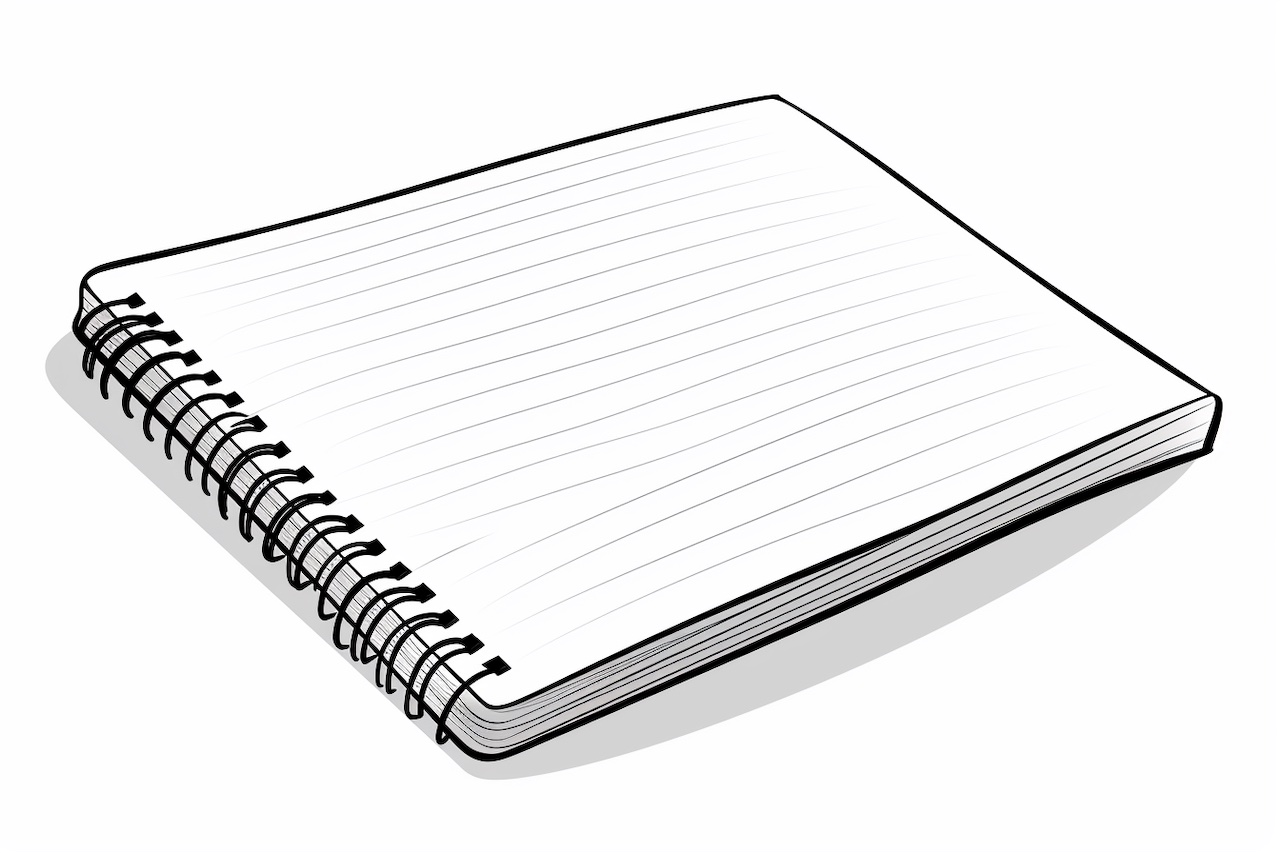
Welcome to this step-by-step guide on how to draw a notebook. Drawing everyday objects can be a great way to practice your drawing skills and improve your overall technique. In this tutorial, we will walk you through the process of drawing a notebook using simple shapes and lines. So, grab your pencils and let’s get started!
Materials Required
Before we begin, let’s make sure you have all the necessary materials to complete this drawing. Here’s what you’ll need:
- Drawing paper or sketchbook
- Pencil
- Eraser
- Ruler
- Fine-tip black pen or marker
- Colored pencils or markers (optional)
Now that we have everything we need, let’s jump right into it!
Step 1: Drawing the Cover
Begin by drawing a horizontal rectangle in the center of your paper. This will be the cover of the notebook. Use your ruler to make sure the lines are straight and evenly spaced. Don’t worry too much about the dimensions at this stage, as you can adjust them later to your liking.
Step 2: Adding Details
Next, we will add some details to the cover of the notebook. Start by drawing a vertical line slightly to the left of the center of the rectangle. This line represents the binding of the notebook. Then, draw a smaller horizontal rectangle on the bottom right corner of the cover. This will be the label area of the notebook where you can write the subject or title.
Step 3: Creating the Pages
Now, let’s draw the pages of the notebook. Start by drawing a straight horizontal line across the center of the cover. This line represents the top edge of the first page. Then, draw a series of parallel horizontal lines below the first line to create the rest of the pages. You can make as many pages as you like, depending on how thick you want your notebook to be.
Step 4: Adding Depth
To make the notebook look more three-dimensional, we will add some depth to the cover. Start by drawing two diagonal lines extending from the bottom corners of the cover towards the center. This will create the illusion of depth. Then, draw a thin horizontal line slightly above the bottom edge of the cover to represent the spine of the notebook. Finally, add a few diagonal lines on the label area to give it some texture.
Step 5: Outlining
Now that we have the basic shape of the notebook, it’s time to outline the drawing with a fine-tip black pen or marker. Go over all the lines you’ve drawn, making them bolder and more defined. Be careful not to smudge your pencil lines with the pen or marker. Once you’re done with the outline, let the ink dry completely before erasing any remaining pencil marks.
Step 6: Adding Details and Texture
To make your notebook drawing more realistic, let’s add some details and texture. Start by adding small rectangular shapes on the cover to represent the stitches that hold the pages together. Then, draw a few random lines across the pages to give them a textured look. You can also add shading to the cover and pages using cross-hatching or stippling techniques.
Step 7: Coloring (Optional)
If you prefer to add some color to your drawing, now is the time to do so. Use colored pencils or markers to bring your notebook to life. You can color the cover in any color you like, and you can also add different colors to the label area and the stitches for more visual interest. Experiment with different color palettes and shading techniques to create a unique look.
Conclusion
Congratulations! You have successfully learned how to draw a realistic notebook. Drawing everyday objects can be both fun and challenging, and it helps improve your observation and sketching skills. Remember to practice regularly and don’t be afraid to experiment with different techniques and styles. Keep exploring the world around you with your sketchbook in hand, and you’ll continue to grow as an artist.


