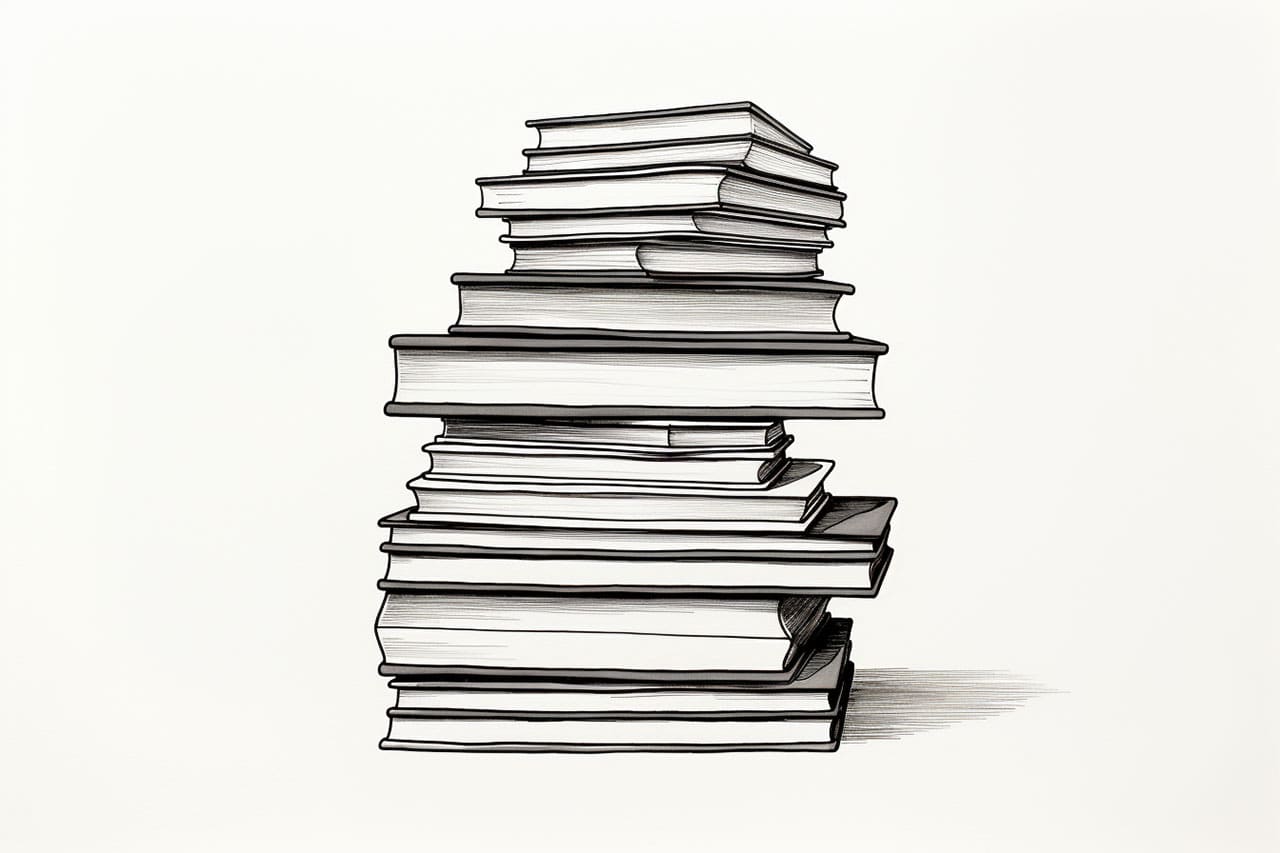
Welcome to this step-by-step guide on how to draw a stack of books. Whether you are a beginner or an experienced artist, this tutorial will walk you through the process using clear and concise instructions. By the end, you’ll be able to create a realistic and impressive stack of books on your own. So, let’s get started!
Materials Required
Before we dive into the steps, let’s gather the materials you’ll need to draw a stack of books:
- Drawing paper
- Pencil
- Eraser
- Ruler
- Fine-tip pens or markers (optional)
- Colored pencils or markers (optional)
Now that you have your materials ready, let’s begin!
Step 1: Sketch the Base Shape
Start by sketching a rectangular shape for the base of the stack of books. Use light, loose strokes so that you can easily make adjustments as you progress.
Step 2: Add the Spines
Using your ruler, draw vertical lines across the rectangular shape to represent the spines of the books. Vary the heights and widths of the spines to create visual interest. Remember that books have different sizes, so don’t be afraid to experiment.
Step 3: Outline the Books
Next, outline the individual books within the stack. Draw straight lines at the top and bottom of each spine, connecting them to create the book shapes. Keep in mind that books aren’t always perfectly rectangular, so feel free to add slight curves or angles to make them look more realistic.
Step 4: Create Depth
To give a sense of depth to the stack of books, add some diagonal lines on each book’s spine. These lines should start from the top left corner and slant towards the bottom right corner. Repeat this process for all the books in the stack.
Step 5: Draw the Pages
Inside each book, lightly sketch horizontal lines to represent the pages. You can make them straight or slightly wavy to simulate the appearance of paper. Make sure to leave some space between the pages and the spine of the book.
Step 6: Refine the Shapes
Go over your initial sketches and refine the shapes of the books. Erase any unnecessary lines or mistakes and make any adjustments to ensure that each book looks well-defined and proportionate. Pay attention to the angles and curves of the spines and the overall placement of each book within the stack.
Step 7: Add Details
Now it’s time to add some details to make your stack of books look more realistic. You can draw small rectangles on the spines to represent book titles or author names. Add some lines or shading to indicate the texture of the spines and pages. This will add visual interest and make your drawing more captivating.
Step 8: Ink or Color (Optional)
If you want to enhance your drawing, you can go over the pencil lines with fine-tip pens or markers. This will give your stack of books a more finished and polished look. Alternatively, you can use colored pencils or markers to add vibrant colors to the spines, covers, or book titles. This step is entirely optional, so feel free to skip it if you prefer a pencil drawing.
Conclusion
Congratulations on completing your stack of books drawing! By following these step-by-step instructions, you have created a detailed and realistic representation of a stack of books. Don’t be afraid to experiment with different variations and add your own unique touch to your drawings. Keep practicing, and you’ll continue to improve your artistic skills.
Remember, drawing is not only a way to express yourself but also an enjoyable and relaxing activity. So grab your pencil and paper, and let your imagination run wild as you create your own stack of books masterpiece!


