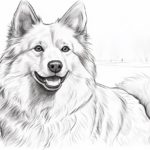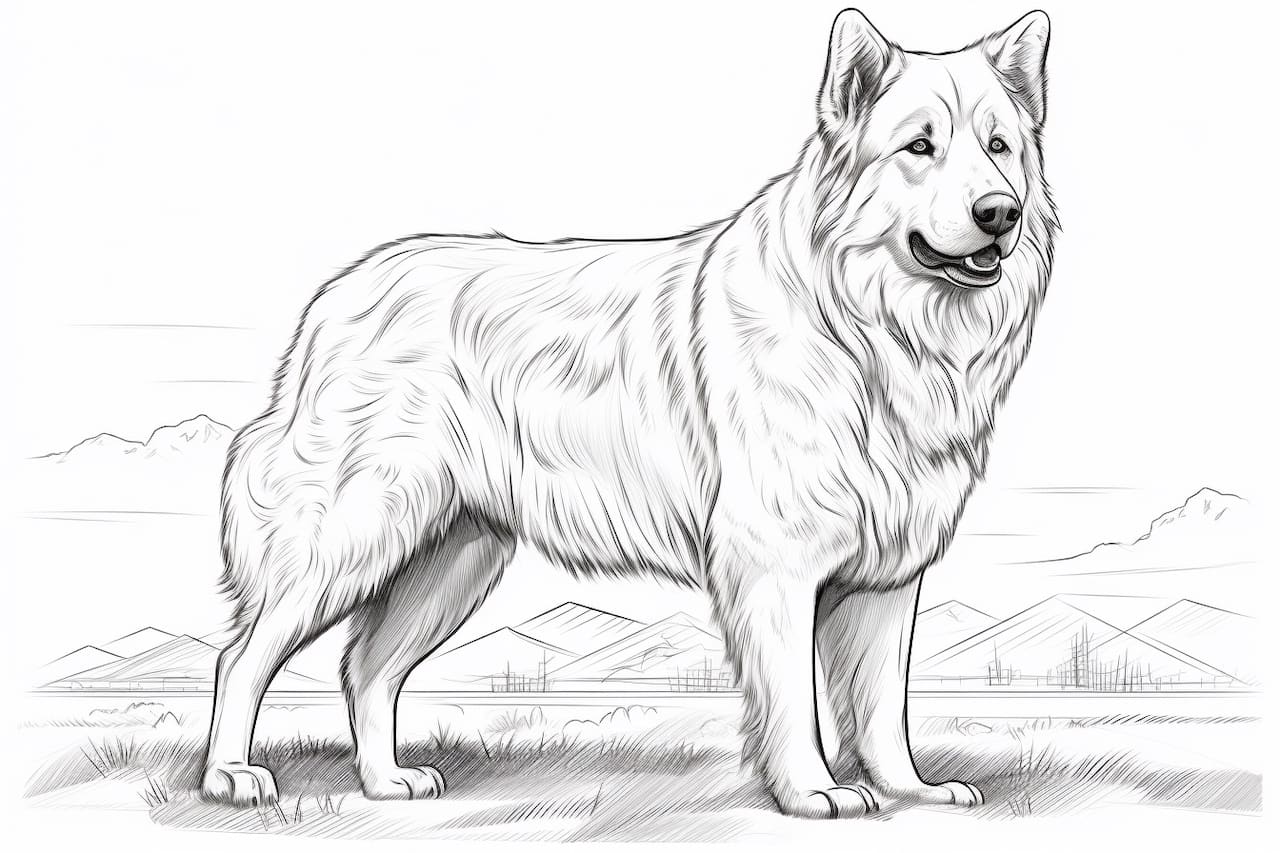
Welcome to this step-by-step guide on how to draw a Maremma Sheepdog. Whether you are an aspiring artist or simply looking to improve your drawing skills, this tutorial will provide you with clear instructions to help you capture the essence of this beautiful breed. So, grab your drawing materials and let’s get started!
Materials Required
To begin, gather the following materials:
- Drawing paper or sketchbook
- Pencils of different grades (HB, 2B, 4B)
- Eraser
- Blending stump or cotton swabs
- Reference photo of a Maremma Sheepdog
These materials will allow you to create your artwork with ease and achieve accurate results.
Step 1: Sketch the Basic Shapes
Start by lightly sketching the basic shapes that form the Maremma Sheepdog’s body. Begin with a circle for the head, followed by an oval shape for the body. Add smaller circles for the limbs and a curved line for the tail. Don’t worry about adding details at this stage; focus on getting the proportions and positioning right.
Step 2: Define the Facial Features
Using the circle as a guide, add the Maremma Sheepdog’s ears, eyes, and nose. Pay attention to the shape of the ears, which are triangular and slightly pointed. Draw almond-shaped eyes, leaving a small white highlight for added realism. Place the nose in the center of the circle, slightly below the eyes.
Step 3: Add the Body and Limbs
Refine the shape of the body by adding volume and defining the contours. Pay attention to the slight curve of the back and the rounded chest. Extend the circles for the limbs to create the legs, making sure they are in proportion with the body. Draw the paws by adding small ovals at the end of each leg.
Step 4: Outline the Fur
Now it’s time to outline the fur of your Maremma Sheepdog. This breed has a thick, fluffy coat, so use long, flowing strokes to capture its texture. Start at the top of the head and work your way down, following the contours of the body. Use a softer pencil grade, such as 2B or 4B, to create darker lines.
Step 5: Refine the Facial Details
Take a closer look at the reference photo and add more details to the Maremma Sheepdog’s face. Draw the eyebrows above the eyes, creating a gentle curve. Add a few short lines above the eyes to indicate the fur. Use small, curved lines to define the snout, and draw a line to suggest the mouth. Don’t forget to add a small dot for the nostril.
Step 6: Enhance the Eyes
The eyes are the window to the soul, so let’s make them shine! Add depth and realism by shading around the eyes with a softer pencil. Create a darker area near the outer corner of each eye to simulate the eyelashes. Use a blending stump or a cotton swab to gently blend the shading, giving it a soft and natural appearance.
Step 7: Add the Final Details
Now that the main features of your Maremma Sheepdog are in place, it’s time to add the finishing touches. Use an eraser to lighten areas where highlights are needed, such as the top of the head, the tip of the nose, and the fur around the eyes. Add any necessary shading to create depth and dimension, paying attention to the reference photo for guidance.
Conclusion
Congratulations! You have successfully learned how to draw a Maremma Sheepdog. With the help of this step-by-step tutorial, you have created a realistic representation of this magnificent breed. Remember, practice is key to improving your drawing skills, so keep experimenting and exploring new techniques. Don’t be afraid to add your personal touch to make your artwork unique. Happy drawing!