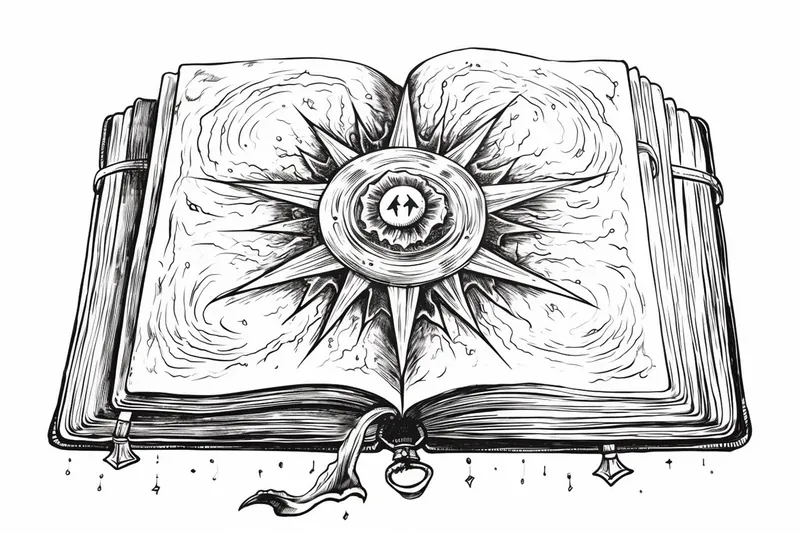
How to Draw a Spell Book
Learn how to draw a spell book in this step-by-step tutorial. Create your own magical artwork using simple materials and easy-to-follow instructions.
Materials You'll Need
- Pencil
- Paper
- Eraser
Spell books have long captured the imagination of artists, writers, and fantasy enthusiasts alike. With their mysterious covers, ornate clasps, and pages brimming with arcane symbols, these magical tomes are a staple in everything from classic fairy tales to modern video games and movies. Drawing a spell book offers you the chance to create a piece of art that feels rich with history and possibility, whether you envision it as a wizard's ancient grimoire or a modern-day witch's journal. By learning how to draw a spell book, you can add an enchanting element to your fantasy illustrations, role-playing character sheets, or even personalized greeting cards.
This tutorial is designed to guide artists of all skill levels through the process, from basic sketching to adding decorative details and textures that make your spell book look truly magical. You'll practice essential drawing techniques such as outlining, shading, and creating the illusion of depth, which are valuable skills for any aspiring artist. Whether you're a beginner just starting out or a more experienced illustrator looking to expand your repertoire, you'll find helpful tips and clear steps along the way. Don't worry if your first attempt isn't perfect—the most important part is to enjoy the creative journey. So gather your drawing materials, let your imagination soar, and get ready to explore the world of magic as you learn how to draw a spell book!
Materials Required
Before we begin, make sure you have the following materials handy:
- A pencil
- Eraser
- Drawing paper
- Fine-tip pens or markers (optional)
Now that we have everything we need, let's dive into the steps!
Step 1: Draw the Basic Shape of the Book
Start by drawing a rectangular shape in the center of your paper. This rectangle will serve as the main body of the spell book. You can decide on the size and proportions of the book based on your preference.
Step 2: Add Details to the Book
Next, draw a horizontal line across the middle of the rectangle. This line will act as the book's spine. Then, draw two vertical lines extending from the spine to create the book's cover. You can make the lines slightly curved to give the book a more realistic appearance.
Step 3: Create the Book's Pages
Inside the main rectangle, draw several horizontal lines to represent the pages of the book. The number of lines will depend on the size and thickness of the book you want to depict. Feel free to vary the spacing between the lines to make the pages look more natural.
Step 4: Add Decorative Elements
To make your spell book more visually interesting, let's add some decorative elements. Draw a border around the cover of the book using curved lines or any design you prefer. You can also add details like metal clasps, ribbons, or intricate patterns on the cover. Get creative and make it your own!
Step 5: Illustrate the Title and Symbol
Tip: As you work through the steps of drawing your spell book, consider using reference images of actual books, magical elements, or fantasy artwork to inspire your design and details. This can help you visualize textures, shapes, and unique features that can elevate your artwork, making your spell book not only a creative endeavor but also a more realistic and captivating piece.
Every spell book needs a captivating title and a symbol that represents its magical nature. Draw your chosen title in an elegant font on the cover of the book. You can experiment with different lettering styles to achieve the desired effect. For the symbol, consider drawing a mystical shape such as a pentagram, a crescent moon, or any other symbol that resonates with your imagination.
Step 6: Shade and Add Texture
Now that the basic outline of your spell book is complete, it's time to add some shading and texture to bring it to life. Use your pencil to add shadows and highlights to various parts of the book. Pay attention to the curves and bends on the cover to create a three-dimensional effect. You can also use cross-hatching or stippling techniques to add texture to the pages or the cover.
Step 7: Outline with Ink (Optional)
If you want to add more definition and depth to your drawing, you can outline the entire spell book using fine-tip pens or markers. This step is optional but can add a polished look to your artwork. Be mindful of the line thickness and use different pen weights to emphasize certain parts of the book if desired.
Wild Inspiration: Imagine a spell book that isn't bound in leather or parchment, but instead is crafted from living, intertwining tree branches, each page a delicate, glowing leaf inscribed with runes that shift and flutter in the breeze. Perched atop its cover, a tiny dragon made of swirling mist and starlight guards the secrets within, occasionally curling its tail around the magical lock. When opened, the book releases enchanted fireflies that illuminate the pages, casting mysterious shadows and revealing hidden miniature landscapes within the text. Maybe some spells even spill out as shimmering ribbons of light, forming spectral creatures or constellations that hover above the book—inviting the viewer to imagine what wild magic might be written inside.
Conclusion
Congratulations! You have successfully learned how to draw a spell book. By following these step-by-step instructions, you have created a magical object full of creative possibilities. Remember, practice makes perfect, so don't hesitate to experiment with different designs and styles to make your spell book truly unique.
We hope you found this tutorial helpful, and we can't wait to see your amazing spell book creations! Happy drawing!
Fun Facts About Spell Book
- The term grimoire is often used to describe a spell book containing magical knowledge and rituals.
- One of the oldest known spell books is the Egyptian Book of the Dead, which dates back to around 1550 BCE.
- In medieval Europe, spell books were sometimes disguised as religious texts to avoid persecution.
- The famous fictional spell book, the Book of Spells, appears in the Harry Potter universe and inspired a PlayStation game.
- Many spell books feature arcane symbols and coded language to keep their secrets hidden from the uninitiated.
- Some real-world spell books, like the Key of Solomon, have influenced modern ceremonial magic practices.
- Spell books are a staple in tabletop role-playing games such as Dungeons & Dragons, where wizards use them to prepare spells.
- In folklore, witches' spell books were believed to be passed down through generations as treasured family heirlooms.
- Some spell books, like the Malleus Maleficarum, were used to identify and prosecute alleged witches during the witch hunts.
- Modern practitioners of magic often create their own spell books to personalize their magical practices.
Suggestions for Scenes and Settings for Spell Book Drawings
- An ancient spell book glowing with mysterious runes, floating above a wizard's desk cluttered with magical tools and potion bottles.
- A forest floor at twilight, where a spell book lies open among wildflowers and moss, its pages fluttering in an enchanted breeze.
- A young witch in a cozy attic, surrounded by candles and crystals, writing a new incantation in her personal spell book.
- An elaborate library with towering bookshelves, where a legendary spell book rests on a pedestal under a shaft of magical light.
- A spell book chained and locked with ornate metal clasps, guarded by a tiny dragon or mystical creature.
- An open spell book with swirling magical energy rising from its pages, casting colorful lights across a dark room.
- A traveling wizard's satchel, half open to reveal a battered spell book and a map marked with arcane symbols.
- A spell book partially submerged in a bubbling cauldron, with magical steam and arcane symbols floating above it.
- A moonlit graveyard scene, where a spell book rests atop an old tombstone, surrounded by spirits or glowing orbs.
- A classroom at a school of magic, where spell books float in the air as students practice levitating them with wands.