Welcome to this step-by-step guide on how to draw a teepee. Whether you’re an aspiring artist or simply looking to try your hand at drawing something new, this tutorial will walk you through the process of creating a teepee illustration. By following these easy steps, you’ll be able to capture the unique shape and structure of a teepee in no time. So grab your drawing materials and let’s get started!
Materials Required
Before we begin, make sure you have the following materials on hand:
- Pencil
- Eraser
- Drawing paper
- Ruler
- Compass
- Colored pencils or markers (optional)
Now that we have our materials ready, let’s move on to the step-by-step instructions.
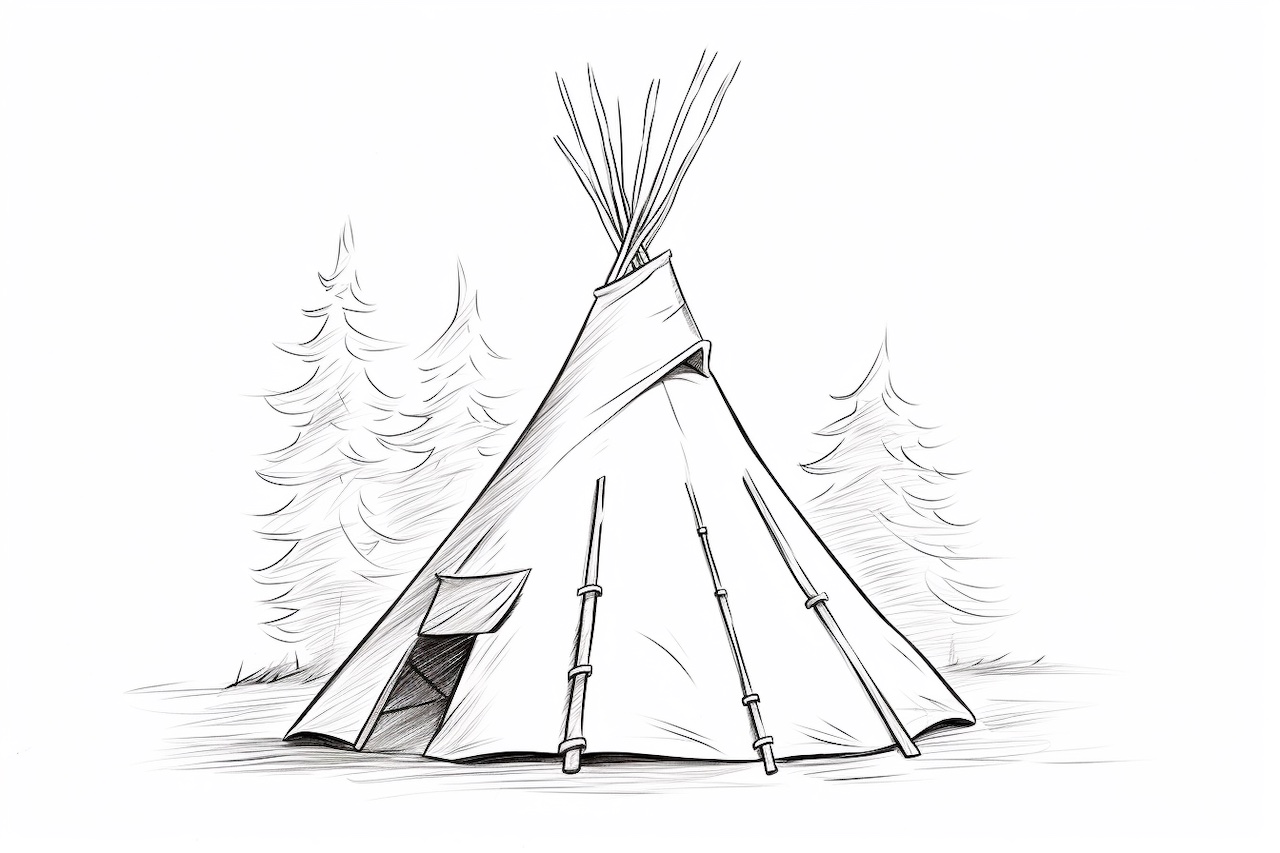
Step 1: Draw the Base Triangle
To start, draw a horizontal line near the middle of your paper. This line will serve as the base of the teepee. Next, using a ruler, draw two diagonal lines that meet at the center of the base line, creating an upside-down triangle shape. Make sure the lines are evenly spaced and symmetrical.
Step 2: Add the Vertical Lines
Draw two vertical lines starting from the bottom corners of the base triangle and extending upwards. These lines should be parallel to each other and slightly shorter than the base triangle. These lines will represent the teepee poles.
Step 3: Connect the Poles
At the top of the vertical lines, draw a curved line connecting them. This line will represent the top of the teepee where the poles meet. Make the curve gentle to give the teepee a rounded shape.
Step 4: Draw the Door
On one side of the base triangle, draw a small rectangle shape for the door of the teepee. Make sure the top of the rectangle aligns with the base of the triangle and leave a small gap at the bottom to represent the ground.
Step 5: Add Details
To add more realism to your teepee, draw some details such as a smoke hole at the top. To do this, draw a small circle or oval shape at the center of the top curve. You can also draw additional lines or patterns on the teepee to represent decorations or stitching.
Step 6: Refine and Erase
Once you have the basic structure and details in place, go over your drawing with a darker pencil or pen to refine the lines. Erase any unnecessary lines or stray marks to clean up the illustration.
Step 7: Add Color (Optional)
If you’re using colored pencils or markers, now is the time to add some color to your teepee. Use earthy tones such as browns and tans for the teepee itself, and feel free to get creative with the colors of the decorations or patterns.
Conclusion
Congratulations! You have successfully learned how to draw a teepee. By following these simple steps and using your creativity, you can create beautiful teepee illustrations. Whether you’re drawing for fun or for a specific project, mastering this technique will allow you to depict teepees with confidence and skill. So keep practicing and exploring different variations of this iconic structure.
Remember, drawing is not only a great way to express yourself but also a wonderful skill to develop. So, don’t be afraid to experiment with different techniques and styles. The more you practice, the better you will become.
If you enjoyed this tutorial, try drawing other structures or objects to further enhance your drawing skills. Happy drawing!