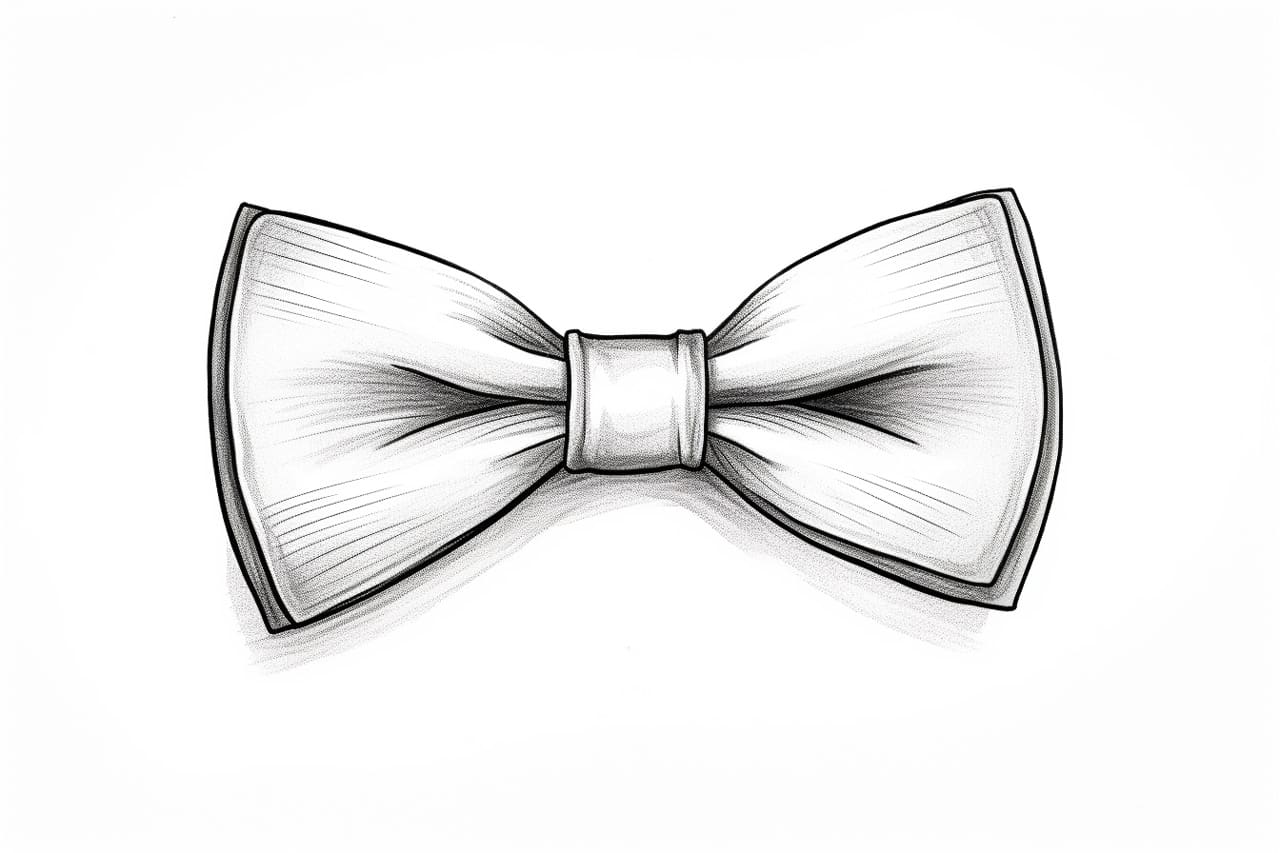
Do you want to add a touch of sophistication to your drawings? More specifically, have you ever wanted to draw a bow tie with precision and finesse? Look no further! In this step-by-step guide, I will teach you how to draw a bow tie like a pro. Whether you are an aspiring artist or a seasoned drawing enthusiast, this tutorial will help you create a stylish and elegant bow tie on paper. So let’s grab our pencils and get started!
Materials Required
Before we dive into the process of drawing a bow tie, let’s gather the materials you will need:
- Pencil
- Eraser
- Paper
- Ruler (optional)
Now that we have everything we need, let’s begin the step-by-step process of drawing a bow tie.
Step 1: Start with a Horizontal Line
Begin by drawing a horizontal line in the middle of your paper. This line will serve as the base for our bow tie. You can use a ruler to ensure your line is straight and accurately positioned.
Step 2: Draw Two Rectangles
From the ends of the horizontal line, draw two rectangles extending outwards. These rectangles should be equal in size and shape. They will form the main body of the bow tie.
Step 3: Connect the Rectangles
Next, draw two lines that connect the top corners of each rectangle. These lines should meet at a point above the horizontal line. This will create a triangular shape above the rectangles, which will become the knot of the bow tie.
Step 4: Create the Knot
Within the triangular area, draw another smaller rectangle. This rectangle should be centered and slightly shorter than the width of the triangular area. It will represent the knot of the bow tie.
Step 5: Add Curves to the Knot
To give the knot a realistic appearance, round off the corners of the rectangle slightly. This will soften the edges and make the knot look more three-dimensional.
Step 6: Outline the Bow Tie
Now it’s time to outline the entire bow tie. Go over the main body of the bow tie, the triangular knot, and the rounded corners of the knot, using smooth and confident strokes. Add extra details and refine any lines that need adjustment.
Step 7: Erase Unwanted Lines
Using an eraser, carefully remove any unnecessary lines or guidelines that are no longer needed. Make sure to erase lightly to avoid smudging or damaging your drawing.
Step 8: Add Texture and Detail
To make your bow tie drawing more realistic, consider adding some texture and detail. You can do this by adding subtle shading or cross-hatching to the knot and the main body of the bow tie. This will create the illusion of fabric and depth.
Step 9: Finalize Your Drawing
Take a step back and evaluate your drawing. Make any necessary adjustments or corrections to ensure your bow tie looks complete and well-proportioned. Pay attention to the overall shape and symmetry of the bow tie.
Conclusion
Congratulations! You have successfully learned how to draw a bow tie from scratch. By following these step-by-step instructions, you can now create a charming and stylish bow tie in your drawings. Remember to practice regularly to refine your skills and create even more impressive artwork. With a little patience and dedication, you’ll be able to draw bow ties effortlessly. So go ahead and showcase your newfound talent in your next artistic endeavor!


