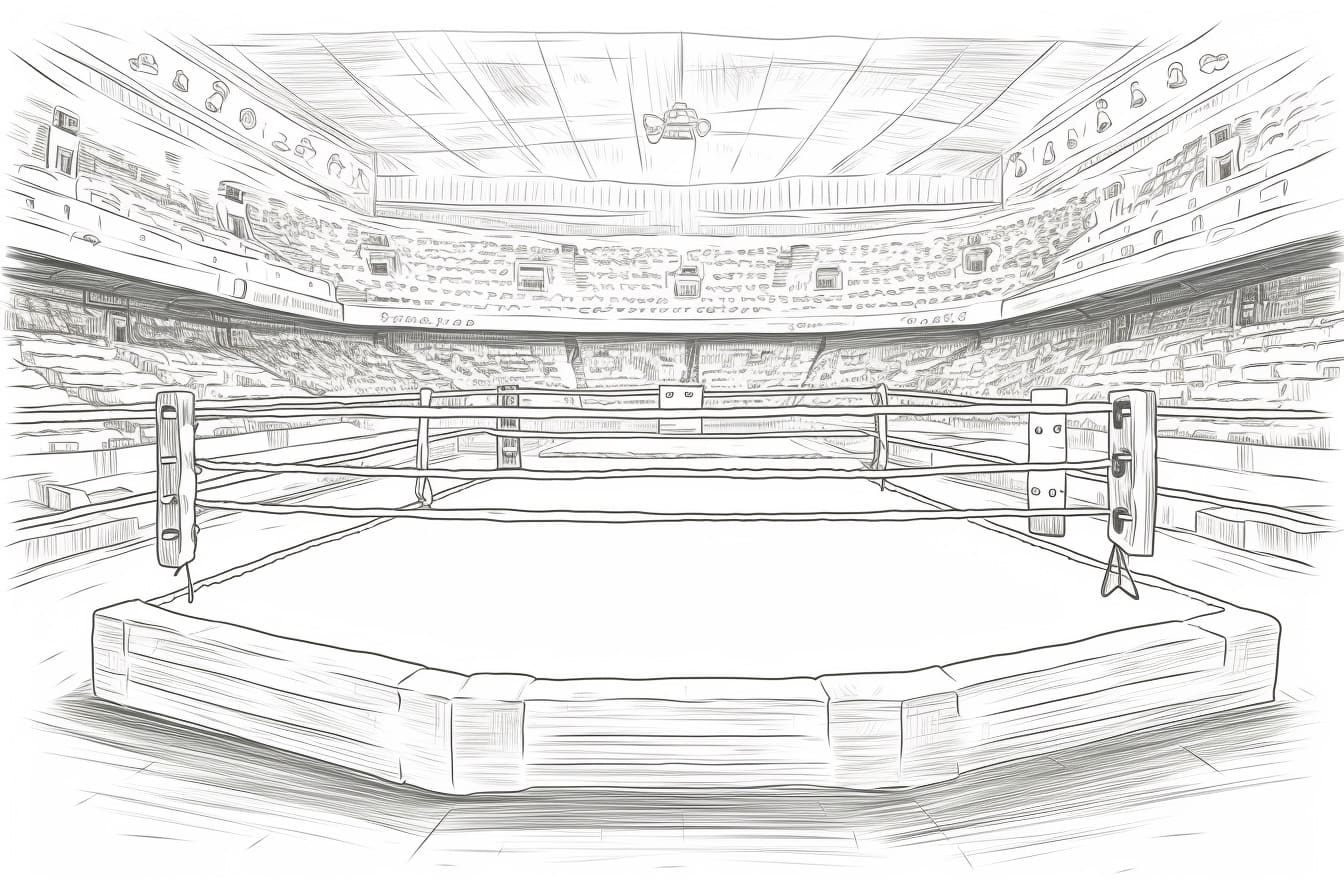
Welcome to this step-by-step guide on how to draw a boxing ring! Whether you’re an aspiring artist or just looking to have some fun, this tutorial will walk you through the process of creating a detailed and realistic boxing ring drawing. So grab your materials and let’s get started!
Materials Required:
- Paper
- Pencil
- Eraser
- Ruler
- Compass (optional, for drawing circles)
- Colored pencils or markers (optional, for coloring)
Now that you have all your materials ready, let’s begin by sketching the basic outline of the boxing ring.
Step 1: Sketch the Basic Outline
Start by drawing a large square in the center of your paper. This will be the base of the boxing ring. Use your ruler to ensure straight lines and equal sides. Remember to keep your lines light and easy to erase, as we will be adding more details later on.
Step 2: Add the Ropes
Within the square, draw four parallel lines to represent the ropes of the boxing ring. These lines should be evenly spaced and run across the top, bottom, and two sides of the square. Again, use your ruler to ensure accuracy.
Step 3: Draw the Corner Posts
At each corner of the square, draw a vertical line extending a reasonable distance above the top rope. These lines will represent the corner posts of the boxing ring. Make sure they are evenly spaced and of equal height.
Step 4: Connect the Ropes
Next, draw horizontal lines to connect the ropes at each corner post. These lines should form a rectangle at the top of the posts. Pay attention to perspective and ensure that the lines are parallel to the base of the square.
Step 5: Add the Padding
To make the ropes appear thicker and more realistic, draw a narrower rectangle inside the rectangle formed by the ropes. This will represent the padding around the ropes. Make sure the lines are parallel to the base square and evenly spaced.
Step 6: Draw the Canvas
Inside the ropes, draw another rectangle to represent the canvas of the boxing ring. This rectangle should be slightly smaller than the outer rectangle formed by the ropes and padding. Again, make sure the lines are parallel and evenly spaced.
Step 7: Add the Turnbuckles
At each corner post, draw a small square or circle to represent the turnbuckles. These are the metal connectors that help tighten and secure the ropes. Be precise in your measurements and placement, as these small details can really bring your drawing to life.
Step 8: Add the Ring Mat
Inside the canvas, draw a series of diagonal lines to represent the ring mat. These lines should be evenly spaced and create an intersecting pattern across the canvas. You can use your ruler or compass to ensure equal spacing, or freehand it for a more organic feel.
Step 9: Erase Unnecessary Lines
Now that the basic structure of the boxing ring is complete, take your eraser and carefully remove any unnecessary guidelines or stray marks. This will help clean up your drawing and make the details stand out more.
Step 10: Add Details and Shadows
Now comes the fun part – adding details and shadows to your drawing! Start by adding more definition to the ropes, turnbuckles, and canvas. Use shading techniques to create depth and highlight the contours of each element. You can also add some shading to the corner posts and ring mat to give your drawing a more realistic appearance.
Conclusion
Congratulations, you have successfully drawn a boxing ring! Now you can color it in using colored pencils or markers to bring your drawing to life even further. Remember, practice makes perfect, so keep experimenting with different techniques and styles to improve your artistic skills.
We hope you enjoyed this step-by-step guide on how to draw a boxing ring. Whether you’re a beginner or an experienced artist, this tutorial provides a solid foundation for creating an impressive boxing ring drawing. So grab your materials and start sketching!