How to Draw a Windmill
Learn how to draw a windmill with this step-by-step tutorial. Create a stunning windmill drawing using simple materials and techniques.
Materials You'll Need
- Pencil
- Paper
- Eraser
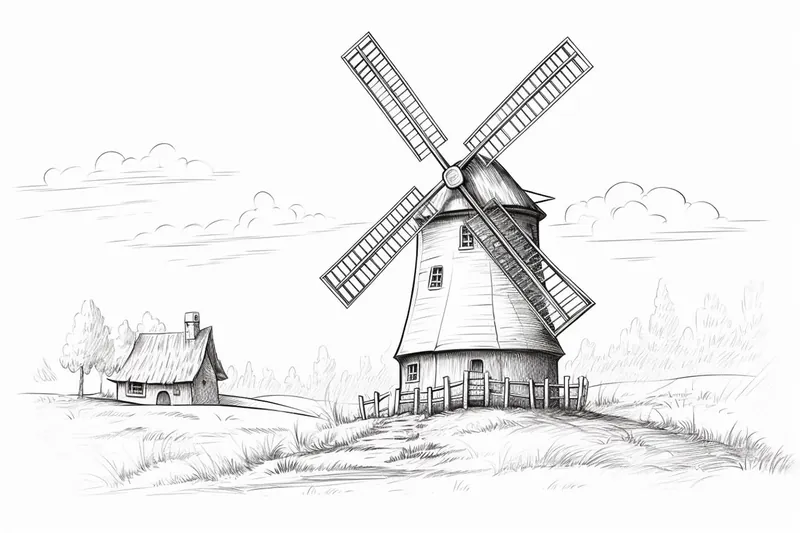
![]() Welcome to this guide, where we'll explore the timeless beauty of windmills through the art of drawing. With their iconic structures and rich historical significance, windmills have inspired artists for centuries. From the rolling landscapes of the Dutch countryside to quaint rustic farms, windmills evoke a sense of charm, nostalgia, and ingenuity.
Welcome to this guide, where we'll explore the timeless beauty of windmills through the art of drawing. With their iconic structures and rich historical significance, windmills have inspired artists for centuries. From the rolling landscapes of the Dutch countryside to quaint rustic farms, windmills evoke a sense of charm, nostalgia, and ingenuity.
This step-by-step tutorial is designed to help you learn how to draw a windmill. Whether you're a budding artist taking your first steps or a seasoned creator looking to refine your skills, these simple yet detailed instructions will guide you through the process with ease. You'll learn how to shape the structure, add intricate details, and bring your windmill to life with texture and perspective.
So, gather your pencils, paper, and creative energy, and prepare to embark on a rewarding artistic journey. Let's get started and capture the essence of this architectural marvel together!
Materials Required
Before we begin, make sure you have the following materials handy:
- Drawing paper
- Pencil
- Eraser
- Ruler
- Compass
- Fine-tip black pen
- Colored pencils or markers (optional)
Now that you have everything you need, let's dive into the steps to draw a windmill.
**Windmill - One Word or Two?**According to the Oxford English Dictionary, Windmill is one word. The earliest known use of the word windmill is in the Middle English period (1150—1500). OED's earliest evidence for windmill is from around 1230. Windmill is formed within English, by compounding.
Step 1: Start with the Base
Begin by drawing a rectangle to create the base of the windmill. Use your ruler to ensure straight lines. This rectangle will serve as the foundation for the rest of the drawing.
Step 2: Add the Blades
Next, draw four long rectangles extending from the top corners of the base rectangle. These will form the blades of the windmill. Make sure they are evenly spaced and of equal length. You can use your ruler to maintain symmetry.
Step 3: Connect the Blades
Now, draw diagonal lines from the bottom corners of each blade to the opposite corner of the base rectangle. This will create triangular shapes between the blades. Ensure that these lines are parallel to each other.
Step 4: Draw the Tower
In this step, we'll draw the tower of the windmill. Starting from the top of the base rectangle, draw two vertical lines to represent the sides of the tower. Make the lines slightly taller than the blades. Then, connect the top of these lines with a horizontal line, forming the upper part of the tower.
Step 5: Add Details to the Tower
To make the windmill more visually interesting, let's add some windows and a door to the tower. Draw two small rectangles for the windows on the upper part of the tower. Then, add a larger rectangle near the bottom of the tower for the door. You can also add a small handle to the door using a curved line.
Step 6: Create the Roof
Now, it's time to draw the roof of the windmill. Start by drawing two diagonal lines from the top corners of the tower to the outer corners of the blades. These lines will form the triangular shape of the roof. Ensure that the lines are parallel to each other and evenly spaced.
Step 7: Add Details to the Roof
To give the roof more depth and texture, let's add some lines to represent the individual roof tiles. Draw short, diagonal lines within each triangular section of the roof. These lines should be evenly spaced and parallel to each other. This will create a shingled effect.
Step 8: Draw the Tail
In this step, we'll draw the tail of the windmill. Begin by drawing a rectangle slightly taller than the tower. From the bottom corners of this rectangle, draw two diagonal lines that converge at a point below the tower. This will create the tail shape.
Step 9: Add Details to the Tail
To complete the tail, draw a curved line that starts from the top of the tower and extends to the top of the tail. Then, add a smaller rectangle near the bottom of the tail with a curved line connecting it to the tower. These details will give the windmill a more realistic look.
Step 10: Final Touches
Now that the main structure of the windmill is complete, you can add some final touches to enhance the drawing. Use a fine-tip black pen to outline the entire windmill, emphasizing the edges and details. You can also use colored pencils or markers to add color to your drawing, making the windmill come to life.
And there you have it! You've successfully drawn a beautiful windmill. Take a moment to admire your artwork and make any necessary adjustments to ensure you're happy with the final result.
Tip: To effectively capture the unique structure of a windmill, start by sketching the basic shapes with light pencil lines—focus on the cylindrical body and the conical roof, as these are key components. Use a ruler to ensure that the edges of the blades are straight, and consider drawing them in a slightly curved shape to reflect their motion. For added realism, pay attention to the perspective: make the base slightly wider and taper the top, which will create depth. Once your outline is complete, switch to a darker pencil or pen to define the lines and add details like windows, bricks, and shadows to give your windmill character. Remember, layering your shading can also enhance the three-dimensional effect, so don't hesitate to build up texture gradually!
Conclusion
In this tutorial, you've learned how to draw a windmill from start to finish. By following the step-by-step instructions and using the recommended materials, you can create a stunning windmill drawing that captures the essence of this iconic structure. Have fun experimenting with colors and adding your own unique touches to make the drawing truly your own.
Remember, practice is key to improving your drawing skills. So don't be discouraged if your first attempt doesn't turn out perfectly. Keep practicing, and soon you'll be creating windmill drawings that will impress others.
Happy drawing!
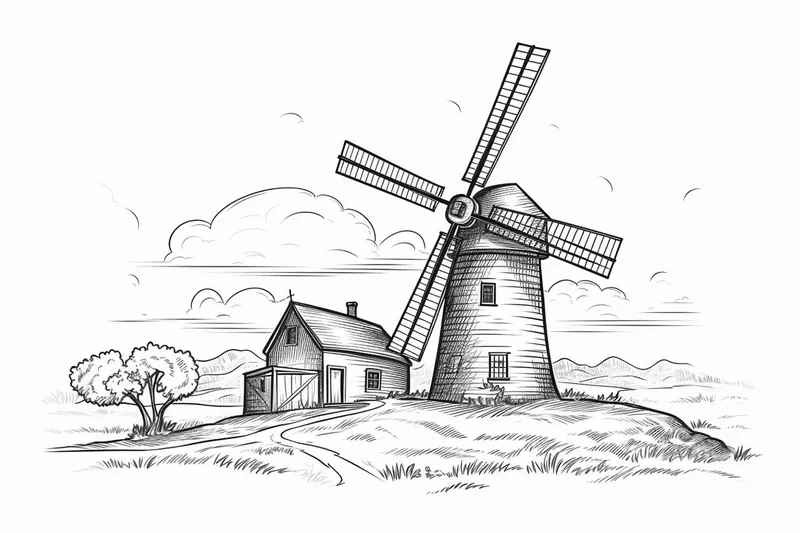
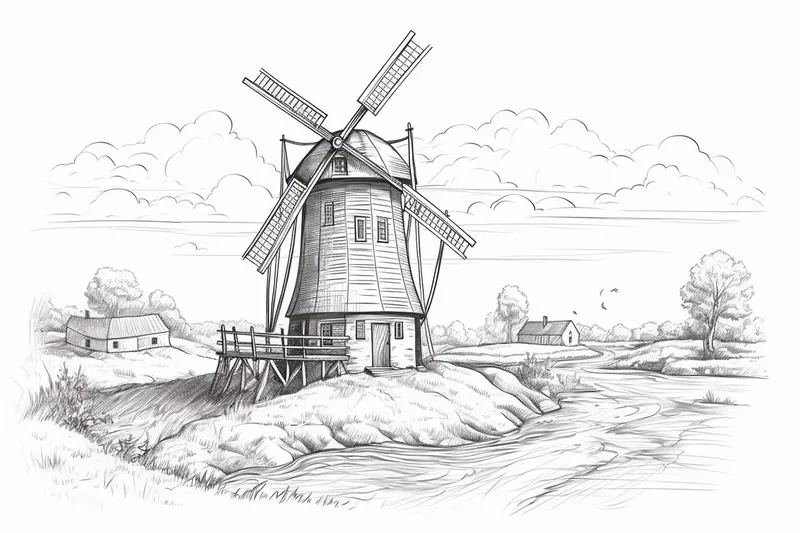
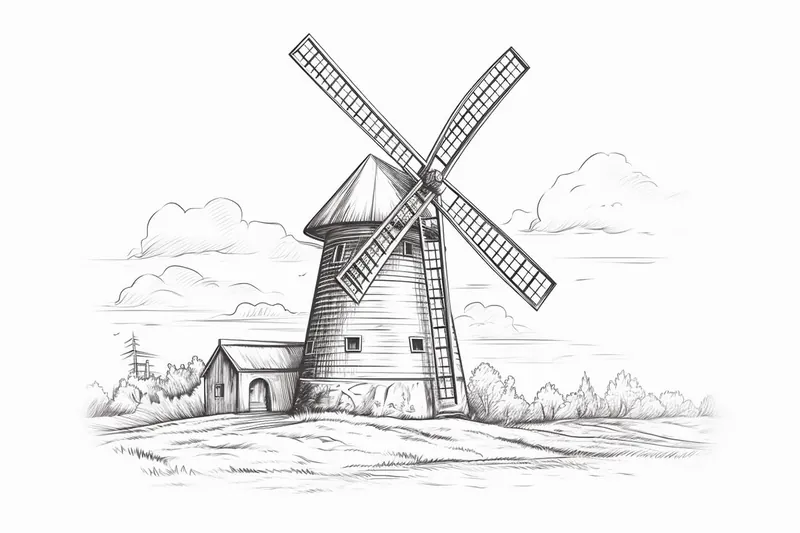
Gallery of Windmill Drawings
Fun Facts About Windmills
- Windmills have been used for over a thousand years to harness the power of the wind, originally appearing in Persia in the 9th century.
- The primary purpose of windmills was to grind grain into flour, but they have also been used to pump water and even produce electricity.
- The Netherlands is famous for its historic windmills; at one time, there were about 10,000 windmills in the country.
- Modern wind turbine technology is a direct descendant of traditional windmill designs.
- There are different types of windmills, including tower mills, post mills, and smock mills, each with distinctive designs.
- Dutch windmills traditionally have large blades—up to 30 meters across—to capture enough wind to operate effectively in the flat landscape.
- Windmills have been depicted in various artworks and literary works, most famously in Miguel de Cervantes' "Don Quixote," where they are mistaken for giants.
- Windmills have become symbols of sustainable energy and are often used in green architecture and design today.
- A "windmill island" is a collection of windmills in one area, utilized to handle large-scale operations in the past.
- The maintenance of historic windmills requires specialized skills, leading to the formation of organizations dedicated to their preservation.
Suggestions for Scenes and Settings for Windmill Drawings
- Seaside Windmill: Depict a tranquil scene of a windmill perched on a cliff overlooking the ocean, with waves crashing below and seagulls flying overhead.
- Sunset Silhouette: Illustrate the silhouette of a windmill against a vibrant sunset, capturing the elegant curves of the blades in shadow.
- Winter Wonderland: Create a cozy winter setting with a windmill blanketed in snow, its blades slowly turning in the chilly breeze.
- Field of Tulips: Place a traditional Dutch windmill in the midst of a blooming field of tulips, with colorful petals surrounding the structure.
- Steampunk Creation: Design a fantastical steampunk windmill with intricate gears, pipes, and metallic detailing, set against a cloudy backdrop.
- Dreamy Nightscape: Picture a windmill under a starry night sky, with a full moon illuminating the scene and stars twinkling above.
- Village Centerpiece: Draw a quaint village centered around a windmill, with cottages, cobblestone paths, and townspeople going about their day.
- Modern Wind Turbine Cluster: Show a collection of sleek, modern wind turbines on a green hill, representing a push toward sustainable energy.
- Rustic Countryside: Capture the charm of an old wooden windmill surrounded by fields of wheat, with a single dirt road leading to it.
- Whimsical Scene: Imagine a whimsical world where floating windmills drift through the sky, powered by cloud-like sails catching the wind.