Hello young artists! Are you ready to dive into the wonderful world of drawing and create a beautiful mermaid? In this step-by-step guide, I will show you how to draw a mermaid that is perfect for kids. So grab your pencils and let’s get started!
Materials Required
Before we begin, make sure you have the following materials:
- Paper
- Pencils (HB and colored pencils)
- Eraser
- Fine-tip black marker (optional)
- Watercolors or markers (optional)
Now that you have everything you need, let’s begin creating our mermaid masterpiece!
Step 1: Start with the Head and Face
To begin, let’s draw a circle for the mermaid’s head. Next, draw a vertical line from the top of the circle to the bottom. This line will help us position the facial features. Now, draw two ovals on either side of the vertical line. These ovals will be the eyes. Below the eyes, draw a small curved line for the nose. Finally, draw a smiling curve for the mouth.
Step 2: Add the Hair and Ears
Now let’s give our mermaid some flowing hair! Start by drawing two curved lines on each side of the mermaid’s head. Connect the two lines at the bottom with a wavy line to create the hair. Next, draw two small curves just above the mermaid’s eyes for the eyebrows. Now, add the ears by drawing two small curves on either side of the mermaid’s head.
Step 3: Draw the Body and Tail
Let’s move on to the body and tail of our mermaid. From the bottom of the head circle, draw a long curved line downwards for the mermaid’s neck and body. Now, draw two diagonal lines extending from the bottom of the body. These lines will form the mermaid’s tail. Connect the diagonal lines at the bottom with a curved line. Your mermaid’s body and tail are complete!
Step 4: Add the Fins
Mermaids are known for their beautiful fins. Let’s add some to our drawing! Draw a curved line extending from the bottom of the tail. Now, draw two more curved lines on each side, connecting to the first line. These lines will form the mermaid’s fin. Repeat this step for the second fin on the other side of the tail.
Step 5: Enhance the Face
Now it’s time to give our mermaid some personality. Draw two slightly curved lines inside each eye to represent the eyelids. Next, draw small circles inside the eyes for the pupils. Draw another curved line above the mouth to create the upper lip. Add a small curve beneath the mouth for the lower lip. Finally, add some flowing lines to the mermaid’s hair to give it a more dynamic look.
Step 6: Detail the Mermaid’s Body
Let’s add some details to our mermaid’s body. Draw a curved line across the mermaid’s neck to represent a necklace. Add small scales along the mermaid’s tail using curved lines. You can make the scales as big or as small as you like. Don’t forget to erase any unnecessary lines or guidelines. These help while you’re practicing to learn how to draw a mermaid, but you’ll want to remove them from the finished piece.
Step 7: Color your Mermaid
Now that we have completed the line drawing, it’s time to add some color! Use your colored pencils, watercolors, or markers to bring your mermaid to life. You can choose any color combination you like for the mermaid’s hair, tail, and fins. Get creative and make your mermaid as vibrant as you want!
How to Draw a Mermaid – In Conclusion
Congratulations, young artists! You have successfully learned how to draw a mermaid for kids. I hope you had fun following along with this step-by-step guide. Remember, practice makes perfect, so keep drawing and exploring your artistic abilities. Who knows, your mermaid drawing might just be the start of an incredible artistic journey. Keep creating, and have a splash-tacular time!
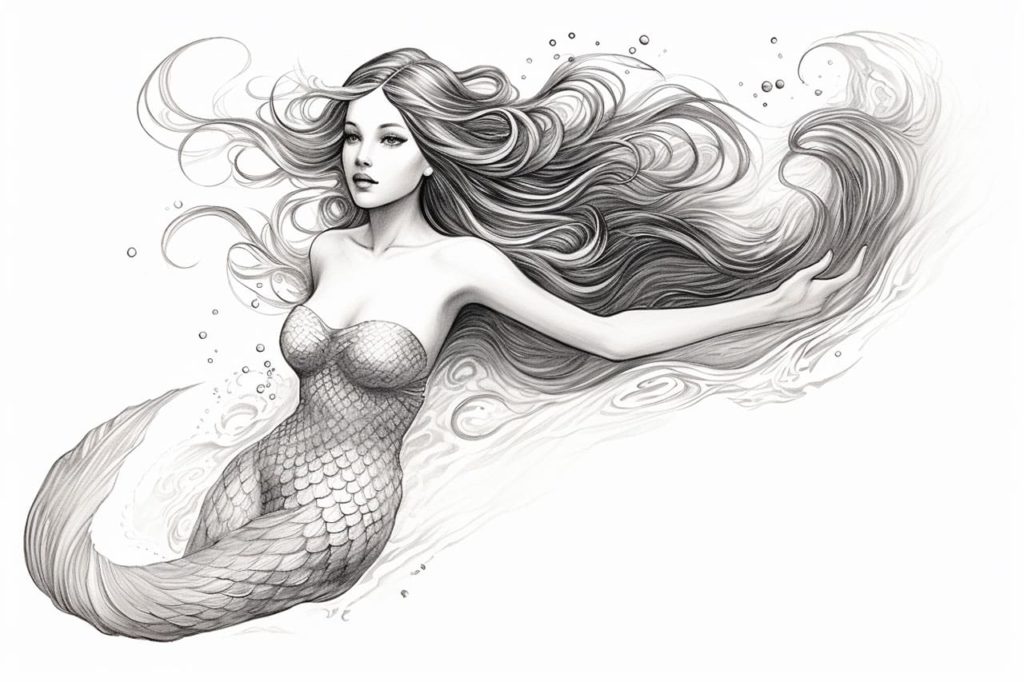
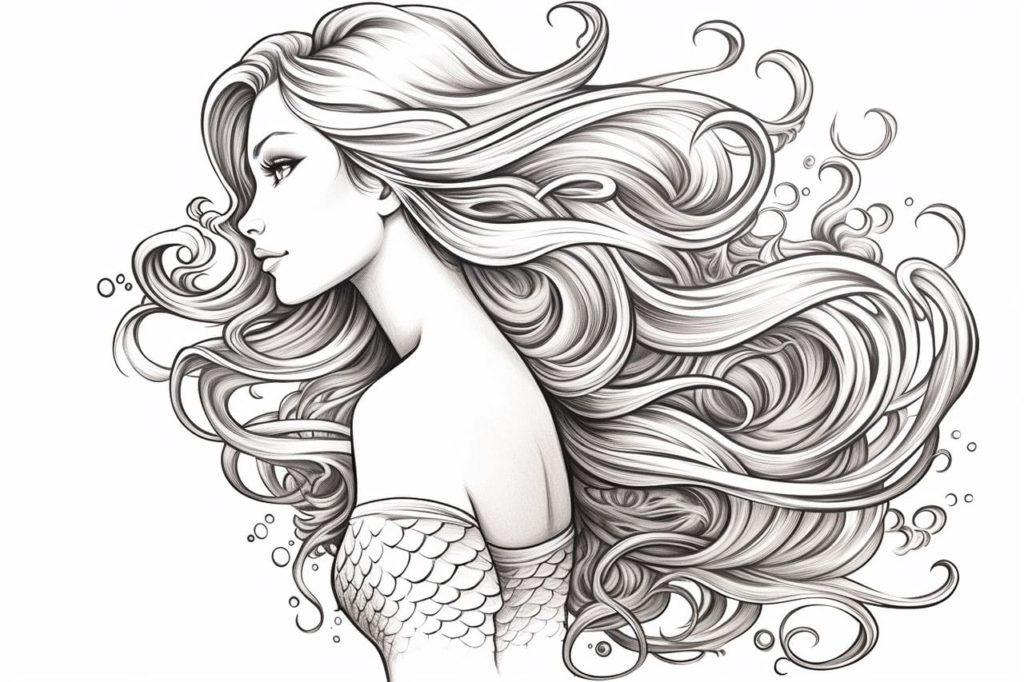
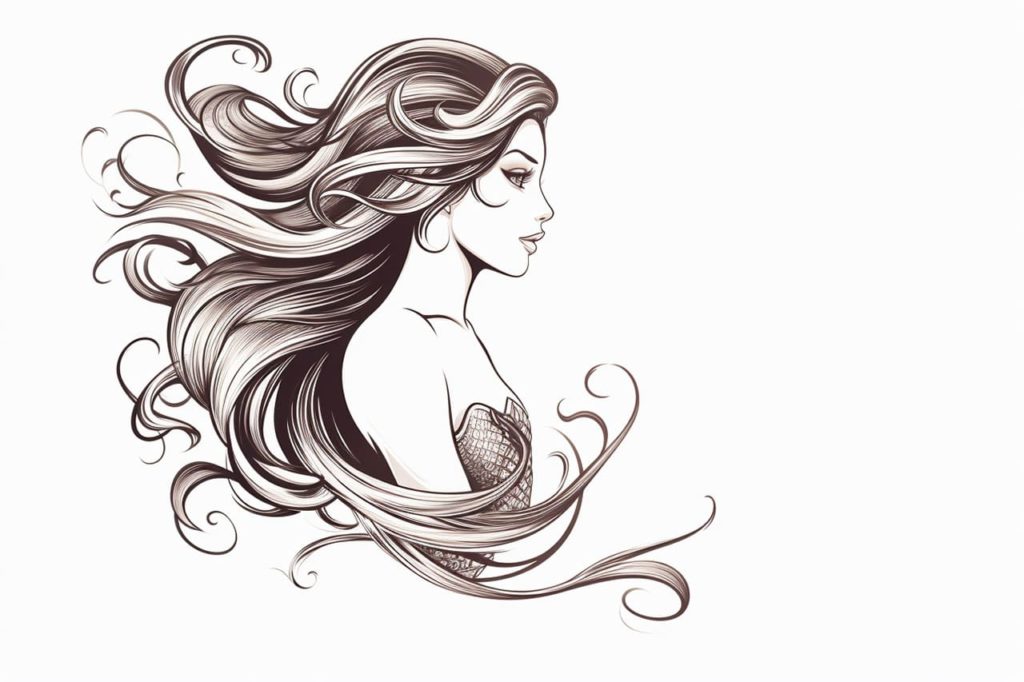
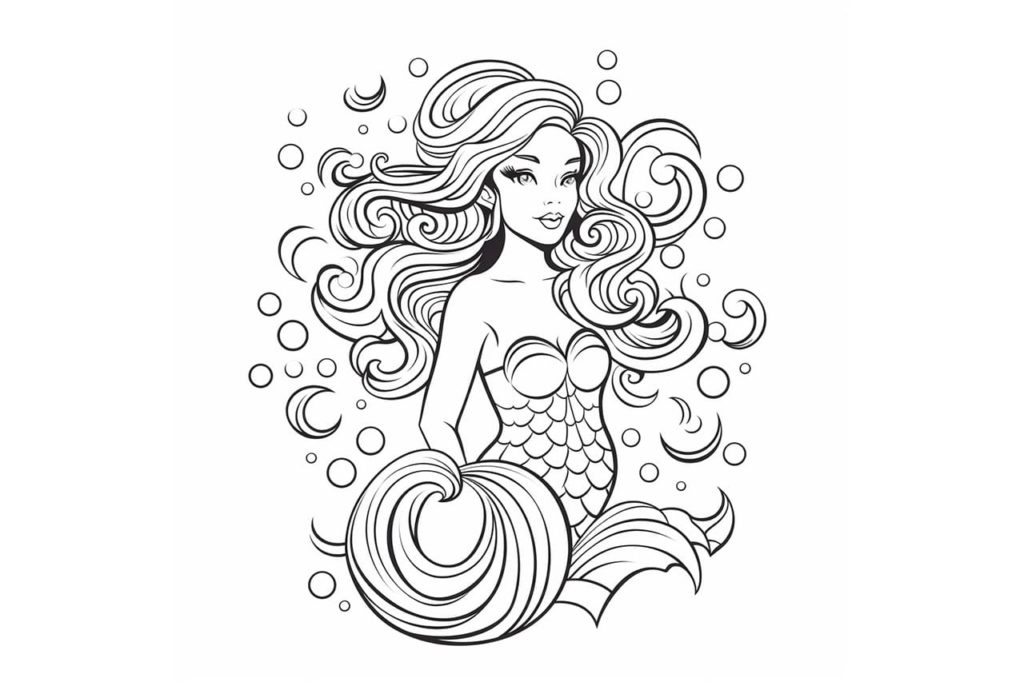
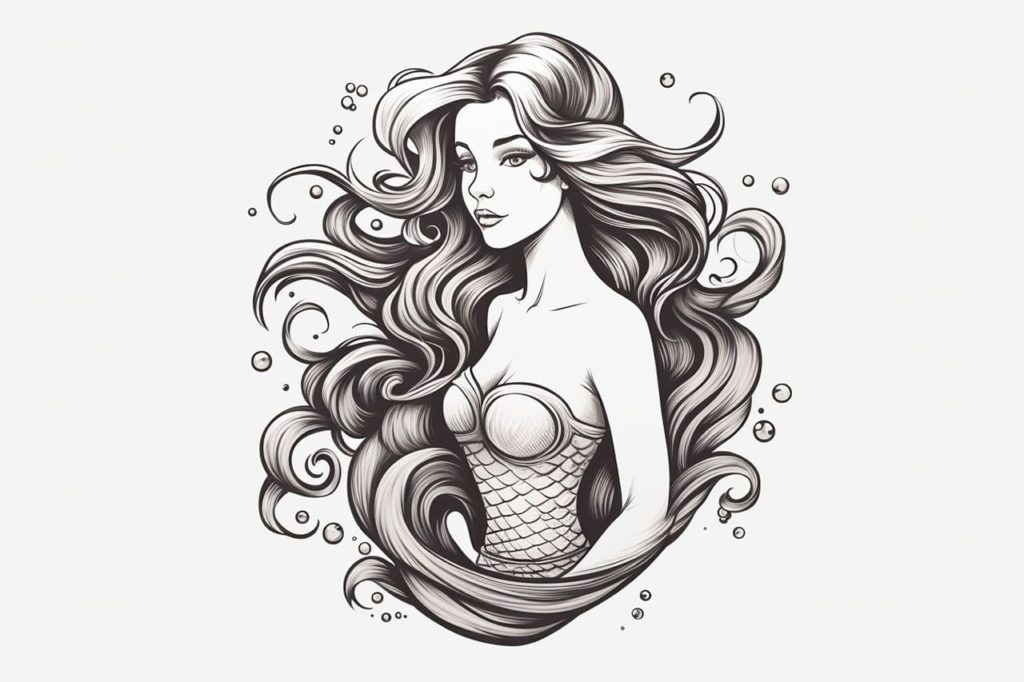
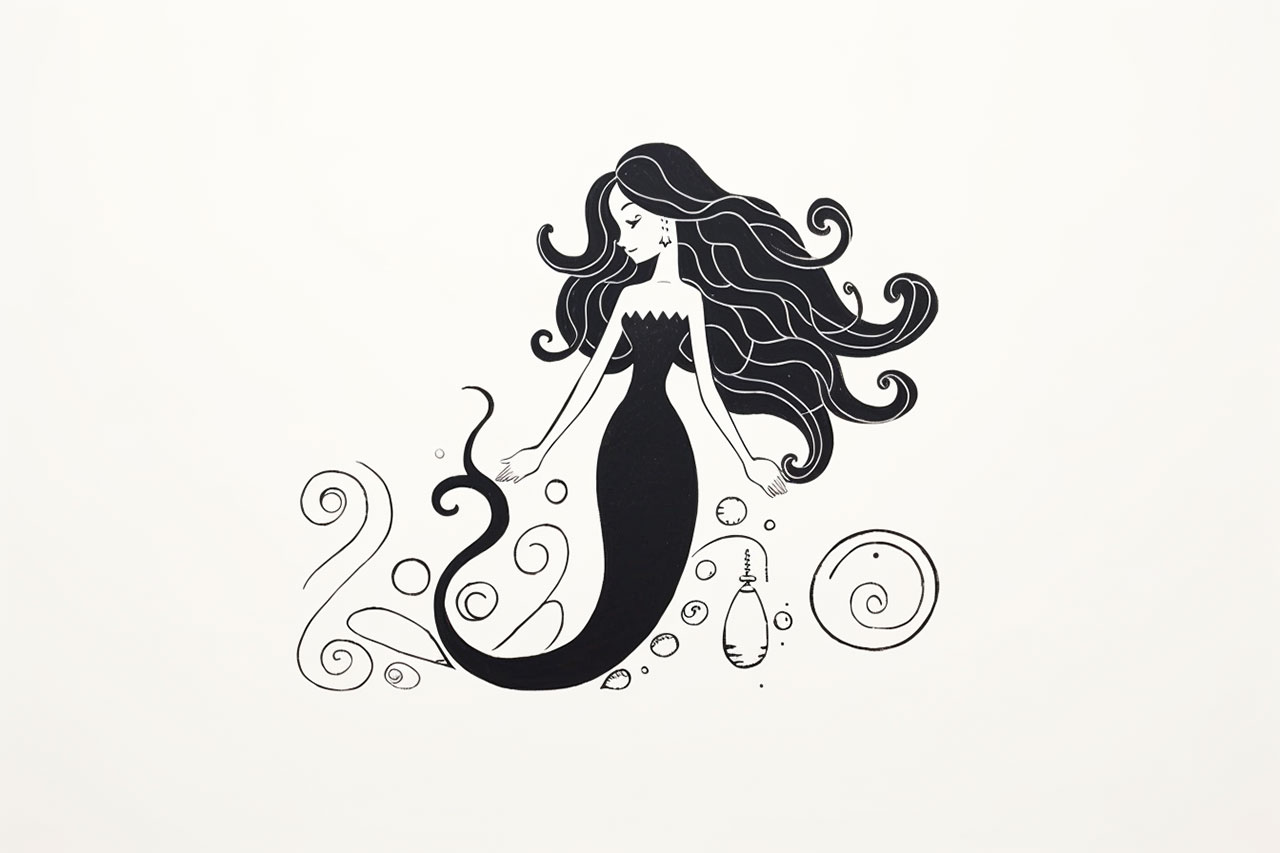
Gallery of Mermaid Drawings