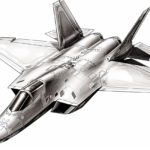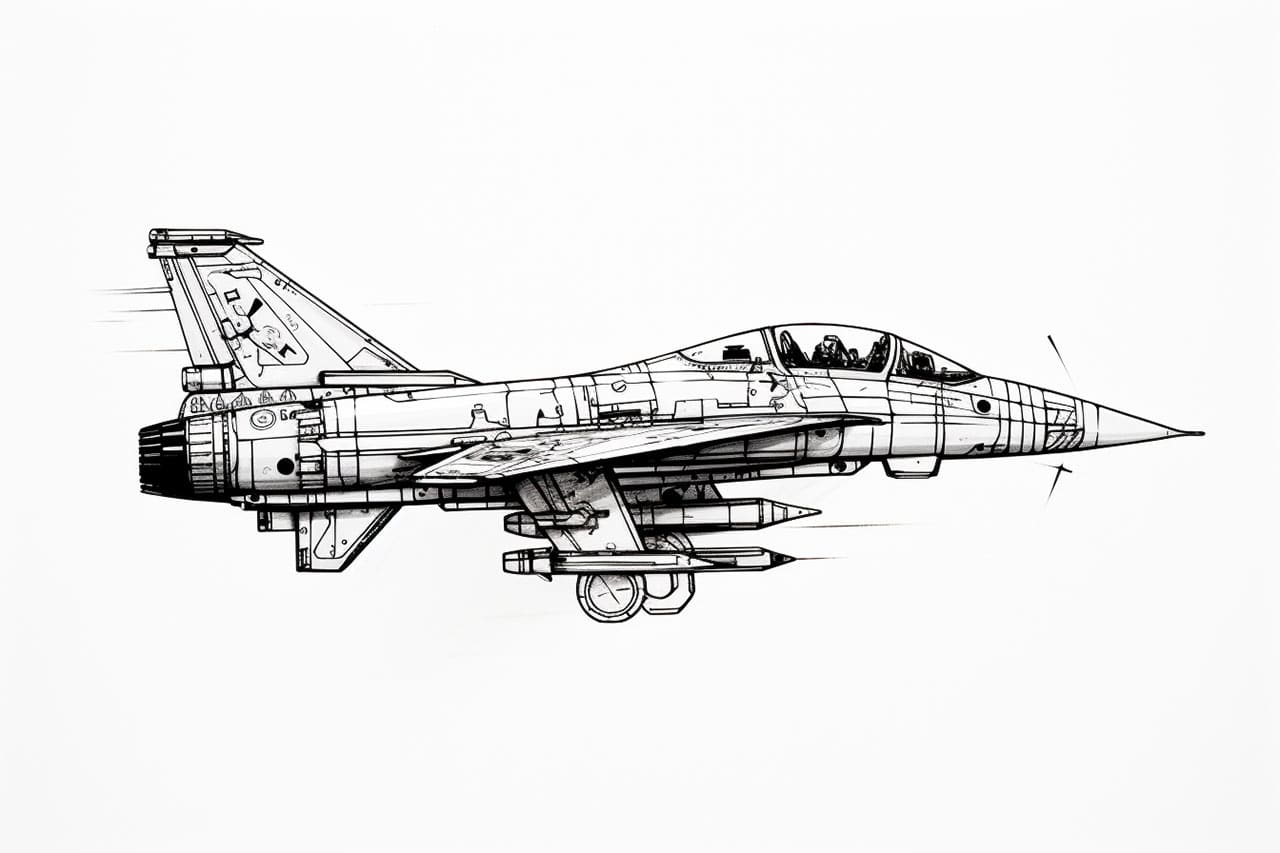
Welcome to this step-by-step guide on how to draw a fighter jet! Whether you’re an aspiring artist or just looking for a fun project, this tutorial will teach you how to draw a realistic and dynamic representation of a fighter jet. So, grab your favorite drawing materials and let’s get started!
Materials Required:
- A pencil
- Eraser
- Drawing paper or sketchbook
- Fine-tipped markers or pens
- Ruler
- Compass
- Reference images of fighter jets (optional)
Step 1: Start with Basic Shapes
To begin, let’s sketch the basic shapes that will form the foundation of our fighter jet drawing. Start by drawing a large oval shape for the body of the jet. This will be the main part of the aircraft. Next, draw a smaller oval shape towards the front of the large oval to represent the cockpit. Finally, add two smaller ovals on either side of the large oval to create the wings.
Step 2: Refine the Body Shape and Wings
Using the basic shapes as a guide, start refining the body of the fighter jet. Sketch the body curve to give it a sleek and aerodynamic look. Connect the cockpit oval to the main body by drawing a smooth curved line. Refine the shape of the wings by adding more details and curves. Make sure to pay attention to the perspective and proportions.
Step 3: Add the Tail and Vertical Stabilizer
Extend a long, slightly curved line from the back of the main body to create the tail of the fighter jet. Add a small triangle shape at the end of the tail, which will be the vertical stabilizer. This stabilizer helps in maintaining balance during flight.
Step 4: Outline the Cockpit and Canopy
Using the reference images or your imagination, outline the shape of the cockpit. Fighter jets typically have a streamlined and enclosed cockpit with a canopy made of clear material. Sketch the outline of the canopy carefully, considering the perspective and curves of the jet.
Step 5: Add Engine Intakes and Exhausts
Fighter jets have powerful engines that require air intakes and exhausts. Draw two curved rectangles on the bottom of the main body to represent the engine intakes. Then, draw two slightly tilted rectangles at the back of the body to depict the exhausts. Pay attention to the details and perspective, as this will add authenticity to your drawing.
Step 6: Draw the Landing Gear
Fighter jets have retractable landing gear for takeoff and landing. Draw a set of wheels under the body of the jet. The number of wheels and their placement may vary depending on the type of fighter jet you’re drawing. Add small details such as landing gear doors and hydraulic lines to make your drawing more realistic.
Step 7: Add Details and Panel Lines
Now it’s time to add more details to your fighter jet drawing. Take a closer look at the reference images and carefully sketch the panel lines, wing flaps, and other small details that make each fighter jet unique. These details will add depth and realism to your drawing.
Step 8: Erase Unnecessary Guidelines
Once you’re satisfied with the overall shape and details of your fighter jet, carefully erase any unnecessary guidelines and sketch lines. Use a soft eraser to avoid damaging the drawing paper. This will make your drawing clean and ready for the final inking and coloring.
Step 9: Ink Your Drawing
Using fine-tipped markers or pens, go over the finalized pencil lines of your fighter jet drawing. Start with the main outlines and gradually work on the smaller details. Be patient and take your time to ensure clean and confident lines. You can also add shading or cross-hatching to give your drawing more depth and dimension.
Step 10: Color Your Fighter Jet (Optional)
If you prefer to add color to your drawing, choose the colors that you think will best represent the fighter jet. Traditionally, fighter jets are painted in military colors like gray, camouflage, or blue. Use colored pencils, markers, or any other coloring tools you prefer to bring your fighter jet to life.
Conclusion
Congratulations on completing your fighter jet drawing! We hope this step-by-step guide has helped you create an impressive representation of a fighter jet. Remember, practice makes perfect, so don’t be afraid to experiment and try different techniques. Keep honing your drawing skills and soon you’ll be able to draw other complex aircraft with ease. Enjoy the process!