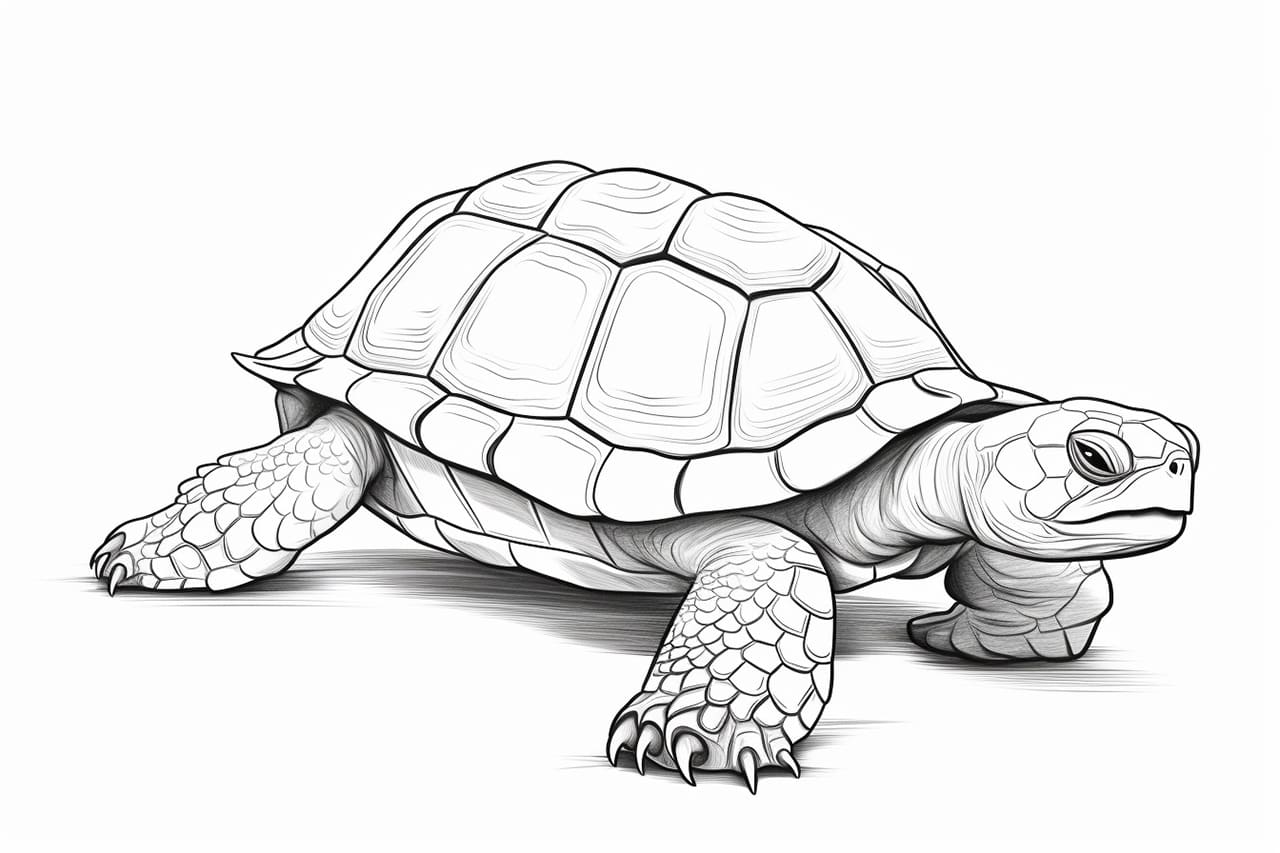
Welcome to this step-by-step guide on how to draw a turtle! Whether you are a beginner or an experienced artist, drawing a turtle can be a fun and rewarding activity. Turtles are fascinating creatures with their unique shells and adorable features. In this tutorial, we will go through the process of drawing a realistic turtle. So grab your pencils and get ready to dive into the world of turtle drawing!
Materials Required
Before we begin, let’s gather all the materials you will need:
- Paper: Use a smooth and sturdy paper that is suitable for drawing. A drawing pad or sketchbook would be ideal.
- Pencils: Have a range of graphite pencils with different lead hardness (e.g., 2B, 4B, 6B) for shading and detailing.
- Eraser: A kneaded eraser or a white vinyl eraser can be used to remove mistakes and lighten lines.
- Pencil sharpener: Keep your pencils sharp for better control and precision.
- Blending tool: A blending stump or tissue paper can create smooth shading.
- Reference image: Find a clear and detailed reference image of a turtle to guide you through the drawing process.
Now that you have gathered all the necessary materials, let’s get started on drawing a realistic turtle!
Step 1: Sketch the Basic Shapes
Begin by lightly sketching the basic shapes that make up the turtle’s body. Start with a large oval shape for the turtle’s shell. Then draw a smaller oval shape in front of it, which will be the turtle’s head. Connect these two shapes with a curved line to form the neck. Finally, add four small circles at the bottom of the shell to represent the turtle’s legs.
Step 2: Refine the Shell and Body
Using the basic shapes as a guide, start refining the shell and body of the turtle. Add curves and contours to the shell to give it a more realistic appearance. Make sure to pay attention to the details on the shell, such as the patterns and textures. Add volume to the body by drawing curved lines along the sides of the shell. Smooth out any sharp corners or edges.
Step 3: Draw the Head and Tail
Next, focus on drawing the turtle’s head and tail. Start by adding the eyes on the head. Turtles have round eyes, so draw two large circles with smaller circles inside for the pupils. Place the eyes on the sides of the head. Then, draw the turtle’s beak-like mouth by adding a curved line below the eyes. For the tail, draw a long and narrow shape at the back of the shell, curving it slightly upward.
Step 4: Add Legs and Feet
Now, let’s draw the turtle’s legs and feet. Start by adding more definition to the circles that represent the legs. Make them slightly wider at the top and narrower at the bottom. Then, add small ovals at the bottom of each leg to represent the turtle’s feet. Turtles have webbed feet, so make sure to connect the toes with curved lines.
Step 5: Refine the Details
At this stage, you can start refining the details of the turtle. Pay attention to the patterns and textures on the turtle’s shell. Add small lines and shapes to create a realistic effect. You can also add details to the head, such as the scales and wrinkles. Take your time and observe the reference image closely to capture the unique features of the turtle.
Step 6: Shade and Add Depth
To bring your turtle drawing to life, it’s time to add shading and depth. Begin by identifying the light source in your drawing. This will determine where the highlights and shadows fall. Start shading the underside of the turtle’s shell, using light strokes and gradually building up the darkness. Shade the body, head, and legs as well, paying attention to the contours and curves.
Step 7: Final Touches
Lastly, add the final touches to your turtle drawing. Darken the shadows and add more definition to the details. Use your blending tool to smoothen out any harsh lines or transitions. Take a step back and assess your drawing to see if any adjustments are needed. Once you are satisfied with the result, you can erase any remaining guidelines and light sketches.
Conclusion
Drawing a turtle can be a delightful experience that allows you to appreciate the beauty of these amazing creatures. By following the step-by-step instructions in this guide, you have learned how to create a realistic turtle drawing. Remember to be patient with yourself and keep practicing. With time and dedication, your drawing skills will continue to improve. So grab your pencils, find a comfortable spot, and let your creativity flow as you bring turtles to life on paper!


