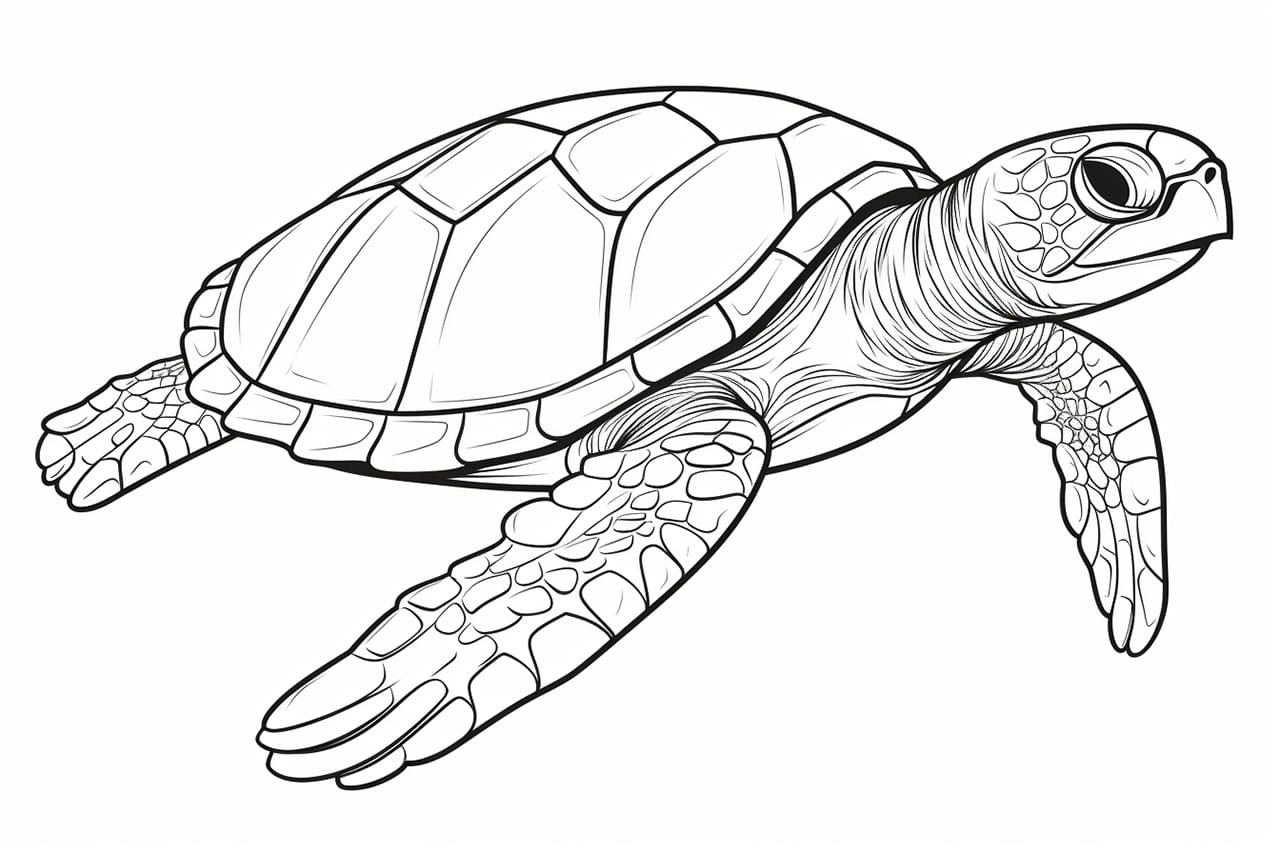
Sea turtles are fascinating creatures that live in the ocean. They have a unique and beautiful appearance that makes them a popular subject for artists. In this tutorial, we will learn how to draw a sea turtle step by step. By following these simple instructions, you will be able to create your own stunning sea turtle artwork.
Materials Required
Before we begin, let’s gather the materials we will need for this drawing:
- Drawing paper or sketchbook
- Pencil
- Eraser
- Fine-tip black marker or pen
- Colored pencils or markers (optional)
Now that we have everything we need, let’s dive into the process of drawing a sea turtle!
Step 1: Outline the Shell
Start by drawing the outline of the sea turtle’s shell. It should have a slightly oval shape with a gentle curve on the top. Use light, gentle strokes with your pencil to create the shape.
Step 2: Add the Head and Limbs
Next, draw a small circle at the front of the shell for the sea turtle’s head. From the head, draw two curved lines to represent the neck. Extend the lines slightly beyond the shell. Then, add four short lines for the limbs, two on each side of the shell.
Step 3: Sketch the Tail
Now, it’s time to sketch the sea turtle’s tail. Start at the back of the shell and draw a long, curved line that tapers towards the end. The tail should be positioned towards the top of the shell and slightly to one side.
Step 4: Refine the Outline
Take a closer look at the outline you have drawn so far. Make any necessary adjustments to ensure the proportions and shape are accurate. Use your eraser to remove any unwanted lines and clean up the drawing.
Step 5: Add the Eyes and Mouth
Moving on, let’s add some details to the sea turtle’s face. Draw two small oval shapes inside the head for the eyes. Leave a small white highlight in each eye to give them a lively appearance. Then, draw a curved line for the mouth just beneath the eyes.
Step 6: Enhance the Shell
To make the shell more realistic, add some texture and patterns. Start by drawing a series of curved lines along the shell’s surface. These lines should follow the shape of the shell and create a scaly texture. Add more lines in some areas to represent the plates on the shell.
Step 7: Detail the Limbs and Tail
Now, let’s focus on the sea turtle’s limbs and tail. Add small curves at the ends of the limb lines to form the flippers. These flippers should have a webbed appearance. For the tail, draw some curved lines to represent the scales.
Step 8: Finalize the Drawing
At this point, you have completed the basic outline of the sea turtle. Take a moment to review your drawing and make anya necessary refinements. Once you are satisfied, go over the final lines with a fine-tip black marker or pen. This will make the drawing stand out and give it a polished look.
Step 9: Color Your Drawing (Optional)
If you prefer, you can add some color to your sea turtle drawing using colored pencils or markers. Sea turtles come in various shades of green, brown, and even blue. Use light, layered strokes to create a smooth and vibrant appearance. Don’t forget to add some highlights and shadows to give your drawing depth.
Conclusion
Congratulations! You have successfully learned how to draw a sea turtle. This tutorial has introduced you to the step-by-step process of creating a detailed and realistic sea turtle drawing. Remember to have fun and be patient as you practice and refine your drawing skills. With time and practice, you will become more confident in capturing the beauty of these magnificent creatures on paper.
Happy drawing!