Do you want to learn how to draw a box turtle? These fascinating creatures, known for their unique patterns and colorful shells, make for a fun and challenging subject for any artist. In this step-by-step guide, I will walk you through the process of drawing a box turtle from start to finish. So grab your art supplies and let’s get started!
Materials Required
Before we begin, let’s gather the materials you’ll need for this drawing:
- Pencil
- Eraser
- Drawing paper
- Colored pencils or markers (optional)
- A reference photo of a box turtle (optional)
Now that we have everything we need, let’s begin the exciting journey of creating our very own box turtle masterpiece!
Step 1: Sketch the Basic Shapes
Start by lightly sketching a large oval shape for the turtle’s body. Make sure it’s slightly elongated in the center. Next, draw a small circle at one end of the oval for the turtle’s head. Finally, add four short lines extending from the body to represent the turtle’s limbs.
Step 2: Refine the Outline
Using your initial sketch as a guide, refine the outline of the turtle’s body by adding more curves and defining the shape of the head. The body should have a slightly rounded bottom and a more pointed top. Make sure to draw the limbs with curved lines to give them a natural appearance.
Step 3: Add Details to the Head
Now that the basic outline is complete, focus on adding details to the head. Start by drawing the eyes using small circles. Inside each eye, add a smaller circle for the iris and a smaller dot for the pupil. Next, draw a curved line for the mouth, and add a few small lines to indicate the texture of the skin.
Step 4: Draw the Shell
The shell is one of the most distinctive features of a box turtle. To draw it, start by adding curved lines along the top of the body, following the shape of the initial oval. Make sure to space the lines evenly to create the individual segments of the shell. Next, add slightly curved lines on the sides of the body to complete the shell’s shape.
Step 5: Add Patterns to the Shell
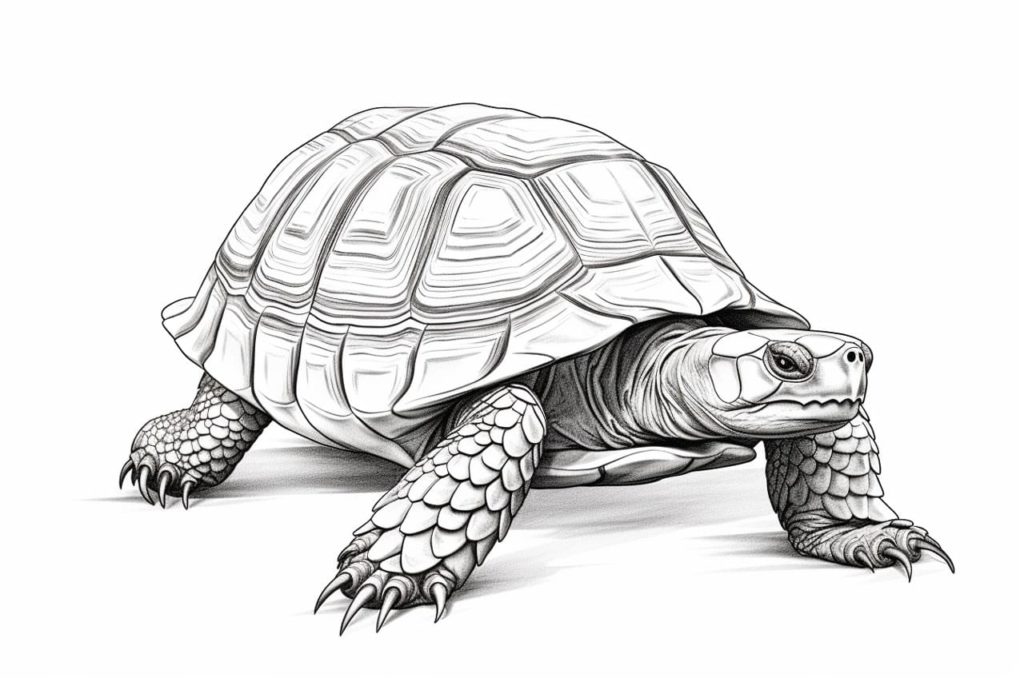
Box turtles have beautifully intricate patterns on their shells. To create these patterns, draw a series of small, irregular shapes within each shell segment. Vary the size and shape of these shapes to make them look more organic. You can also add a few lines or dots to create additional texture.
Step 6: Refine the Limbs and Tail
Now that the head and shell are complete, let’s focus on the limbs and tail. Start by adding small curved lines to indicate the joints and define the structure of the limbs. Then, add small ovals to represent the toes and claws. Finally, draw a slightly curved line for the tail, adding a few small bumps to give it texture.
Step 7: Finalize the Outline
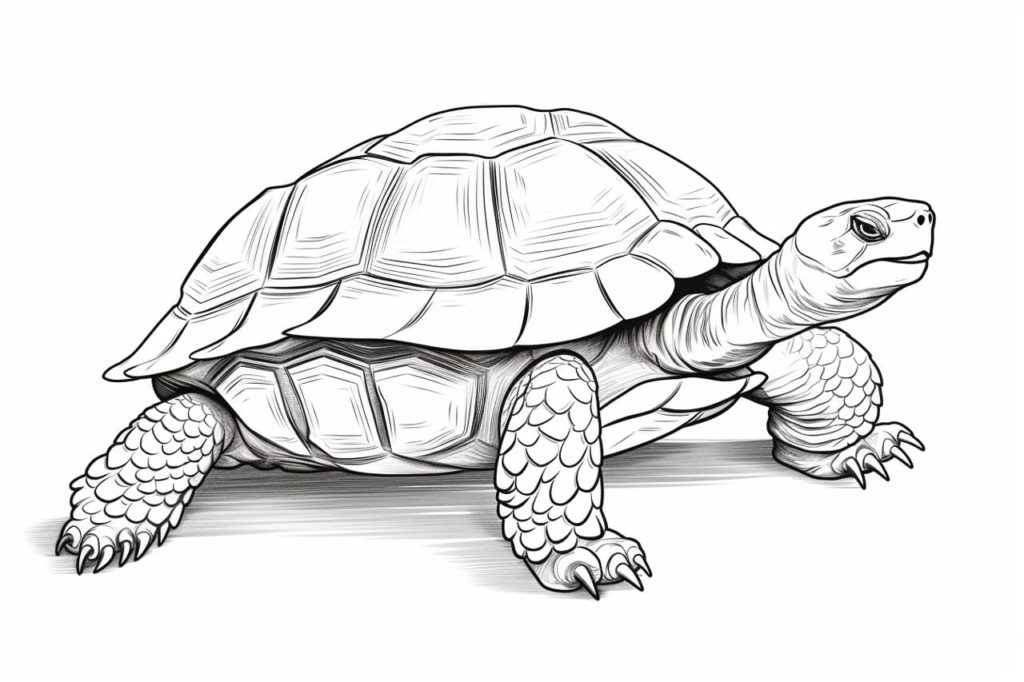
Take a moment to review your drawing so far and make any necessary adjustments. Refine the outline of the body, head, and limbs to make them look more natural and polished. Erase any unnecessary guidelines or stray lines, and darken the final outline with your pencil.
Step 8: Add Color (Optional)
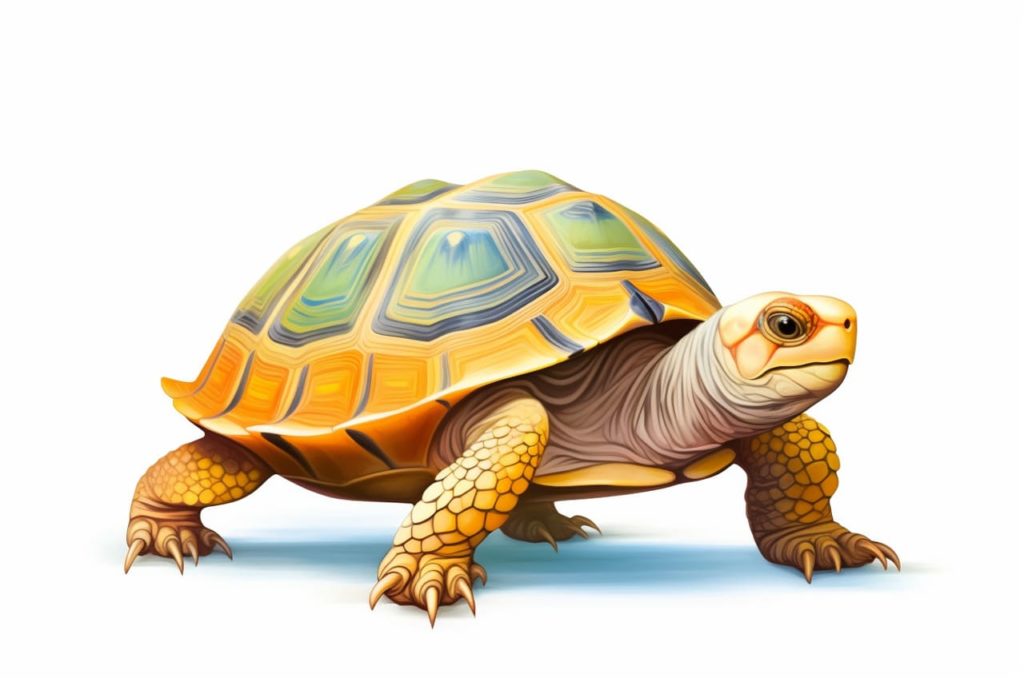
If you want to bring your drawing to life, you can add color to your box turtle. Use colored pencils or markers to carefully layer colors onto the shell, body, and head. Refer to reference images or your imagination to choose the colors that best represent the species of box turtle you are drawing.
Step 9: Add Shading and Highlights (Optional)
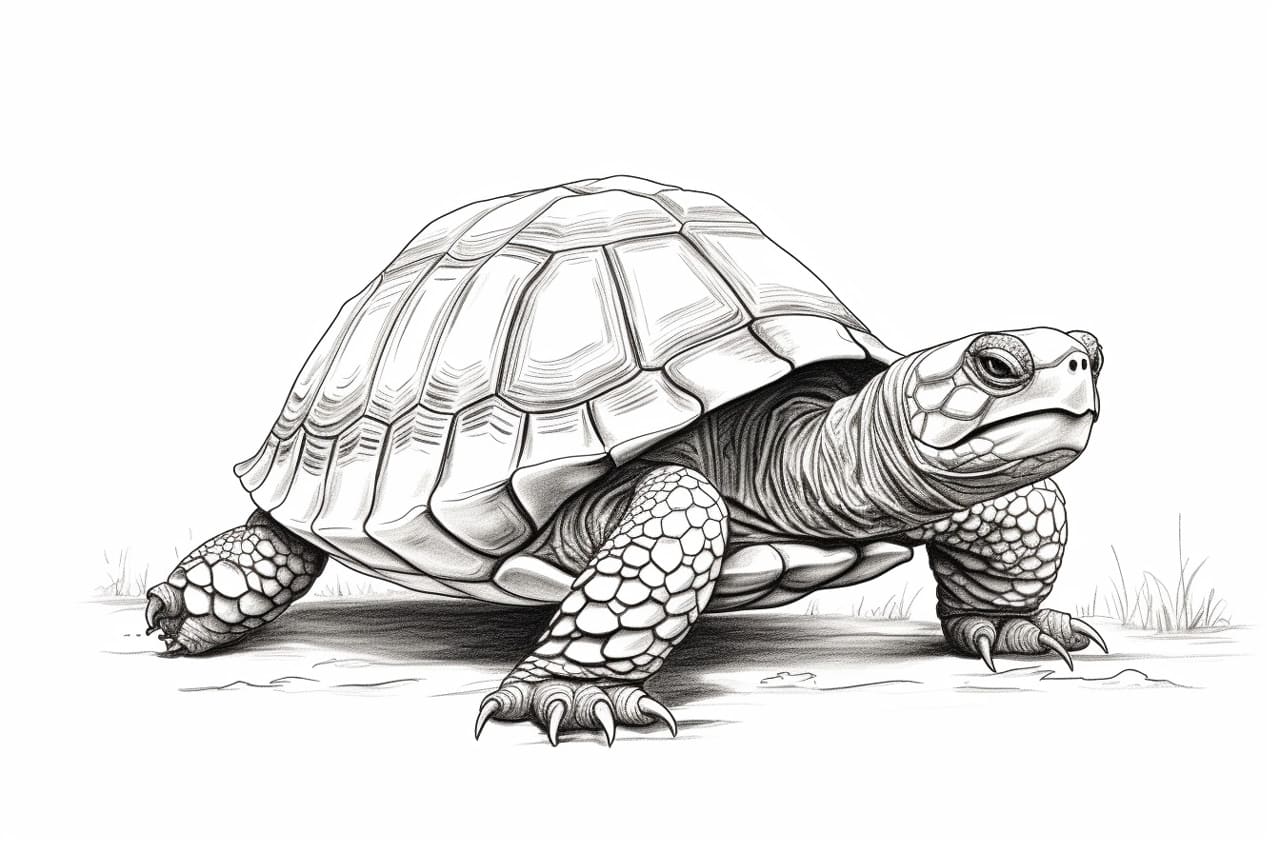
To add depth and dimension to your drawing, consider adding shading and highlights. Identify the light source in your drawing and darken the areas that would be in shadow. Use a lighter touch with your pencil to add highlights to the areas that would catch the light. This technique will make your turtle appear more three-dimensional.
Conclusion
Congratulations! You have successfully learned how to draw a box turtle. By following these step-by-step instructions and putting your own creative touch to it, you have created a stunning representation of this fascinating creature. Remember to practice regularly to improve your drawing skills and explore different variations of turtles. Have fun and keep on creating!
Gallery of Box Turtle Drawings