Drawing a turtle shell can be a fun and rewarding experience. Turtles are known for their unique and intricate shell patterns, which provide protection and play a crucial role in their survival. In this step-by-step guide, I will show you how to draw a turtle shell in a clear and concise manner. By following these instructions, you can create your very own realistic turtle shell drawing. So grab your pencil and let’s get started!
Materials Required
Before we begin, make sure you have the following materials handy:
- Drawing paper
- Pencil (preferably a graphite pencil)
- Eraser
- Tortillon or blending stump (optional, but useful for shading)
Now that you have all the necessary materials, let’s dive into the steps to draw a turtle shell.
Step 1: Outline the Basic Shape
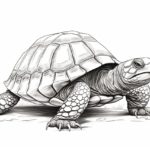
Start by lightly sketching an oval shape on your drawing paper. This will serve as the basic outline of the turtle shell. Keep the outline loose and faint, as this will allow you to refine the shape later on.
Step 2: Add the Divisions
Next, draw horizontal and vertical lines across the oval shape to divide it into multiple sections. These lines will help guide you as you draw the individual pattern elements of the turtle shell.
Step 3: Draw the Patterns
Now it’s time to add the intricate details of the turtle shell. Starting from the top left section of the oval, draw a curved line that follows the shape of the division lines you drew in the previous step. Repeat this process for each section, making sure to vary the shape and size of the lines to create a realistic pattern.
Step 4: Refine the Shapes
Once you have drawn the main pattern lines, take a moment to refine the shapes. Use your eraser to lighten any unnecessary lines and adjust the curves and angles to make them more natural. Pay attention to the reference image or any real turtle shells you may have for inspiration.
Step 5: Add Depth and Shading
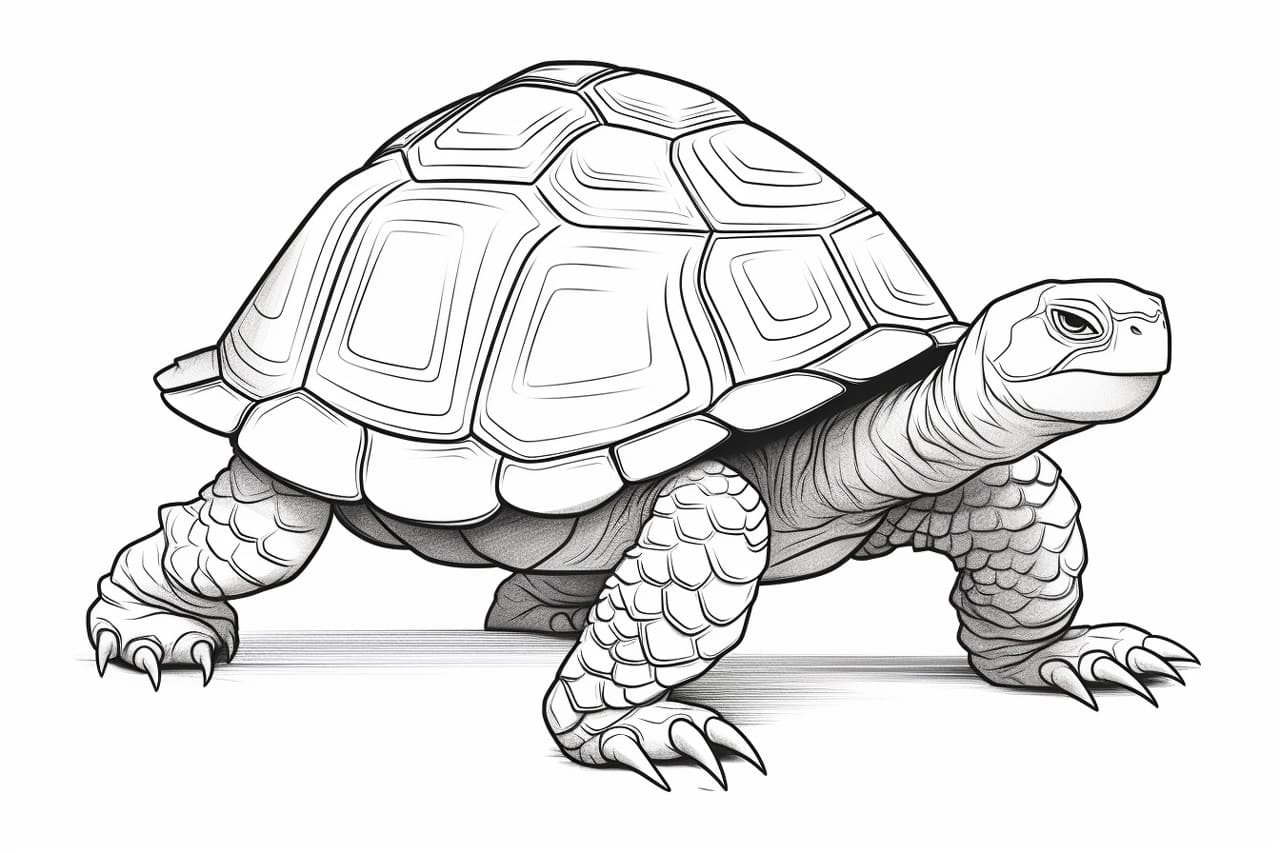
To make the turtle shell drawing appear more realistic, we need to add depth and shading. Start by shading the areas between the pattern lines to create the illusion of rounded sections. Use light, circular motions with your pencil to build up the shading gradually. You can also use a tortillon or blending stump to blend and smudge the shading for a smoother look.
Step 6: Refine the Shading
Take a step back and observe your drawing. Look for any areas that need further shading or refinement. Use your pencil and eraser to add or remove shading as needed. Remember, the key to a realistic turtle shell drawing is to capture the subtle variations in color and value.
Step 7: Final Details
In this step, add any final details to enhance the realism of your turtle shell drawing. Pay attention to the texture of the shell, and use cross-hatching or stippling techniques to create a sense of depth and texture. You can also add small cracks or chips to make the shell appear more weathered and aged.
Step 8: Finishing Touches
Once you are satisfied with your drawing, take a moment to clean up any smudges or stray pencil marks using your eraser. If desired, you can also outline the drawing with a darker pencil or pen to make it stand out. Be careful not to overdo it, as the focus should be on the shell itself.
Conclusion
Drawing a turtle shell may seem challenging at first, but by following these step-by-step instructions, you can create a realistic and visually appealing drawing. Remember to take your time, observe the details, and practice regularly to improve your skills. So grab your pencil and start exploring the fascinating world of turtle shells!