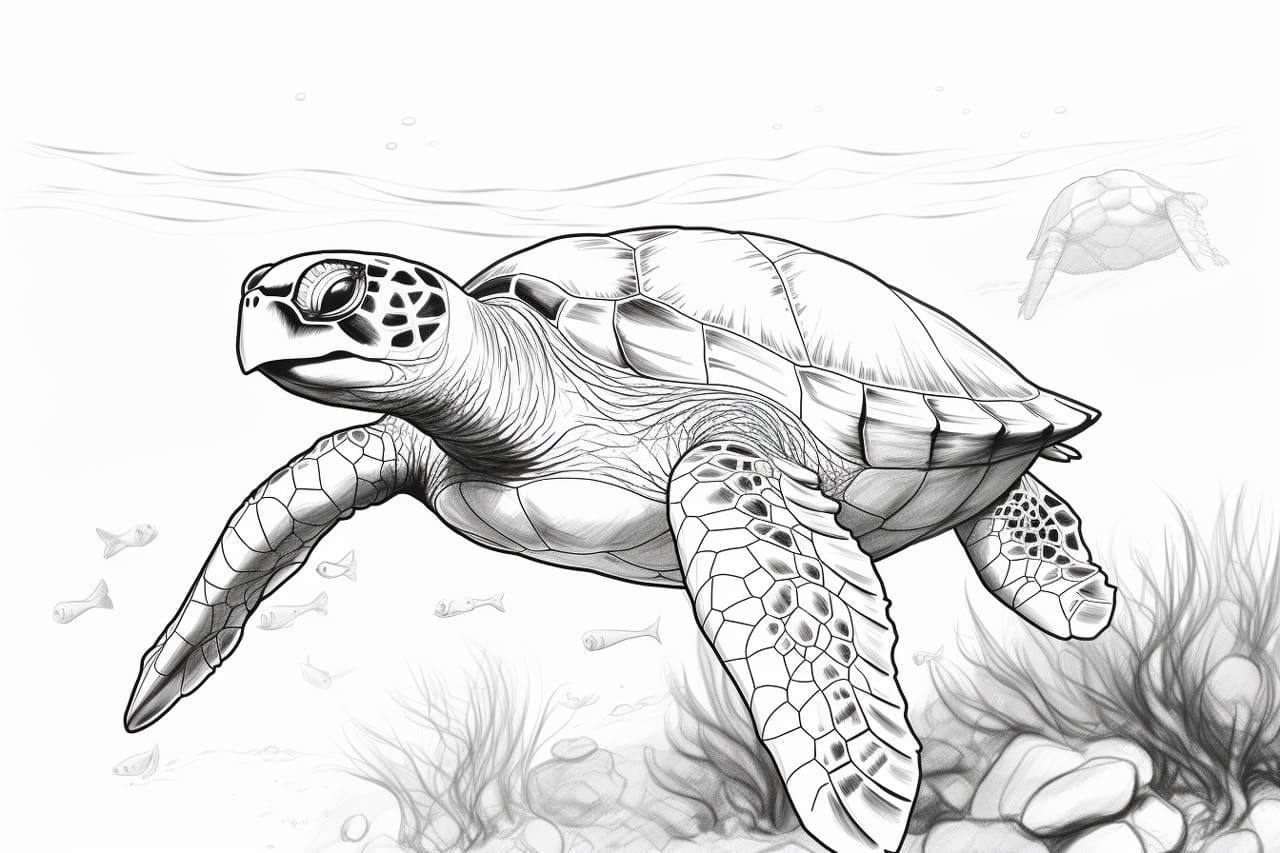
Welcome to this step-by-step tutorial on how to draw a green sea turtle. These majestic creatures are fascinating and beautiful, and with a little guidance, you can capture their essence on paper. In this article, we will go through the process of drawing a green sea turtle in a clear, concise manner. So grab your drawing materials and let’s get started!
Materials Required
To successfully draw a green sea turtle, gather the following materials:
- Pencil (preferably a 2B or 4B)
- Eraser
- Drawing paper
- Fine-tip black marker or pen
- Colored pencils or markers (optional)
Now that you have your materials ready, we can begin the step-by-step process of drawing a green sea turtle.
Step 1: Basic Shapes
Start by lightly sketching the basic shapes that form the framework of the turtle. Begin with an oval shape for the body, followed by a smaller oval for the head. Connect the two ovals with two curved lines, representing the neck. On the underside, draw another oval shape for the belly.
Step 2: Outlining the Shell
Using the basic shapes as a guide, outline the turtle’s shell. Start with the upper shell, known as the carapace. It should have a slightly curved and uneven outline. Then, add the scutes on the carapace by drawing a series of curved lines across it.
Step 3: Drawing the Head
Now, let’s focus on the turtle’s head. Start by refining the shape of the head, giving it a slightly rounded appearance. Add the eyes, which are usually large and round, and place them towards the front of the head. Include small details like the eyelids and the nostrils.
Step 4: Adding the Flippers
Moving on to the flippers, draw two pairs on either side of the body. The front flippers should be larger and wider compared to the hind ones. Each flipper consists of three curved sections, resembling the shape of a crescent moon.
Step 5: Detailing the Shell
In this step, we will add more details to the shell. Begin by drawing the scutes on the carapace with more precision. Each scute has a raised, triangular shape. Add texture to the shell by drawing lines and small dots along the scutes to represent the bumpy texture.
Step 6: Finalizing the Head
With the basic head shape already in place, it’s time to add some final details to bring the turtle to life. Draw the mouth, which is often shaped like a curved line with a small triangle at the end. Add in small details like the bumps around the eyes and the lines along the neck.
Step 7: Refining the Flippers
Let’s refine the flippers by adding more details. Draw the individual sections of each flipper, giving them dimension and depth. Add curved lines to represent the joints and folds of the flippers.
Step 8: Enhancing the Texture
To further enhance the texture of the turtle’s shell, create a sense of depth using shading techniques. Start by adding shadows in areas that would naturally be darker, such as under the scutes and along the edges of the shell. Use your pencil to lightly shade these areas, gradually building up the darkness.
Step 9: Inking the Drawing
Once you are satisfied with the overall composition, take a fine-tip black marker or pen and carefully go over the lines of your drawing. This will make your turtle stand out and give it a polished look. Be sure to let the ink dry completely before erasing any pencil lines.
Step 10: Adding Color (Optional)
If you prefer a colored drawing, you can now use colored pencils or markers to bring your green sea turtle to life. Green is the obvious choice for the body, but feel free to add variations of colors to make the shell more vibrant. Add shades of brown or yellow to the scutes for added realism.
Conclusion
Congratulations! You have successfully learned how to draw a green sea turtle from start to finish. By following these step-by-step instructions and using your creativity, you can create a realistic and beautiful representation of these magnificent creatures. Remember to practice and experiment with different techniques to further refine your drawing skills. So, grab your pencils and start sketching your very own green sea turtle today!