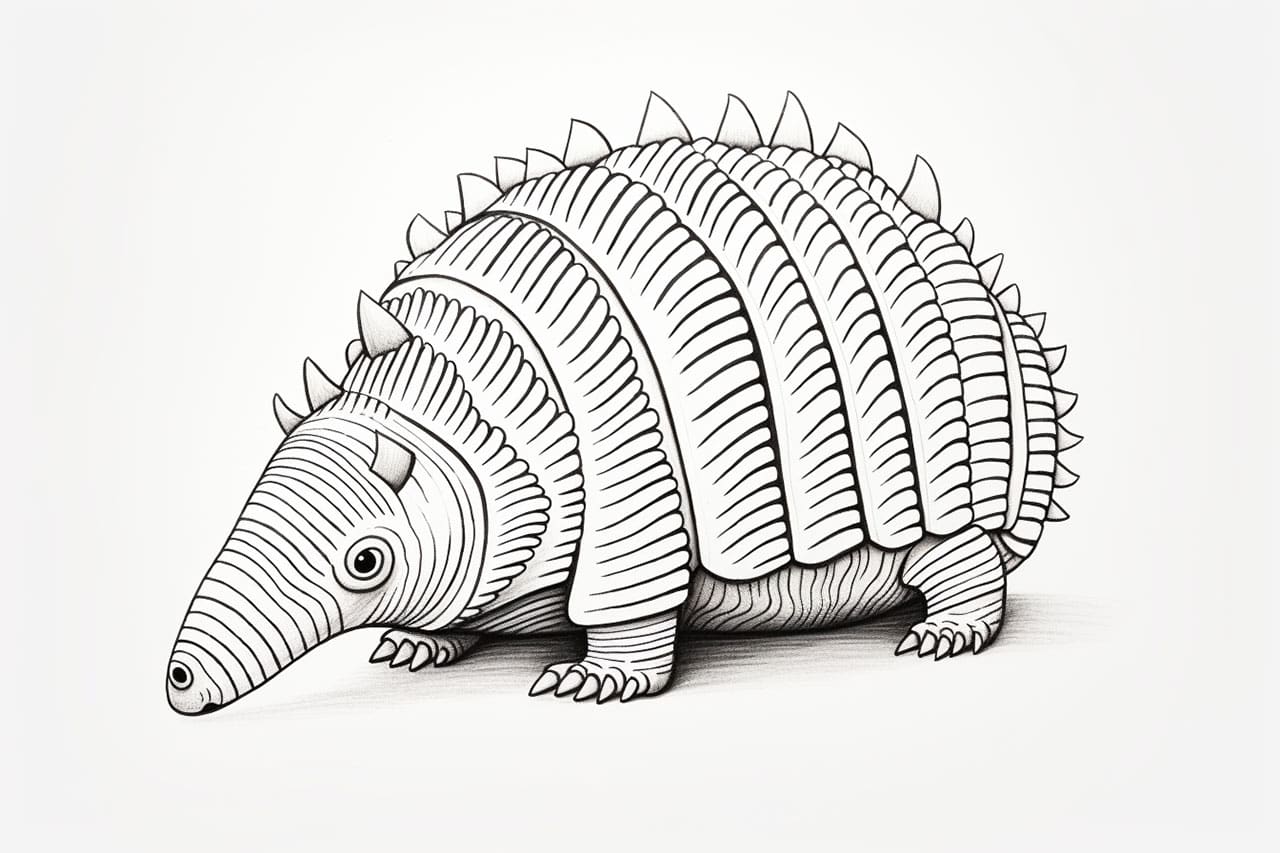
Welcome to this step-by-step tutorial on how to draw an armadillo! Armadillos are intriguing creatures with their unique armor-like shells. Whether you are an experienced artist or just starting out, this guide will help you create a realistic and detailed drawing of an armadillo. So let’s get started!
Materials Required
Before we begin, make sure you have the following materials:
- Pencil
- Paper
- Eraser
- Fine-tipped pen or marker (optional, for outlining)
- Colored pencils or markers (optional, for adding color)
Now that we have everything we need, let’s dive into the steps!
Step 1: Basic Shapes
Start by drawing a large oval shape for the body of the armadillo. This oval represents the main bulk of its body. Remember to keep your pencil lines light and loose at this stage, as you will be refining them later.
Step 2: Head and Snout
Next, draw a smaller oval at the front part of the main oval for the armadillo’s head. Then, sketch a long, narrow shape at the front of the head to represent the snout. Make sure to leave enough space for the eyes and ears.
Step 3: Ears and Eyes
On top of the armadillo’s head, draw two small triangular shapes for the ears. Position them slightly back from the snout. Then, add two small circles for the eyes, placing them towards the front of the head.
Step 4: Legs and Feet
Now, let’s move on to drawing the armadillo’s legs. Extend four curved lines from the body, slightly angled towards the bottom. These lines represent the armadillo’s front legs. Then, draw four more curved lines for the hind legs, making them slightly longer and thicker than the front legs. At the end of each leg, sketch small ovals for the feet.
Step 5: Shell
The most distinctive feature of an armadillo is its shell. To draw the shell, start by adding a series of small, overlapping shapes along the armadillo’s back. These shapes should resemble small, rounded plates.
Step 6: Tail
Extend a curved line from the back of the armadillo’s body to create its tail. The tail should be long and thick, tapering towards the end. Add some texture to the tail by drawing small triangular shapes along its length.
Step 7: Details
Now that you have the basic shape of the armadillo, it’s time to add some details. Sketch a small, rounded nose at the tip of the snout. Add a few curved lines around the eyes to represent wrinkles. Draw small, curved lines on the shell to give it a textured appearance.
Step 8: Refine and Outline
Take a moment to refine your armadillo drawing by erasing any unnecessary guidelines and adjusting the proportions. Once you are satisfied with the overall shape, you can use a fine-tipped pen or marker to outline your drawing. This will make the lines more defined and give your armadillo drawing a polished look.
Step 9: Coloring
If you prefer a colorful armadillo drawing, you can use colored pencils or markers to add some shading and depth. Armadillos come in various shades of brown and gray, so choose colors that reflect their natural appearance. Add darker shades to the shell and lighter shades to the underside of the body to create a sense of dimension.
Conclusion
Congratulations! You have successfully drawn an armadillo from start to finish. By following these step-by-step instructions, you have created a realistic and detailed representation of this unique creature. Remember, practice makes perfect, so don’t hesitate to try drawing armadillos from different angles and in various poses.
We hope you enjoyed this tutorial on how to draw an armadillo. Keep exploring your artistic abilities and have fun bringing more animals to life on paper!