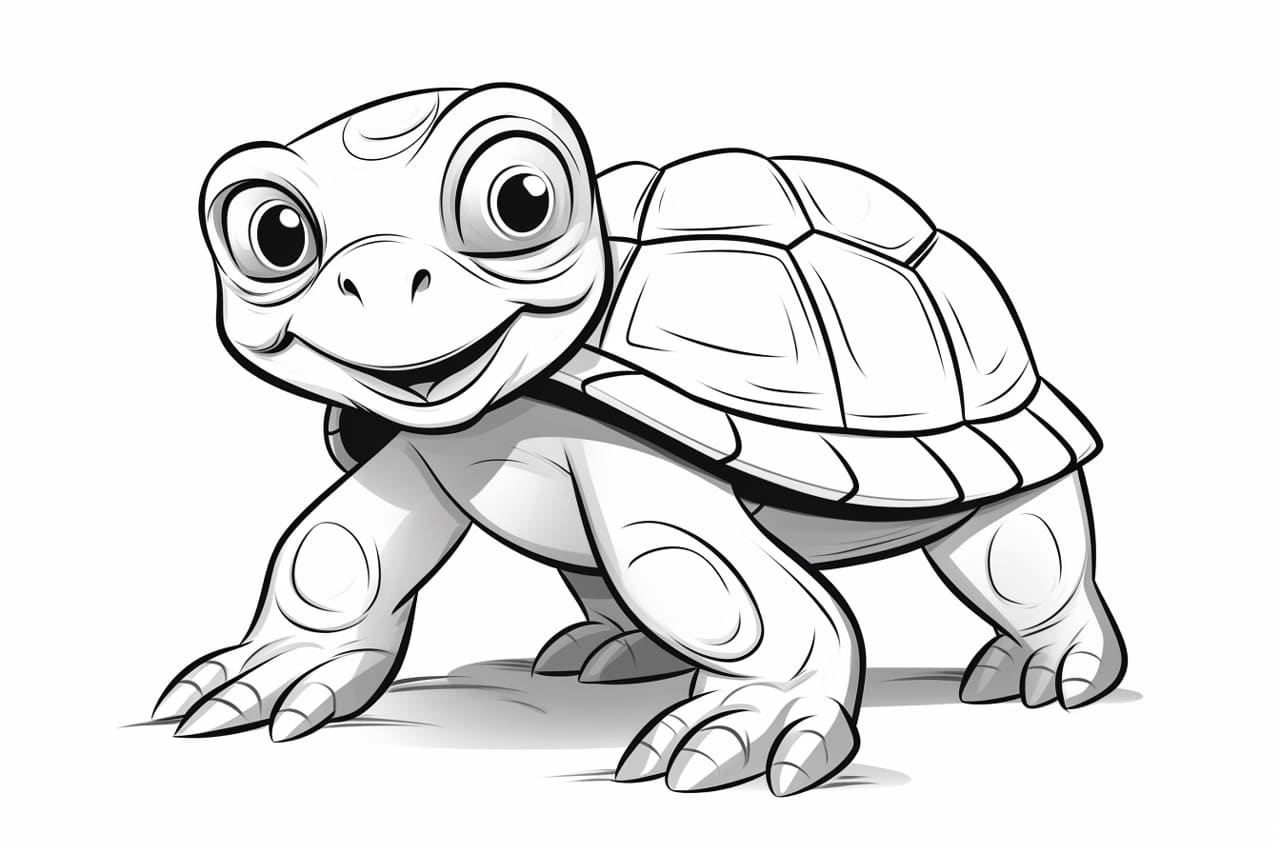
Welcome to this step-by-step tutorial on how to draw a cartoon turtle. Whether you’re a beginner or an experienced artist, this guide will help you create a fun and adorable turtle character. So, grab your pencils and let’s get started!
Materials Required
To complete this drawing, you will need the following materials:
- Paper
- Pencil
- Eraser
- Black pen or marker
- Colored pencils or markers (optional)
Now that you have your materials ready, let’s begin drawing our cartoon turtle!
Step 1: Draw the Shell
Start by drawing a large oval shape towards the center of your paper. This will be the turtle’s shell. Make sure to leave some space at the top for the head and at the bottom for the legs.
Step 2: Add the Head
Draw a smaller oval shape on top of the shell for the turtle’s head. Position it slightly to the left or right to give your turtle a cute and playful look.
Step 3: Outline the Eyes
Inside the head, draw two large circles for the turtle’s eyes. Leave some space in between them for the nose. Add two smaller circles within each eye to create the pupils.
Step 4: Draw the Nose and Mouth
Below the eyes, draw a small triangular shape for the turtle’s nose. Then, add a curved line for the mouth starting from the middle of the nose and extending towards the sides of the head.
Step 5: Sketch the Limbs
Now, let’s move on to the turtle’s limbs. Draw four short lines extending from the bottom of the shell. These lines will serve as the guidelines for the legs. Add small ovals at the end of each line for the feet.
Step 6: Shape the Legs
Using the guidelines, start drawing the front legs by adding curves to the lines. Make them thicker towards the body and gradually thinner towards the feet. Repeat the process for the hind legs as well.
Step 7: Add Details to the Shell
To make the shell more interesting, let’s add some details. Draw curved lines across the shell to represent the individual segments. You can also add small dots or patterns to give it a unique texture.
Step 8: Define the Eyes
Now, let’s add more life to our turtle by defining the eyes. Darken the outline of the eyes using your black pen or marker. Make sure to leave a small white area in each eye to create a highlight.
Step 9: Enhance the Face
Using your pen or marker, go over the nose and mouth lines to make them more defined. You can also add a small curved line above the mouth to indicate a smile if you’d like.
Step 10: Erase Unnecessary Lines
Carefully erase any unnecessary pencil lines that you no longer need, such as the initial guidelines for the limbs. Be gentle with your eraser to avoid smudging any of the inked lines.
Step 11: Color Your Turtle (optional)
If you prefer to add color to your drawing, now is the time to do so! Use colored pencils or markers to bring your turtle to life. You can choose any colors you like for the shell, head, and limbs.
Congratulations! You have successfully drawn a cute cartoon turtle. You can now sit back and admire your artwork or even show it off to your friends and family.
Conclusion
Drawing a cartoon turtle is a fun and creative activity that anyone can enjoy. By following these step-by-step instructions, you can create your own adorable turtle character in no time. Remember to be patient with yourself and have fun during the process.
So, pick up your pencil and let your imagination run wild as you bring your cartoon turtle to life on paper. Happy drawing!