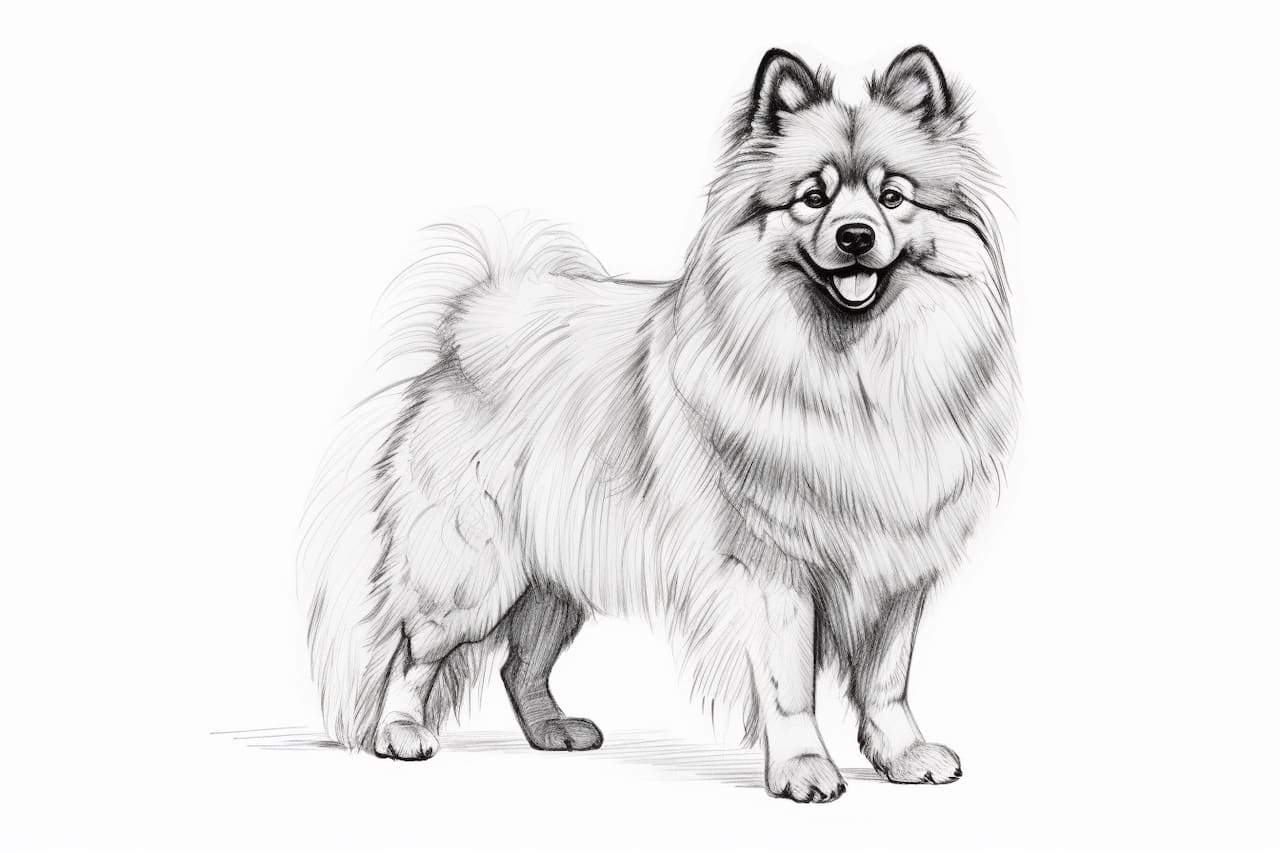
Welcome to this step-by-step guide on how to draw a Keeshond! Keeshonds are beautiful and lively dogs with fluffy fur and expressive faces. Whether you are a beginner or an experienced artist, this tutorial will provide you with the necessary instructions to bring this adorable dog to life on paper. So grab your drawing materials and let’s get started!
Materials Required
To draw a Keeshond, you will need the following materials:
- Pencil (preferably an HB or 2B)
- Eraser
- Drawing paper or sketchbook
- Reference photo of a Keeshond (You can find one online or use a printed photograph)
Now that you have all your materials ready, let’s begin drawing our Keeshond!
Step 1: Outline the Basic Shape of the Head
Start by lightly sketching a simple oval shape for the head of the Keeshond. This will be the foundation for the rest of the drawing. Remember to keep your lines light, as they will be erased later on.
Step 2: Draw the Facial Features
Using the reference photo, carefully observe the Keeshond’s facial features. Begin by sketching the eyes just above the middle of the head, slightly almond-shaped with a small highlight in each. Next, draw the nose as a rounded triangular shape, slightly protruding from the muzzle area. Add a small curved line for the mouth, giving the Keeshond a friendly expression. Finally, draw two small rounded ears on either side of the head.
Step 3: Add Detail to the Eyes and Ears
Start by darkening the outer edges of the eyes and adding eyelashes to enhance their appearance. Then, add some fur detail around the eyes and ears to create a realistic texture. Take your time and carefully observe the reference photo for guidance.
Step 4: Draw the Fluffy Fur
Now it’s time to add the characteristic fluffy fur of the Keeshond. Start from the top of the head and work your way down, using short, quick strokes to create the appearance of fur. Pay attention to the direction of the fur and vary the length and thickness of the strokes to add depth and dimension.
Step 5: Outline the Body and Legs
Extend the outline of the head to indicate the body of the Keeshond. Use curved lines to create a fluffy and rounded body shape. Then, sketch the legs by adding long, slender shapes below the body. Don’t worry about adding too much detail at this stage, as we will refine it in the next steps.
Step 6: Define the Body and Legs
Using the outline as a guide, start adding more detail to the body and legs. Pay attention to the muscle structure and shape of the Keeshond. Use curved lines to indicate the fluffiness of the fur and add small details such as paws and toes.
Step 7: Add the Tail
The Keeshond has a distinctive plumed tail that curls over its back. Draw the tail by creating a curved shape that starts from the top of the back and flows gracefully towards the ground. Add some fur detail to make it look fluffy.
Step 8: Refine the Fur and Body
Take a step back and observe your drawing so far. Refine the fur and body by adding more depth and definition. Use additional strokes to create a sense of volume and texture, especially around the neck and chest areas. Don’t forget to add some fur detail to the legs as well.
Step 9: Erase Unnecessary Guidelines
Carefully erase any unnecessary guidelines and construction lines that are still visible. Use a gentle touch to avoid smudging the drawing. Take your time with this step, as you want to ensure that only the intended lines remain.
Step 10: Finalize the Details
With most of the drawing complete, it’s time to focus on the final details. Add some shading to create depth and dimension, especially around the eyes, nose, and mouth. Darken the fur in certain areas to create shadows and highlights. Take your time with this step and remember to blend the shading seamlessly.
Conclusion
Congratulations, you’ve successfully learned how to draw a Keeshond! By following these step-by-step instructions and using your observation skills, you’ve created a beautiful representation of this adorable dog breed. Keep practicing and experimenting with different techniques to further improve your drawing skills. Now go ahead and share your masterpiece with the world!