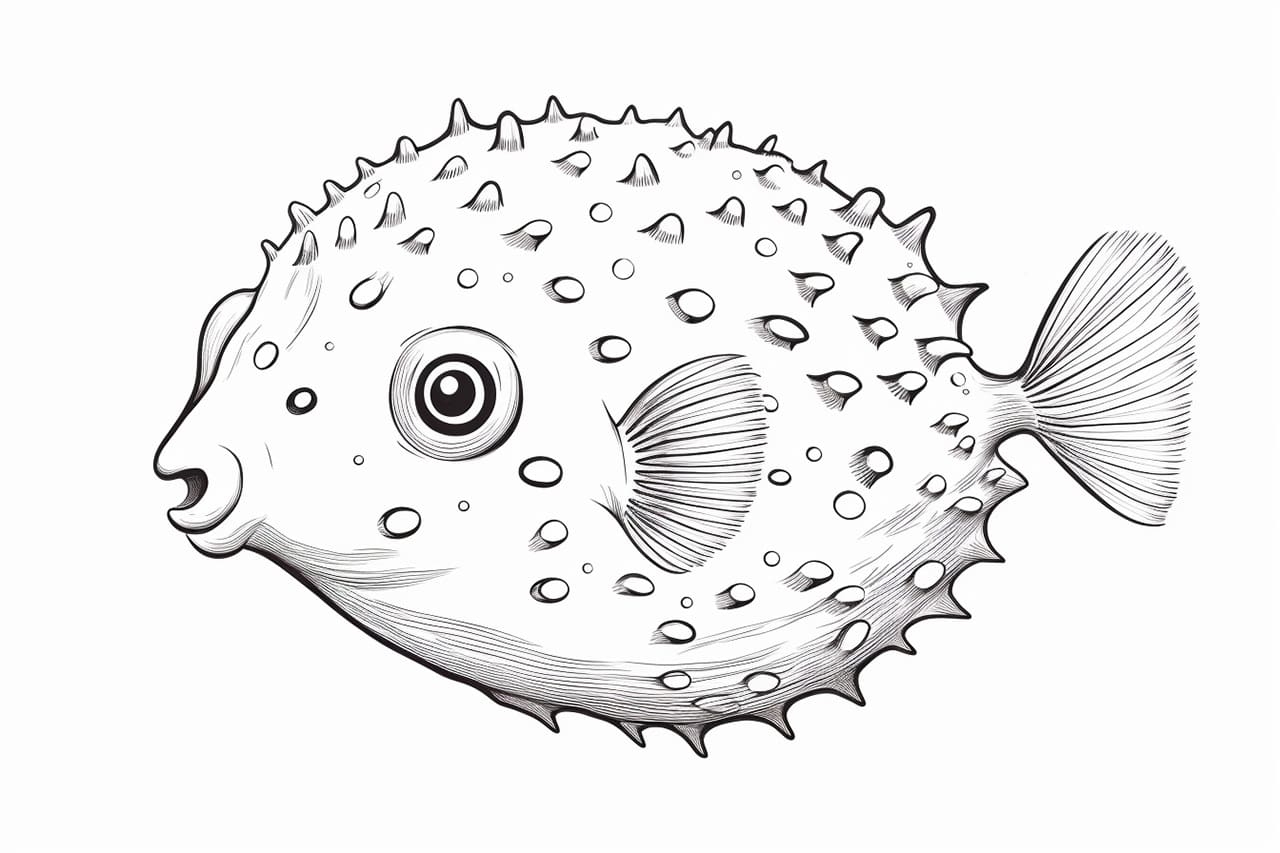
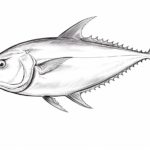
Welcome to this step-by-step guide on how to draw a pufferfish! Pufferfish are fascinating creatures known for their unique body shape and ability to inflate themselves when threatened. Whether you’re a beginner or an experienced artist, this tutorial will provide you with easy-to-follow instructions to create a beautiful and accurate representation of a pufferfish. So, let’s dive right in!
Materials Needed
Before we begin, make sure you have the following materials ready:
- Pencil
- Eraser
- Paper
- Colored pencils or markers (optional)
Now that you have your materials ready, let’s get started on our pufferfish drawing!
Step 1: Basic Shape
Start by drawing a large circle in the center of your paper. This circle will serve as the body of the pufferfish. Take your time to ensure the circle is proportional and well-rounded. Don’t worry about making it perfect – we can always make adjustments later.
Step 2: Eyes and Mouth
Next, draw two small circles towards the top of the body circle for the pufferfish’s eyes. Leave some space between the eyes to indicate the fish’s snout. Below the eyes, draw a curved line to form the mouth. Pufferfish have small mouths, so keep it simple.
Step 3: Fins
Now, let’s add some fins to our pufferfish. Starting from the top of the body circle, draw two curved lines that extend outward. These lines will represent the pufferfish’s dorsal fin. Then, draw two more curved lines in the lower part of the body circle to indicate the pectoral fins. Make sure the fins are smooth and follow the natural shape of the fish.
Step 4: Tail
To complete the body, draw a long, curved line starting below the pectoral fins and extending to the right. This line will form the pufferfish’s tail. Add some small lines along the tail to indicate the fin rays.
Step 5: Spikes
Now comes the fun part – adding the iconic spikes to our pufferfish! Start by drawing a few small spikes on top of the body circle. These spikes should be evenly spaced and point outward. Continue adding more spikes all around the body, extending them towards the tail. Take your time and vary the length and direction of the spikes to make it look natural.
Step 6: Details
Let’s add some small details to make our pufferfish drawing more realistic. Draw a small curve inside each eye to represent the iris. Then, add a tiny dot for the pupil. Next, draw a few scales along the body by adding small, overlapping lines. This will give our pufferfish a textured appearance. Finally, draw a line along the pectoral fins and the tail to indicate the fin rays.
Step 7: Coloring (optional)
If you want to add some color to your pufferfish drawing, now is the perfect time! Pufferfish come in various shades of yellow, brown, and gray. Use colored pencils or markers to bring your drawing to life. Consider shading the body and fins to add depth and dimension. Be creative and have fun experimenting with different color combinations!
Conclusion
Congratulations on successfully drawing a pufferfish! By following these step-by-step instructions, you have created a detailed and realistic representation of this fascinating ocean creature. Remember, practice makes perfect, so don’t be afraid to try again and explore different variations.
We hope you enjoyed this tutorial on how to draw a pufferfish. Happy drawing!

