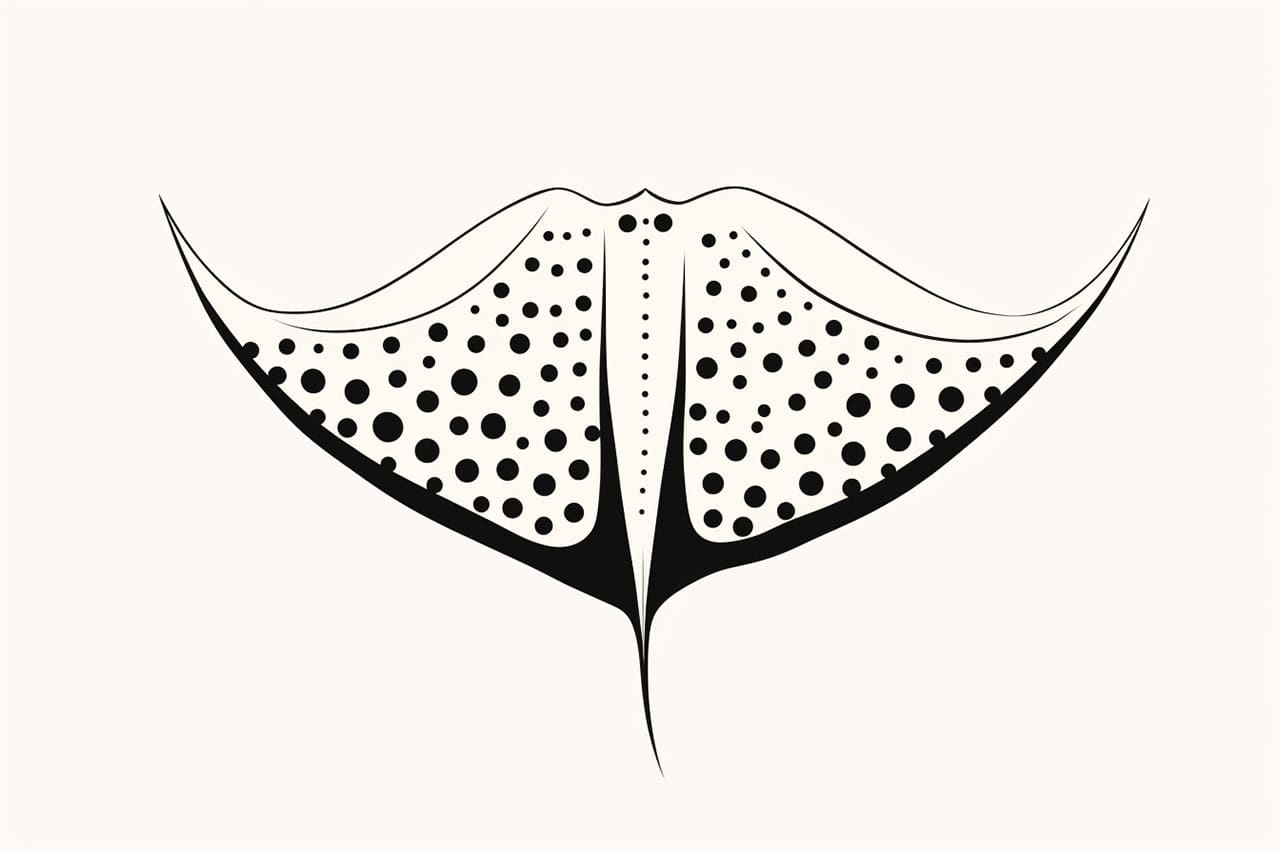
Stingrays are elegant and fascinating creatures that inhabit the ocean waters. With their flat bodies and long, slender tails, they are a unique subject to draw. In this step-by-step tutorial, I will guide you through how to draw a stingray. By following these instructions and using your creativity, you can create a beautiful and lifelike depiction of this majestic creature.
Materials Required
To begin your stingray drawing, you will need the following materials:
- Drawing paper or sketchbook
- Pencil
- Eraser
- Fine-tipped black marker or pen
- Colored pencils or markers (optional)
Having these materials ready will ensure a smooth drawing process. Now, let’s dive into the steps of drawing a stingray!
Step 1: Basic Shape
Start by drawing a large oval shape in the center of your paper. This oval will represent the body of the stingray. Make sure it is slightly elongated horizontally to resemble the shape of a stingray’s body.
Step 2: Tail
Extend a long, curved line from the lower right side of the oval shape. This line will form the tail of the stingray. The tail should be thinner at the end and gradually widen as it gets closer to the body.
Step 3: Head
Next, draw a smaller oval shape at the opposite end of the body. This oval will form the head of the stingray. It should be slightly smaller and narrower than the body.
Step 4: Fins
Extend two long, curved lines from the sides of the body, close to the head. These lines will form the pectoral fins of the stingray. The pectoral fins should be large and triangular-shaped, pointing outward from the body.
Step 5: Eyes and Mouth
Draw two small circles within the head to represent the eyes of the stingray. Place them closer to the sides of the head, leaving enough space in between. Then, add a small curved line below the eyes to depict the mouth of the stingray.
Step 6: Dorsal Fin and Spiracles
On top of the body, near the center, draw a triangular-shaped fin. This fin is called the dorsal fin and it will add detail to your drawing. Also, add two small teardrop shapes on both sides of the head to represent the spiracles, which are respiratory openings for the stingray.
Step 7: Skin Texture
To make your stingray drawing more realistic, add some texture to its skin. Use short, curved lines to form a series of small, overlapping scales along the body and tail. Be sure to also add some lines to the pectoral fins to indicate the rays or spines.
Step 8: Details
Now it’s time to add more details to your stingray drawing. Use your pencil or marker to define the outline of the body, tail, fins, and head. Pay attention to the curves and contours of the stingray, making them more prominent. You can also add small dots or lines to the eyes to give them a realistic appearance.
Step 9: Erasing
Carefully erase any unwanted pencil lines or guidelines from your drawing. This will help make the final lines cleaner and more defined. Be cautious while erasing to avoid smudging or damaging your drawing.
Step 10: Coloring (Optional)
If you prefer a colored drawing, this is the step where you can bring your stingray to life. Use colored pencils or markers to add shades and tones to your drawing. Stingrays come in various shades of gray, brown, and even blue. Add some light shading to give your drawing depth and dimension.
Conclusion
Congratulations! You have successfully drawn a stunning stingray. By following these step-by-step instructions, you should now have a detailed and realistic representation of this magnificent creature. Keep practicing, exploring different angles and poses, and soon you’ll be able to draw stingrays with ease.
Remember, the key to becoming a great artist is practice and patience. So don’t be discouraged if your first attempt doesn’t turn out exactly as expected. With each drawing, you’ll improve your skills and develop your own unique style.
I hope you enjoyed this tutorial on how to draw a stingray. Happy drawing!


