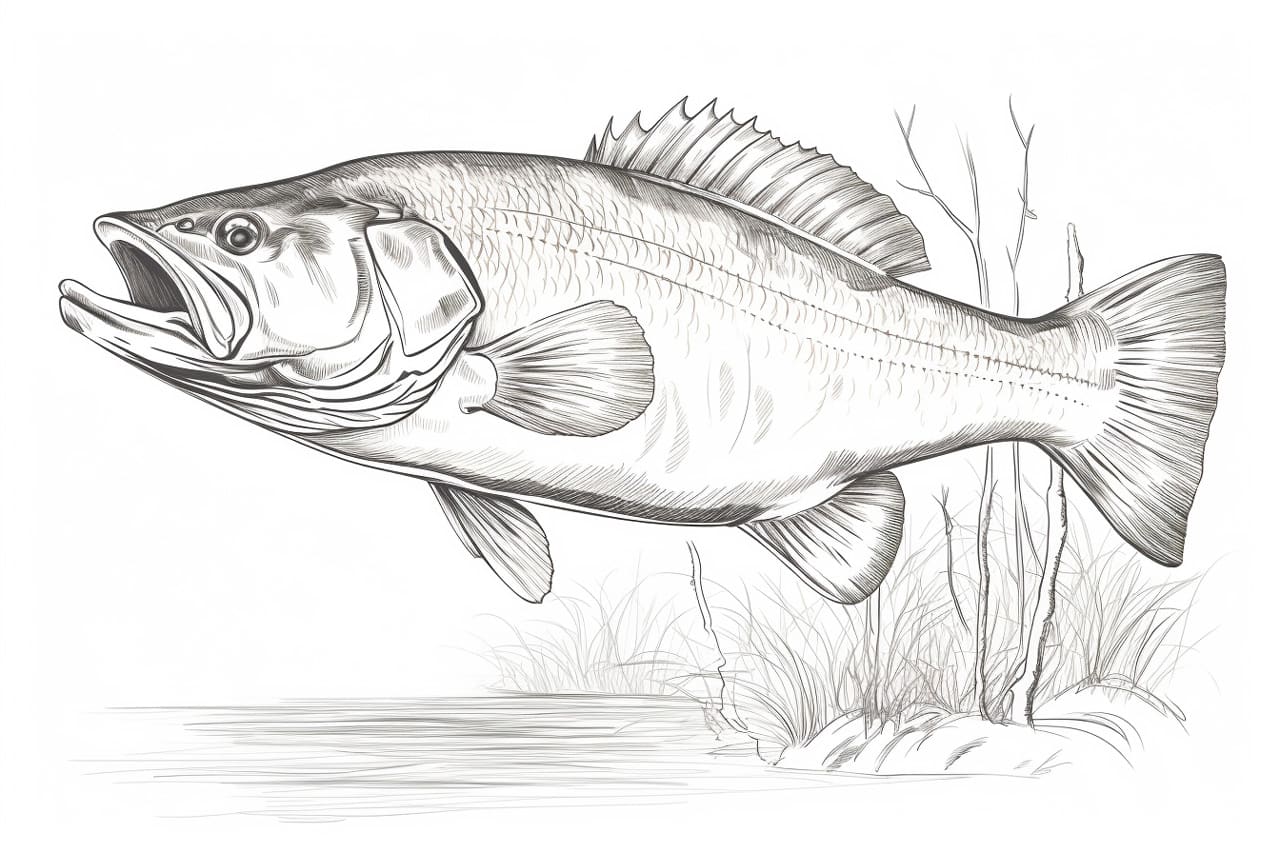
Drawing a bass fish can be a rewarding and enjoyable experience. Whether you are a beginner or an experienced artist, capturing the unique characteristics of this fish can be a fun challenge. In this step-by-step guide, we will walk you through the process of how to draw a bass fish, from the basic outline to adding the intricate details. So grab your sketchbook and let’s get started!
Materials Required
Before we begin, let’s gather the materials you will need:
- Pencil: Choose a medium-grade pencil that allows you to achieve both light and dark lines.
- Eraser: A kneaded eraser or a vinyl eraser will help you make corrections and clean up any unwanted lines.
- Sketchbook or Drawing Paper: Select a smooth surface paper that is suitable for pencil drawings.
- Reference Image: Find a clear, high-quality image of a bass fish to use as a reference. You can use a photograph or search for a reference image online.
Now that you have your materials ready, let’s dive into the steps of drawing a bass fish!
Step 1: Basic Outline
Start by lightly sketching the basic outline of the bass fish. Begin with a simple oval shape to represent the body. Then, add a slightly curved line that extends from the back of the head to indicate the back. Connect the body and the back with a gentle curve to form the belly. Remember to keep your lines light and loosely drawn at this stage.
Step 2: Fin Placement
Next, add the placement lines for the fins. The bass fish has several fins, including the dorsal fin, pectoral fins, pelvic fins, and caudal fin. These fins provide the fish with stability and allow it to swim gracefully. Carefully observe the reference image and lightly sketch the fin positions. Take note of the size and shape of each fin as they may vary between different types of bass fish.
Step 3: Eye and Mouth
Move on to drawing the eye and mouth of the bass fish. The eye is generally located on the upper side of the head, closer to the snout. Depict the eye using a small oval shape and add a tiny circle inside to represent the iris. Draw a small triangle shape for the mouth, with a tiny curve at the end to suggest the lower lip. Remember to keep your lines light and adjust the shapes as needed.
Step 4: Body Details
Now, let’s add some details to the body of the bass fish. Start by drawing a curved line that begins at the back of the head and extends towards the tail, following the contour of the body. This line represents the lateral line, a prominent feature of the bass fish. Then, add additional lines to indicate the scales on the body. These lines should follow the shape of the body and gradually become smaller towards the tail.
Step 5: Fins and Tail
Refine the placement lines of the fins and tail that you sketched earlier. Add more definition and shape to each fin, making sure to follow the reference image closely. Pay attention to the curves and angles of the fins, as they contribute to the overall appearance of the fish. Use light, curved lines to suggest the fins and tail, creating a sense of motion and flow.
Step 6: Final Details
In this final step, focus on adding the finishing touches to your bass fish drawing. Pay close attention to the intricate details such as the gills, mouth, and scales. Use small, delicate lines to suggest the texture and patterns on the body. Take your time to observe the reference image and capture the unique characteristics of the bass fish.
Conclusion
Congratulations! You have successfully learned how to draw a bass fish. By following these step-by-step instructions and practicing your observation skills, you can create a realistic and detailed representation of this fascinating fish. Remember to keep experimenting and refining your technique, as each drawing is an opportunity for growth and improvement.
So grab your pencil and start sketching your very own bass fish today!