As an expert artist and drawing instructor, I will guide you through the process of drawing wood in a clear, concise, and step-by-step manner. Wood is a versatile and interesting subject to draw, as it can exhibit various textures, colors, and patterns. Whether you’re a beginner or an experienced artist looking to enhance your skills, this article will provide you with the knowledge and techniques to create realistic wood drawings.
Materials Required
Before we start, gather the following materials:
- Drawing paper or sketchbook
- Pencils of different grades (2B, 4B, and 6B are recommended)
- Eraser (preferably a kneaded eraser)
- Pencil sharpener
- Tortillon or blending stump
- Reference photo of wood grain (optional but helpful)
Now that you have everything you need, let’s begin the process of drawing wood!
Step 1: Outline the Shape of the Wood
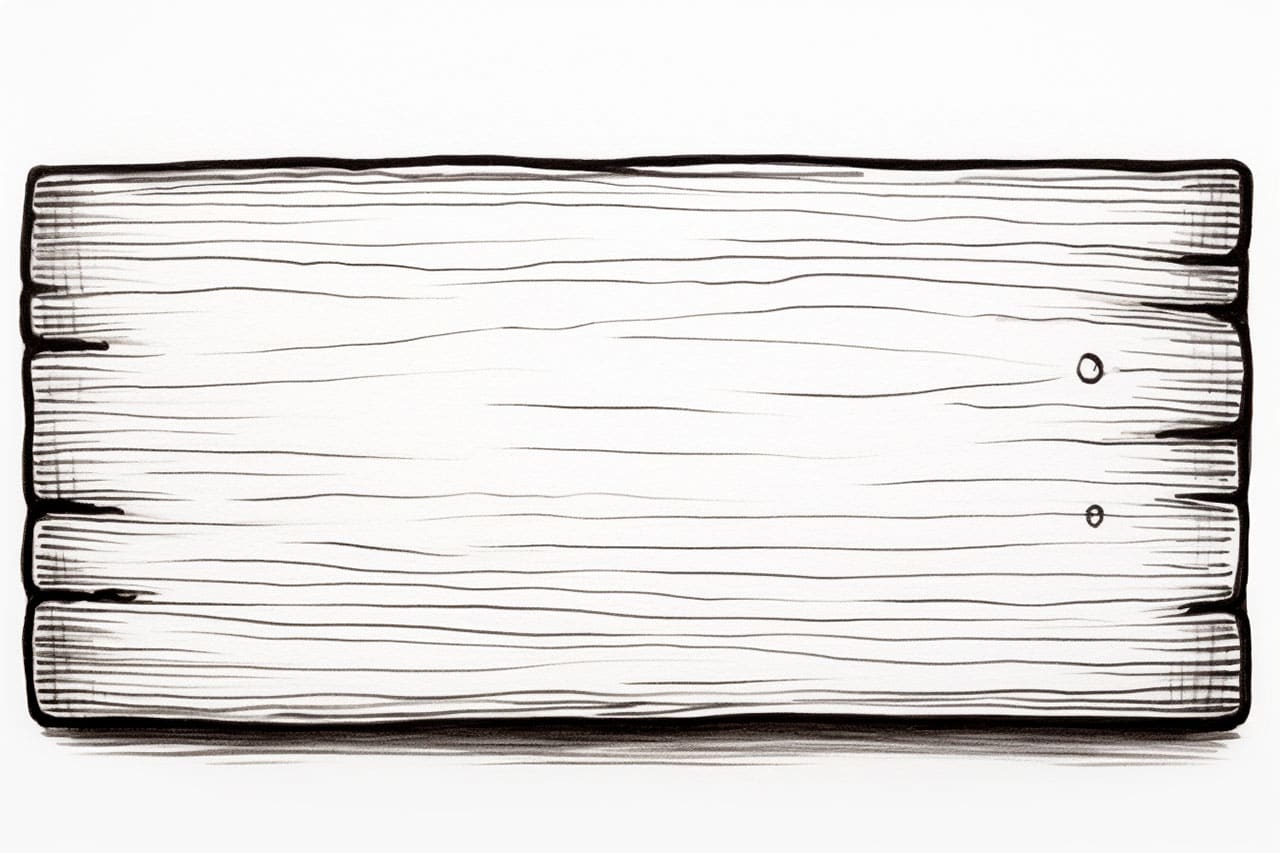
Start by lightly sketching the basic shape of the wood you want to draw. Consider the type of wood you’re drawing, as different types have distinct characteristics. For example, a tree trunk will have a cylindrical shape, while a small log may have irregular edges.
Step 2: Add Details and Texture
Observe the reference photo or visualize the texture of the wood you’re drawing. Wood usually has visible grain lines and knots. Use short, curved lines to represent the grain, allowing them to vary in length, width, and direction. Remember, the grain lines should follow the natural flow and direction of the wood.
Step 3: Create the Illusion of Depth
To make your wood drawing look three-dimensional, it’s important to establish a sense of depth. Start by shading the areas where the wood appears darker. Use a softer pencil (4B or 6B) to achieve a richer and darker tone. Gradually build up the shading, paying attention to the areas where the wood curves or overlaps.
Step 4: Blend and Smoothen the Shading
Use a tortillon or blending stump to blend the shading and create a smooth transition between light and dark areas. This will help give your wood drawing a more realistic and cohesive appearance. Be careful not to overblend, as wood often has natural variations in texture.
Step 5: Refine the Details
Now that you have established the basic shapes, texture, and shading, it’s time to refine the details. Take a step back and observe your drawing as a whole. Look for any areas that require additional texture or shading. Add finer details such as cracks, knots, or wood grain to enhance the realism of your drawing.
Step 6: Add Highlights and Shadows
To make your wood drawing pop, it’s essential to add highlights and shadows. Identify the light source in your reference photo or imagine it in your mind. Use an eraser or a kneaded eraser to carefully lift off graphite and create highlights on the areas where the light hits the wood. Additionally, darken the areas that are in shadow using a softer pencil.
Step 7: Final Touches and Detailing
At this stage, take some time to refine any remaining details and enhance the overall appeal of your wood drawing. Evaluate the contrast, textures, and proportions to ensure a realistic representation. Make any necessary adjustments to achieve the desired outcome.
Conclusion
Drawing wood can be a rewarding experience, allowing you to explore the intricate details and textures found in this natural material. By following these step-by-step instructions, you can create a realistic and visually appealing wood drawing. Remember to practice regularly and experiment with different techniques to further improve your skills as an artist.
Now that you have learned how to draw wood, grab your materials, and start creating stunning wood drawings that will impress viewers!


