
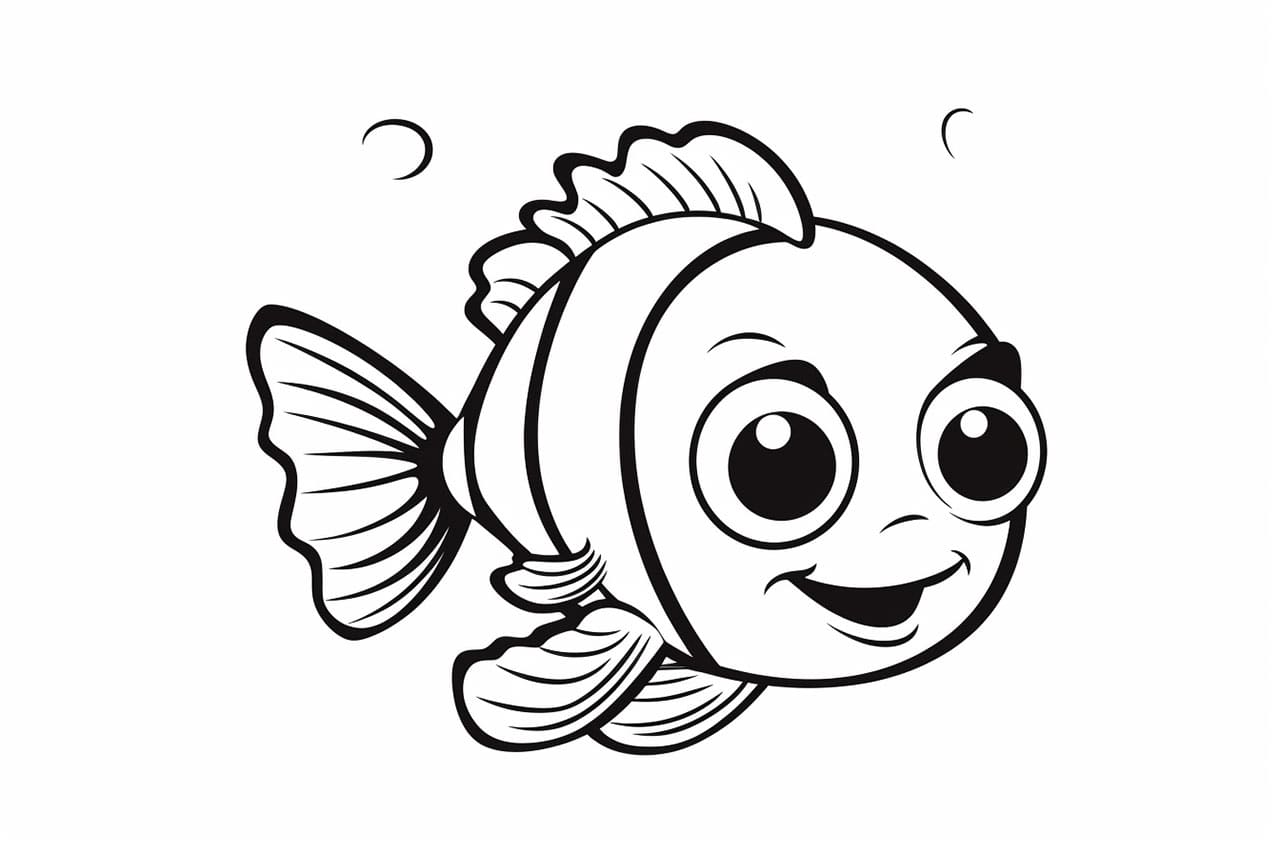
Are you a fan of the animated film Finding Nemo and wish to draw the lovable clownfish? Look no further! In this step-by-step guide, we will explore the process of drawing Nemo from scratch. Whether you’re a beginner or an experienced artist, this tutorial will help you capture Nemo’s charm and bring him to life on paper.
Materials Required:
Before we dive into the step-by-step process, let’s gather the materials you’ll need to draw Nemo:
- Drawing paper: Choose a smooth, sturdy paper suitable for sketching and coloring.
- Pencil: Select a pencil with a medium lead (HB or 2B) for sketching Nemo’s outline.
- Eraser: Have a soft eraser handy to remove any unnecessary lines and mistakes.
- Fine-tip black marker or pen: This will be used to trace the final lines of your drawing.
- Colored pencils or markers: To add vibrant colors to your Nemo drawing.
- Reference image: Find a clear picture of Nemo to assist you in capturing his distinctive features accurately.
Now that we have all our materials ready, let’s begin drawing Nemo step-by-step!
Step 1: Sketch Nemo’s Outline
Start by lightly sketching an oval shape for Nemo’s body. Then, add two slightly curved lines intersecting in the center to signify his facial features. Draw a larger oval shape above the intersecting lines for his eyes. Finally, add a smaller oval below the intersecting lines to indicate Nemo’s mouth.
Step 2: Add Details to the Face
Within the eye oval, draw a smaller circle for Nemo’s iris. Shade the iris, leaving a small portion unshaded to create a reflection effect. Add a smaller circle within the iris to represent the pupil. Repeat these steps for the second eye.
Next, draw a gentle curve above each eye to depict Nemo’s eyebrows. These curves should give Nemo a friendly and expressive appearance.
Step 3: Define Nemo’s Body and Fins
Extend the outline of Nemo’s body by adding two long curves on each side, making sure they taper towards the end. These curves will serve as his side fins.
Beneath the body, draw a slightly curved line for Nemo’s belly. Then, extend two smaller curves from the bottom of the body, angling them towards the back. These curves will represent Nemo’s tail fin.
Step 4: Draw Nemo’s Stripes
Nemo’s iconic stripes are an essential part of his character. Sketch three diagonal lines across his body, starting from the top and ending near the belly. These lines should slightly curve along the body’s contours.
Step 5: Add Final Details
Refine your sketch by adding a few finishing touches. Draw a small triangular shape at the top of Nemo’s head to represent his dorsal fin. Add small curves near the side fins to represent his gills. Finally, add details to his tail fin by sketching a wavy pattern.
Step 6: Ink Your Drawing
Once you are satisfied with your pencil sketch, it’s time to ink your drawing. Carefully trace over the final lines of your drawing using a fine-tip black marker or pen. Allow the ink to dry completely before erasing any remaining pencil lines.
Step 7: Color Nemo
Now comes the fun part – coloring Nemo! Using vibrant colored pencils or markers, fill in the body with orange. Leave the stripes blank for now. Color his side fins and tail fin with black or a dark shade of gray.
Next, surround the iris of Nemo’s eyes with a bright shade of orange. Leave a small white portion uncolored to depict the reflection. Color the pupil with black or a dark shade of gray.
Finally, carefully color the three stripes with alternating shades of black and white or light gray. Add some shading by lightly blending darker and lighter shades of orange on Nemo’s body to create depth and dimension.
And there you have it – your very own Nemo! Now, step back and admire your artwork.
Conclusion
Drawing Nemo may seem challenging at first, but with this step-by-step guide and a little practice, you’ll be able to create a delightful representation of this beloved character. Remember to take your time, use references if needed, and enjoy the process of bringing Nemo to life on paper.
We hope you found this tutorial helpful and enjoyable. So grab your materials and get ready to dive into the fascinating world of drawing Nemo!
Related posts:
 How to Draw Kakashi – A Step-by-Step Guide
 How to Draw Bulbasaur: A Step-by-Step Guide
 How to Draw a Dove: A Step-by-Step Guide
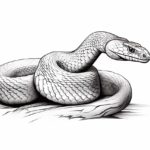 How to Draw a Realistic Snake: A Step-by-Step Guide
 How to Draw Popcorn: A Step-by-Step Guide
 How to Draw a Braid: A Step-by-Step Guide
 How to Draw a Cornucopia: A Step-by-Step Guide
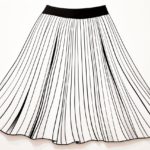 How to Draw a Skirt: A Step-by-Step Guide for Aspiring Artists