Welcome to this step-by-step guide on how to draw a majestic marlin! Whether you’re an experienced artist or just starting out, this tutorial will provide you with clear and concise instructions to help you create a lifelike representation of this powerful ocean creature. So, grab your drawing materials and let’s get started.
Materials Required:
Before we begin, make sure you have the following materials ready:
- Drawing paper or sketchbook
- Pencils (preferably a set with varying degrees of hardness)
- Eraser
- Fine-tipped pens or markers (optional)
- Reference image of a marlin (for inspiration and accuracy)
Now that you have everything you need, let’s dive into the step-by-step process of drawing a marlin.
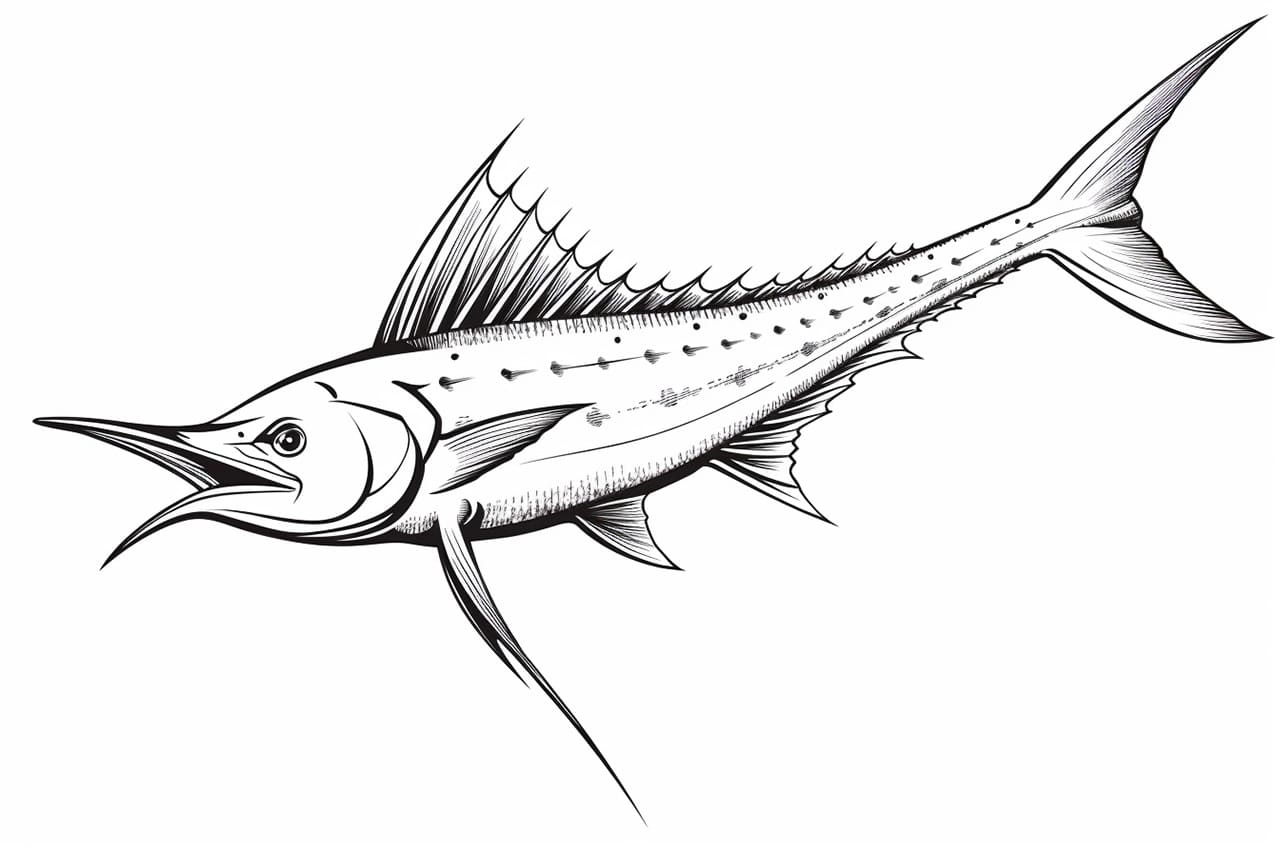
Step 1: Basic Outline
Start by lightly sketching the basic shape of the marlin’s body. Begin with a vertical line to represent the spine, and add a curved line towards the front to outline the head. Then, draw a slightly curved line from the head to form the back of the fish. Finally, extend the line downwards to create the tail.
Step 2: Outline the Head
Add more details to the head by sketching the marlin’s mouth and eye. The mouth should be elongated and pointy, resembling a sword. The eye should be almond-shaped and placed closer to the top of the head.
Step 3: Draw the Dorsal Fin
Next, draw the dorsal fin, which is located on the marlin’s back. Start with a triangle shape placed near the middle of the fish’s body. Make sure it slopes backward and has a pointed tip.
Step 4: Add the Pectoral Fins
To give the marlin a sense of motion, draw two pectoral fins on both sides of the body, just behind the head. These fins should be long and narrow, tapering towards the ends.
Step 5: Sketch the Tail
Now it’s time to draw the magnificent tail of the marlin. Begin by adding a triangle shape at the end of the body, with the base of the triangle connected to the body. Make the triangle wider towards the base and narrower towards the tip.
Step 6: Detail the Body & Fins
Add more details to the body and fins of the marlin by drawing a series of small, V-shaped lines along the back to represent the scales. Then, sketch additional lines along the fins to indicate the rays.
Step 7: Refine the Outline
Using your initial sketch as a guide, refine the outline of the marlin’s body by darkening the lines and erasing any unnecessary strokes. Pay attention to the curves and contours, ensuring a smooth and flowing shape.
Step 8: Add Facial Features
Now let’s add more life to the marlin by detailing its face. Draw the mouth by adding a line along the lower jaw to give it depth. Add a small triangular shape at the tip of the upper jaw, resembling a hook. Then, sketch the gill slits on the side of the fish’s head using short curved lines.
Step 9: Enhance the Fins
Give the fins more definition by adding curved lines to represent the membrane between the rays. Make sure the lines follow the natural curves of the fins, creating a sense of movement.
Step 10: Finalize the Details
Take a closer look at your drawing and make any necessary adjustments. Pay attention to the proportions, making sure the body, fins, and tail are in proper harmony. Add any additional details, such as individual scales or tiny bumps on the skin, to make your marlin even more realistic.
Conclusion
Congratulations on completing your drawing of a marlin! By following these step-by-step instructions, you have created a beautiful representation of this magnificent fish. Remember, practice makes perfect, so don’t hesitate to try this tutorial multiple times to refine your skills. Keep exploring the world of art and continue to challenge yourself with new subjects. Happy drawing!