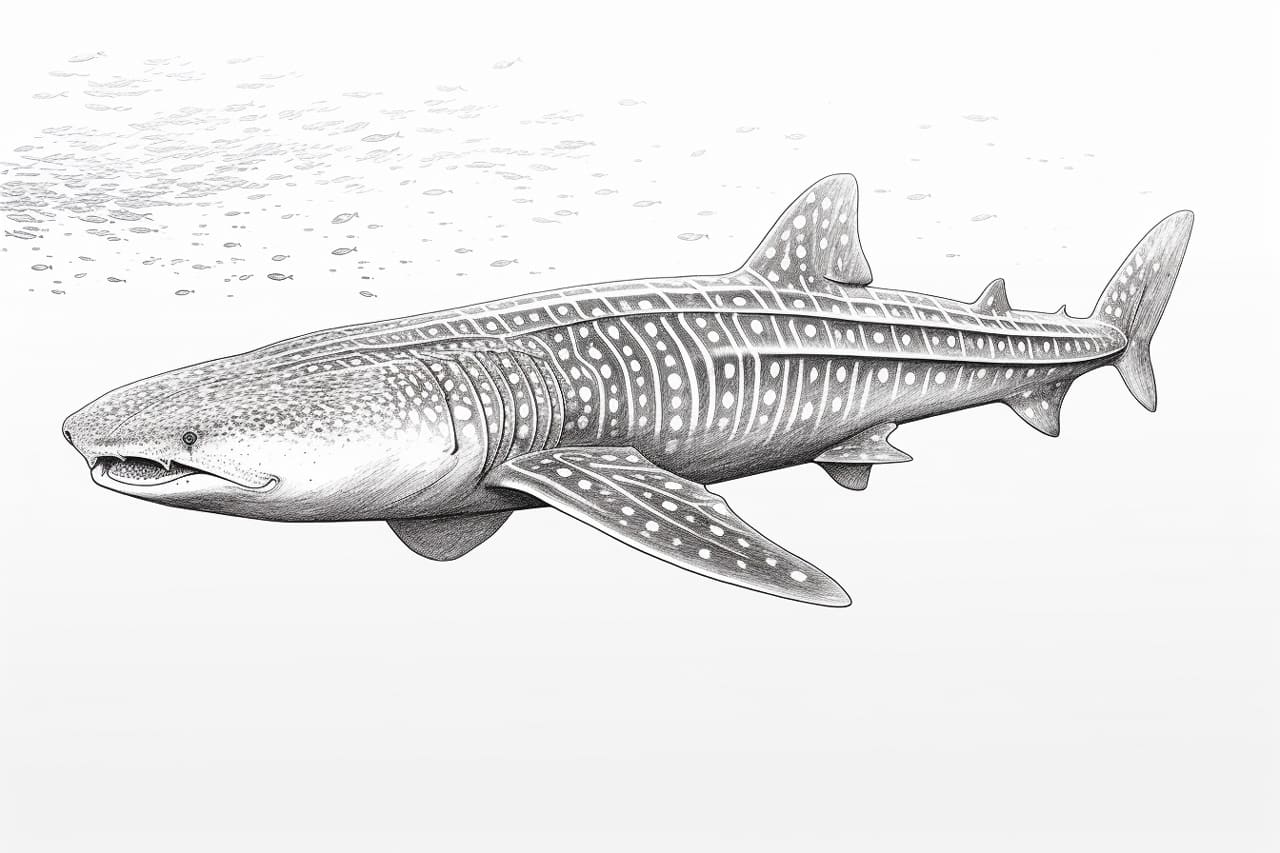
Welcome to this step-by-step tutorial on how to draw a majestic whale shark! In this guide, I will take you through each stage of the drawing process, providing clear and concise instructions to help you create a stunning representation of this fascinating creature. So grab your pencils, paper, and let’s get started!
Materials Required
Before we begin, make sure you have the following materials:
- Pencils (HB, 2B, 4B)
- Eraser
- Drawing paper
- Fine-tip black marker (optional)
- Colored pencils or markers (optional)
Now that you have all the necessary materials, let’s dive into the step-by-step process of drawing a whale shark!
Step 1: Outline the Basic Shape
Start by drawing an oval shape in the center of your paper. This will serve as the body of the whale shark. Keep the lines light and sketchy as they will be erased later on.
Step 2: Add the Head and Tail
Extend a slightly curved line from one end of the oval to create the head of the whale shark. Then, draw a long, thin tail extending from the other end of the oval. The tail should be wider towards the base and taper off as it reaches the tip.
Step 3: Draw the Pectoral Fins
On both sides of the oval, draw the pectoral fins. These fins should be large and triangular in shape. Position them slightly angled downward as if the whale shark is swimming.
Step 4: Add Details to the Head
Now it’s time to add some features to the head of the whale shark. Draw a small, circular eye near the front of the head. Next, sketch in the mouth by drawing a horizontal line that curves slightly downwards. Add a smaller line within the mouth to represent the inside of the mouth.
Step 5: Sketch the Dorsal Fin
On top of the body, draw a triangular shape to represent the dorsal fin. This fin should be tall and positioned towards the back of the body.
Step 6: Add the Gills
Beneath the head, draw several curved lines to represent the gills. These lines should be slightly angled and evenly spaced.
Step 7: Outline the Body Patterns
Now let’s add some patterns to the body of the whale shark. Draw a series of irregular shapes, such as ovals and circles, along the top and sides of the body. These shapes will resemble spots and markings found on the actual whale shark.
Step 8: Refine the Outline
Using a darker pencil, go over the main outline of the whale shark to make it more prominent. Erase any unnecessary lines from the initial sketch, such as the oval shape and any stray lines.
Step 9: Add Texture and Details
To give your drawing a more realistic look, add some texture and details to the whale shark. You can do this by adding short, curved lines along the body to represent the skin’s texture. Don’t forget to darken the eye and add a small dot for the pupil.
Step 10: Color your Drawing (Optional)
If you wish to add color to your whale shark drawing, grab your colored pencils or markers and start shading in the various parts of the shark. Refer to a reference image or use your creativity to choose appropriate colors for the body, fins, and patterns.
Conclusion
Congratulations! You have successfully learned how to draw a whale shark. By following these step-by-step instructions, you should now have a beautiful drawing of this magnificent creature. Remember, practice makes perfect, so keep refining your skills and exploring different techniques. Enjoy the process of creating art and have fun bringing your shark drawings to life!


