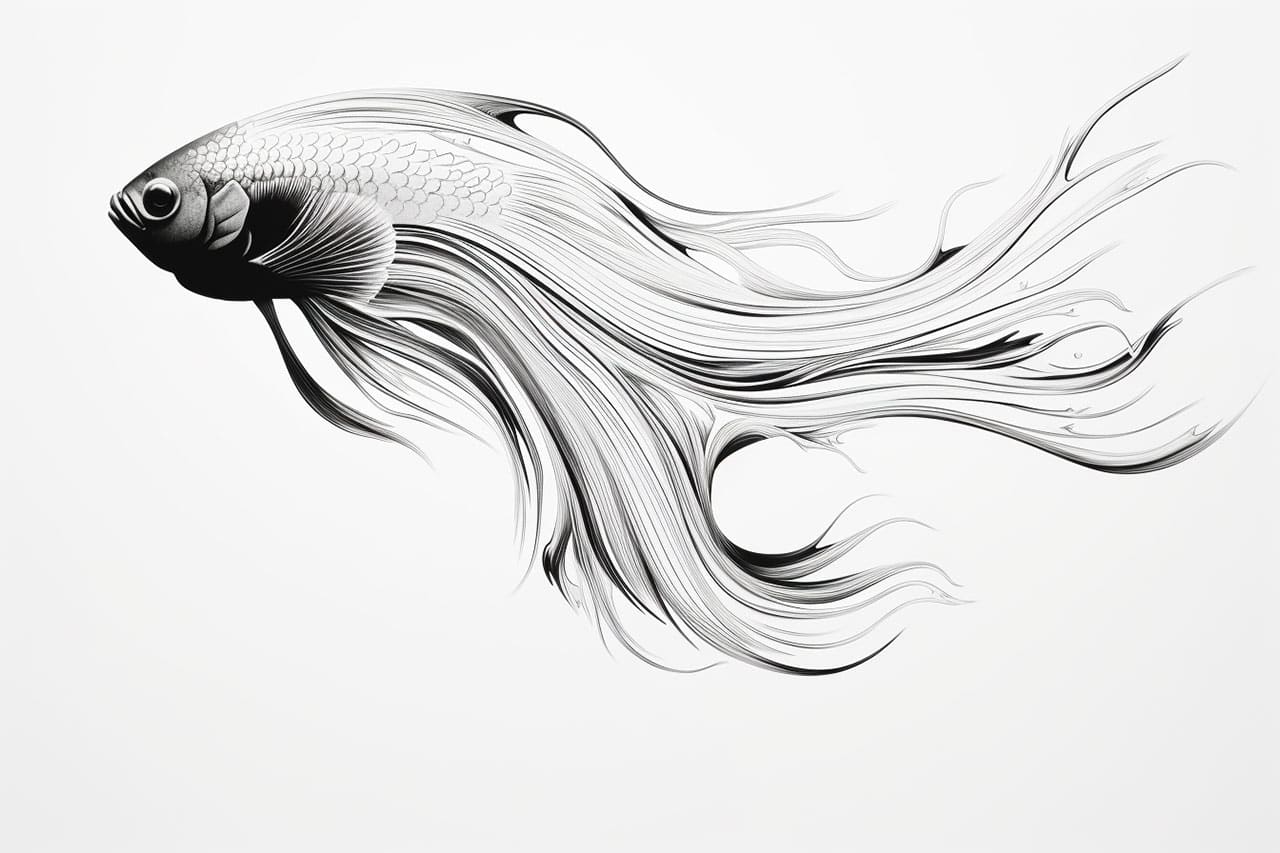
Welcome to this step-by-step guide on how to draw a Betta fish! Betta fish, also known as Siamese fighting fish, are famous for their vibrant colors and flowing fins. In this tutorial, we will break down the process into easy-to-follow steps, so even if you’re a beginner, you’ll be able to create a beautiful Betta fish drawing. So, let’s dive in!
Materials Required:
Before we begin, make sure you have the following materials ready:
- Drawing paper or sketchbook
- Pencil (HB or 2B)
- Eraser
- Fine-tip black marker or pen
- Colored pencils or markers (optional)
Now that you have your materials ready, let’s get started!
Step 1: Sketch the Body Shape
Start by drawing an oval shape for the body of the Betta fish. It should be slightly tilted to the right, as if the fish is swimming. This oval will serve as a guide for the body proportions.
Step 2: Add the Tail
Extend the oval shape on the right side to create the tail of the Betta fish. The tail can be long and flowing, so feel free to get creative with its shape. You can make it look like a fan or a crescent moon.
Step 3: Draw the Head and Mouth
On the left side of the oval, draw a slightly elongated shape for the head of the fish. At the front of the head, add a small pointed shape for the mouth. Betta fish have a distinctive mouth shape, so pay attention to its proportions.
Step 4: Outline the Fins
Next, draw the dorsal fin, which is located on the back of the Betta fish. It should start from the middle of the body and extend upward. Then, sketch the anal and pelvic fins on the underside of the body, near the tail. These fins can be smaller and more delicate compared to the dorsal fin.
Step 5: Add Details to the Fins
To make the fins look more realistic, add some lines to indicate the rays within the fins. These lines should follow the shape of each fin and taper towards the edges. This will give the fins a sense of depth and movement.
Step 6: Draw the Eye
Draw a small circular shape above the mouth for the eye of the Betta fish. Inside the eye, add a smaller circle to represent the iris. Leave a tiny spot unshaded within the iris to create a highlight, which will make the eye look more lively.
Step 7: Sketch the Gills
On the left side of the fish’s head, add a few curved lines to represent the gills. These lines should extend from the head towards the body. Keep them relatively short and evenly spaced.
Step 8: Refine the Body Shape
Take a moment to refine the shape of the Betta fish’s body. Make sure it looks smooth and streamlined. You can erase any unnecessary guidelines or construction lines from the earlier steps.
Step 9: Add Scales
Betta fish have beautiful scales that cover their bodies. To represent these scales, draw a series of small “U” shapes along the body. Start at the head and work your way towards the tail, following the contour of the fish. Don’t forget to add scales to the upper part of the body as well as the tail.
Step 10: Finalize the Drawing
Now that the basic structure and details are in place, go over the entire drawing with a fine-tip black marker or pen. Outline all the important lines and shapes, making the fish stand out more. This step will bring your drawing to life and give it a professional look.
Conclusion
Congratulations on completing your Betta fish drawing! By following the step-by-step instructions in this guide, you have learned how to capture the unique beauty of these magnificent fish on paper. Remember, practice makes perfect, so don’t hesitate to experiment with different poses, colors, or even backgrounds to make your Betta fish drawings even more captivating.
Happy drawing!