Welcome to this step-by-step guide on how to draw a kitten! Whether you’re an aspiring artist or just looking to have fun with drawing, this tutorial will help you create an adorable and lifelike portrayal of a playful kitten. With a few simple tools and some patience, you’ll be able to capture the essence of these lovable creatures on paper. So, let’s get started!
Materials Required
Before we dive into the drawing process, let’s gather all the required materials to ensure a smooth and enjoyable experience. Here’s a list of what you’ll need:
- Drawing paper or sketchbook
- Pencil (preferably HB or 2B)
- Eraser (preferably kneaded or vinyl)
- Fine tip black pen or marker (optional, for outlining)
- Colored pencils or markers (optional, for adding color)
Make sure you have all these materials ready before you begin. Now, let’s move on to the step-by-step instructions!
Step 1: Sketching the Head and Body
Start by sketching a circle for the head of the kitten. Keep it light and loose, as this will be your initial guideline. Then, draw a slightly elongated oval shape underneath the head to represent the body. Connect the head and body with two lines to form the neck.
Step 2: Adding the Facial Features
Using the circle as a reference, add two smaller circles inside for the eyes. Place them slightly towards the center and leave some space in between. Inside each eye, draw a smaller circle for the pupils. Then, add a small triangle shape between the eyes for the kitten’s nose. Finally, sketch a curved line below the nose for the mouth.
Step 3: Drawing the Ears and Whiskers
On top of the kitten’s head, draw two pointy ears. Make them slightly rounded at the tips to maintain their cuteness. Then, from each side of the kitten’s nose, sketch three curved lines to represent the whiskers. These lines should extend outward and slightly upward.
Step 4: Outlining the Face and Body
Using a fine tip pen or marker, carefully go over your pencil lines to outline the kitten’s face and body. Start with the head, eyes, nose, and mouth. Then, move on to the ears and whiskers. Don’t forget to add some details to the eyes, such as eyelashes or shading around the pupils, to make them more expressive.
Step 5: Adding Fur Details
To make your kitten drawing more realistic, sketch some curved lines around the head and body to represent fur. These lines should follow the natural contours of the kitten’s form. Add some shorter lines around the edges of the ears as well.
Step 6: Drawing the Paws and Tail
Connect the body to the head by sketching the kitten’s front paw on one side. Draw an oval shape and add small ovals for the toes. Repeat this process on the other side for the second front paw. Then, extend two slightly curved lines from the body to indicate the back paws. For the tail, draw a long and curved line that starts at the back of the kitten’s body and ends with a fluffy tip.
Step 7: Refining and Erasing
Take a step back and assess your drawing so far. Use your pencil to refine any areas that need adjustment, such as the shape of the head or the positions of the features. Once you’re satisfied with the overall appearance, gently erase the underlying pencil lines, leaving behind only the inked outlines and fur details.
Step 8: Adding Color (Optional)
If you’d like to add some color to your kitten drawing, now is the time! Use colored pencils or markers to carefully fill in the fur, eyes, nose, and other features. You can choose realistic colors or get creative with a variety of shades. Experiment and have fun with this step!
Conclusion
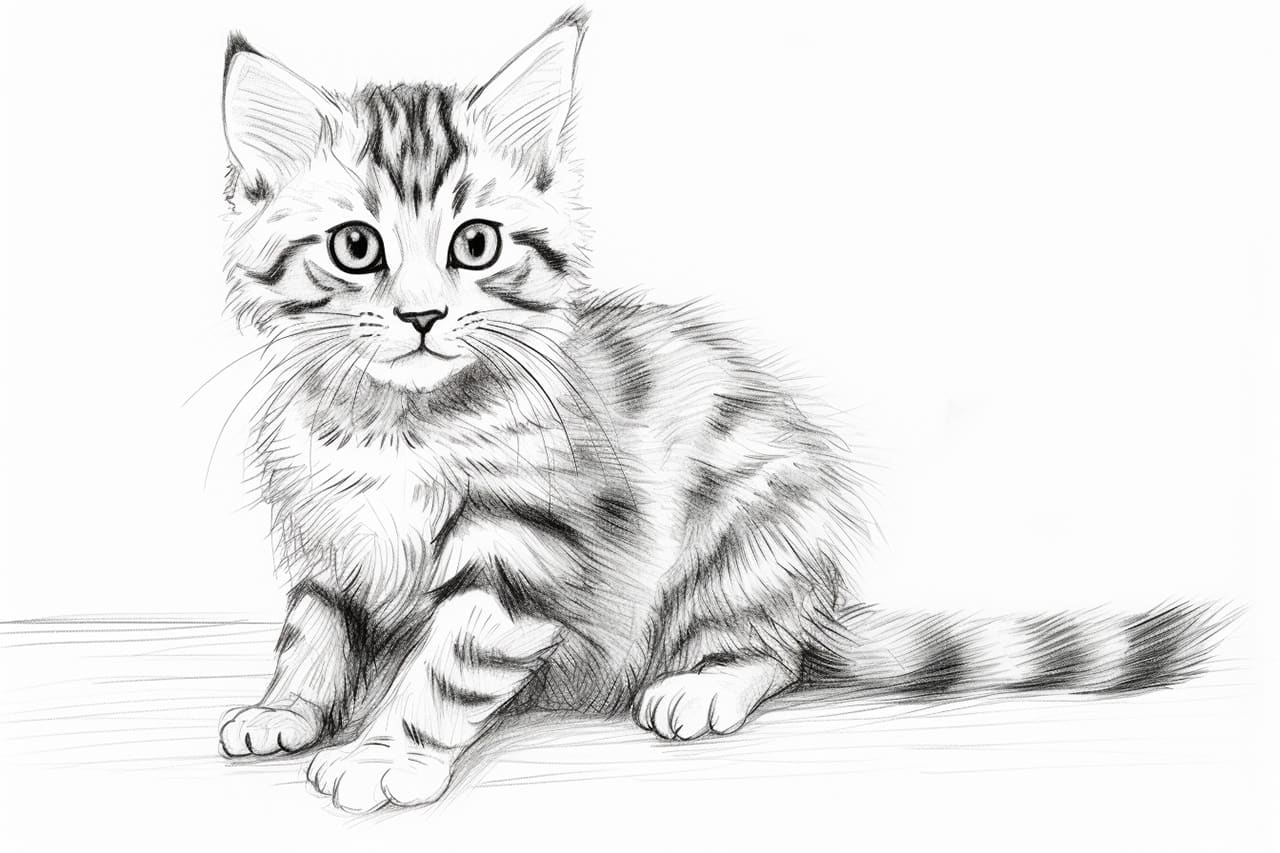
Congratulations on completing your kitten drawing! Following these step-by-step instructions, you’ve learned how to create an adorable representation of a playful kitten. Remember to practice regularly to improve your skills and develop your own unique style. Keep exploring different techniques and subjects; soon enough, you’ll become a confident and versatile artist. Enjoy the process, and happy drawing!