Drawing cartoons can be a fun and creative way to express yourself. If you’re interested in learning how to draw a cartoon fish, you’ve come to the right place! In this step-by-step guide, I will walk you through the process of creating your very own cartoon fish. So grab your pencil and paper, and let’s get started!
Materials Required
Before we begin, make sure you have the following materials:
- Paper: Any type of drawing paper will work. Make sure it’s big enough to accommodate your drawing.
- Pencil: A regular HB pencil is perfect for sketching and outlining.
- Eraser: An eraser is essential for making corrections and cleaning up your lines.
- Colored markers or pencils (optional): If you want to add color to your cartoon fish, you can use markers or colored pencils.
Now that you have your materials ready, let’s dive into the step-by-step process of drawing a cartoon fish!
Step 1: Draw the Fish Body
Start by drawing a slightly curved line in the middle of your paper. This line will serve as the fish’s body. Keep in mind that this is a cartoon fish, so you have the freedom to make it as long or short as you like.
Step 2: Add Fins
Next, draw two triangle-shaped fins on each side of the fish’s body. These fins will help give your cartoon fish a more recognizable fish shape. Place one fin near the front of the body and the other near the back.
Step 3: Draw the Tail
Extend a triangle shape from the back of the fish’s body to create the tail. You can make the tail as big or as small as you like. Feel free to get creative with the shape and style of the tail.
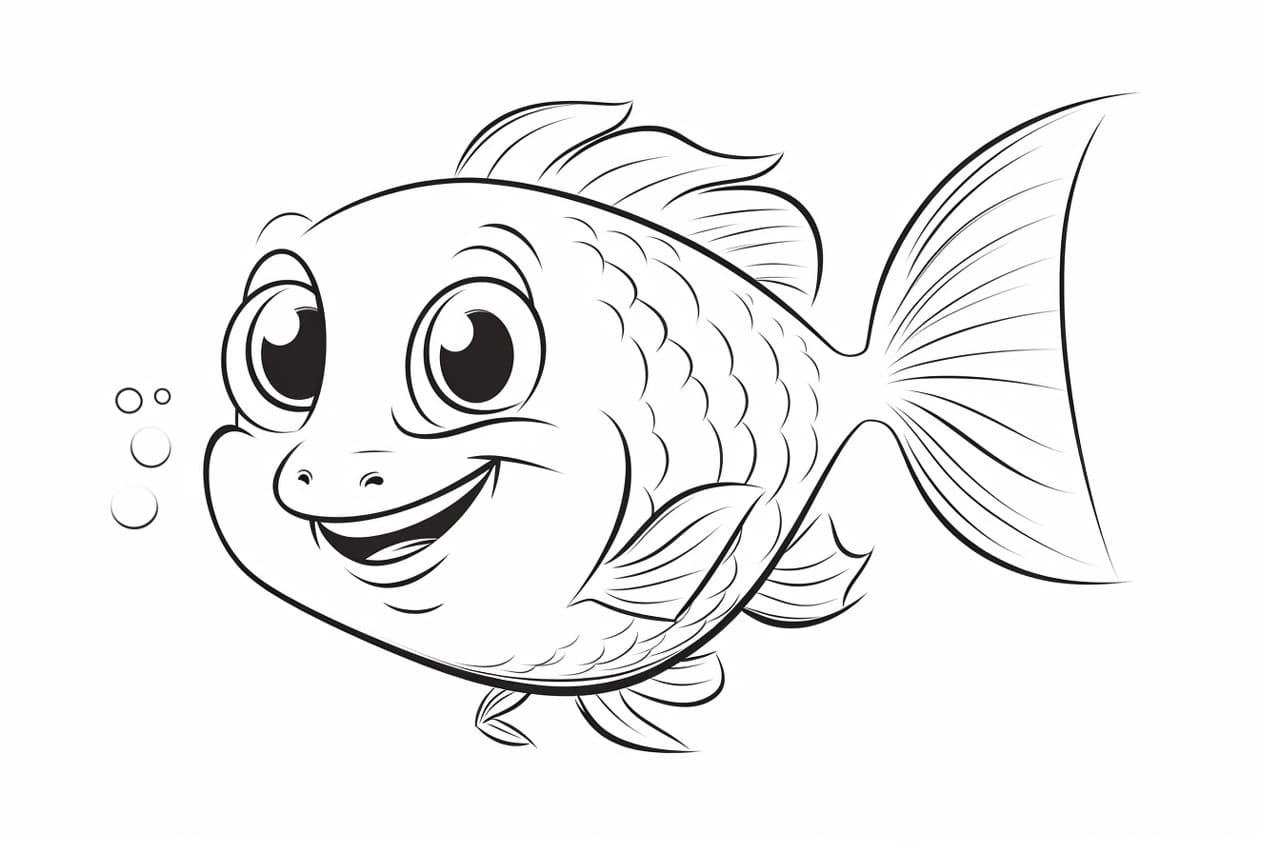
Step 4: Create the Eyes
Now it’s time to give your cartoon fish some personality by drawing its eyes. Draw two large circles near the front of the fish’s body. Leave some space between the circles as this will be the fish’s mouth.
Step 5: Add the Mouth
Beneath the eyes, draw a slightly curved line to represent the fish’s mouth. You can make the mouth as wide or narrow as you like. If you want to give your fish a friendly expression, you can even add a small smile.
Step 6: Detail the Face
To add more detail and depth to the face, draw a smaller circle inside each eye to represent the pupils. This will give your cartoon fish a more lively and expressive look.
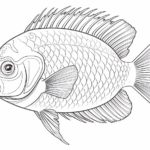
Step 7: Draw Scales
To give your cartoon fish some texture, add small curved lines across its body. These lines will represent the fish’s scales. You can make the scales as big or small as you like, depending on the size of your fish.
Step 8: Erase Unnecessary Lines
Once you are satisfied with your cartoon fish, go ahead and erase any unnecessary guidelines and lines. This will help clean up your drawing and make it look more polished.
Step 9: Color Your Cartoon Fish (Optional)
If you want to add some color to your cartoon fish, now is the time to do it! Use colored markers or pencils to bring your fish to life. You can get creative with the colors and patterns you use. Don’t be afraid to experiment and have fun!
Conclusion
Drawing cartoons is an enjoyable and rewarding hobby. By following these step-by-step instructions, you have learned how to draw a cartoon fish from scratch. Remember to use your creativity and make the drawing your own by adding your personal touch.
I hope you found this guide helpful in creating your cartoon fish masterpiece! Happy drawing!