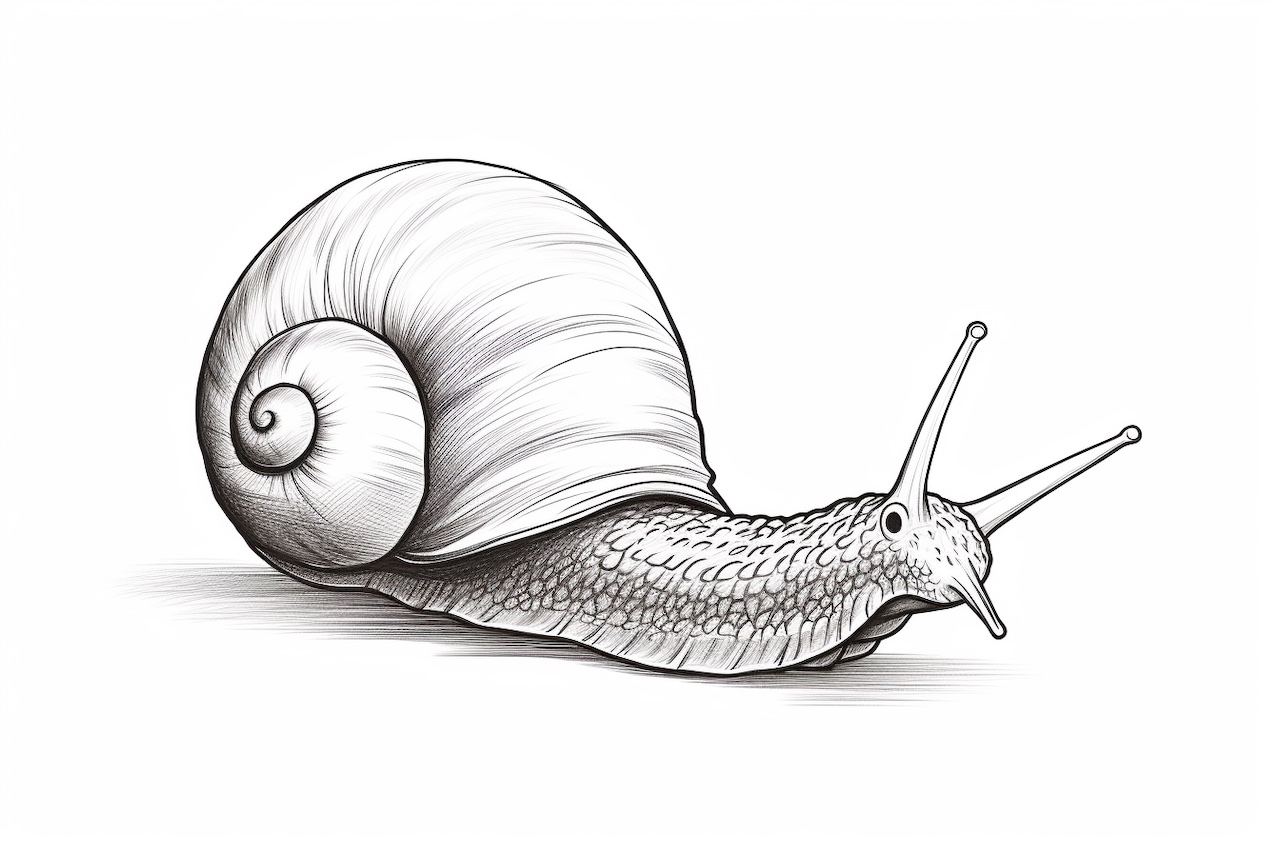
Welcome to this step-by-step guide on how to draw a slug! Slugs are fascinating creatures with their unique shape and textures. Whether you’re an experienced artist looking to expand your skills or a beginner wanting to try something new, this tutorial will walk you through the process of how to draw a slug. So grab your drawing tools and let’s get started!
Materials Required
Before we begin, let’s gather the materials you’ll need:
- Pencil: Choose a graphite pencil with a hardness level that suits your preference. A 2B or 4B pencil is recommended for creating darker lines.
- Eraser: Have a soft eraser handy for making corrections and lightening areas of your drawing.
- Paper: Use a smooth and sturdy paper, such as drawing paper or Bristol board, to ensure your drawing turns out well.
Now that we have our materials prepared, let’s dive into the step-by-step process of drawing a slug.
Step 1: Basic Shape
To start, lightly sketch the basic shape of the slug using simple curved lines. Begin by drawing an elongated oval shape for the body. Slugs have a soft, tube-like body, so keep the lines smooth and flowing. Don’t worry about making it perfect; this is just a rough guideline to help you establish the overall form.
Step 2: Add Antennae and Eyes
Next, draw two small curved lines on top of the slug’s head for the antennae. Slugs have short antennae that protrude from the front of their bodies. Just below the antennae, draw two small circles for the eyes. Slugs have simple eyes that can be represented with basic circles.
Step 3: Detail the Body
Now it’s time to add more detail to the slug’s body. Start by drawing irregular lines along the length of the slug to represent its wrinkled texture. Slugs have distinct ridges and folds on their bodies, so be creative and vary the shapes and sizes of these lines.
Step 4: Sketch the Mouth
Sketch the slug’s mouth just below the antennae. Slugs have a mouth that looks like a small hole or opening. Draw a curved line that slightly dips down in the middle to represent the mouth’s shape.
Step 5: Draw the Tail
Extend the body of the slug to create its tail. Slugs have a tapered and rounded tail that extends from the back of their bodies. Sketch a curving line from the lower end of the slug’s body, gradually getting thinner as it reaches the end.
Step 6: Add Tentacles
At the top of the slug’s head, draw two more small curved lines to represent the slug’s upper tentacles. These are shorter and thicker than the antennae. Just below the upper tentacles, draw two more small circles for the lower tentacles.
Step 7: Refine the Details
Take a closer look at your drawing and start refining the details. Smooth out any rough lines and make adjustments as necessary. Pay attention to the curves and textures of the slug’s body, adding more definition to the ridges and folds.
Step 8: Shade and Add Highlights
To make your slug drawing more realistic, add shading and highlights. Identify the light source in your drawing and shade the areas that would be in shadow. Use gentle, curved strokes to create a sense of form and texture. Leave lighter areas where the light hits the slug, adding highlights to make it appear rounded and three-dimensional.
Step 9: Final Details
Take a step back and evaluate your drawing. Add any final details or touches to enhance your slug’s appearance. You can add additional texture, adjust shading, or refine the lines further to create a more polished result.
Congratulations! You have successfully drawn a slug. By following these step-by-step instructions and practicing your drawing skills, you can create detailed and realistic slug illustrations. Don’t be afraid to experiment and add your own artistic flair to make your drawing unique.
Conclusion
Drawing a slug is a wonderful way to explore the intricacies of nature and improve your artistic abilities. Through careful observation and attention to detail, you can create a beautiful depiction of this fascinating creature. Remember to start with a basic shape, add the necessary details, and refine your drawing with shading and highlights. With practice, you’ll be able to capture the essence of a slug on paper. So grab your materials and start drawing! Happy creating!