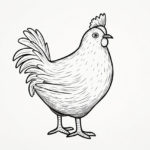
Welcome to this step-by-step guide on how to draw a rooster! In this tutorial, I will be your expert artist and drawing instructor, providing you with simple and easy-to-follow instructions. By the end of this article, you will have created a stunning rooster drawing that you can be proud of. So grab your drawing materials and let’s get started!
Materials Required:
- Paper: A smooth and sturdy drawing paper will work best for this project.
- Pencil: A set of drawing pencils with varying lead hardness (such as HB, 2B, and 4B) will be useful for shading.
- Eraser: Choose a good quality eraser that can remove both light and heavy pencil marks.
- Sharpener: Keep a pencil sharpener handy to maintain a sharp point for detailed work.
- Fine-tip Pen: A fine-tip pen can be used to outline your drawing and add details, but it’s optional.
Now that you have everything you need, it’s time to begin your rooster drawing!
Step 1: Basic Shapes
Start by lightly sketching a circle for the rooster’s head and a slightly elongated oval for the body. These shapes will serve as your guide for capturing the overall proportions of the rooster.
Step 2: Outline the Body
Using the basic shapes as a guide, begin outlining the rooster’s body. Pay attention to the curves and angles of the body, tail, and neck. Keep your lines light and loose, as you can refine them later.
Step 3: Add Details to the Head
Next, add details to the rooster’s head. Sketch two small circles for the eyes, a round beak, and a comb on top of the head. Take your time to get the proportions right, and remember that these are just guidelines.
Step 4: Draw the Feathers
Now, it’s time to draw the feathers of the rooster. Start with the large ones around the neck and work your way down towards the body. Use curved lines to represent the feathers’ shape and direction. Don’t worry about adding too much detail at this stage; we’ll refine it later.
Step 5: Define the Tail
Focus on drawing the rooster’s tail feathers. These feathers are long and majestic, with a distinct shape. Use flowing lines to represent each individual feather, giving the tail a beautiful and realistic appearance.
Step 6: Refine the Head
Go back to the rooster’s head and refine the features. Add more detail to the eyes, such as the pupils, and darken the outline of the beak. You can also add some texture to the comb by lightly sketching small, curved lines.
Step 7: Shading and Texture
To add depth and dimension to your rooster drawing, it’s time to shade and add texture. Start by identifying the areas where shadows would naturally fall, such as under the neck, around the eyes, and under the tail feathers. Use your pencils with varying lead hardness to create smooth transitions between light and dark areas. Hatch or crosshatch to simulate the texture of feathers.
Step 8: Final Details
In this final step, pay attention to small details that will bring your rooster drawing to life. Add more texture to the feathers by adding fine lines and strokes. Darken the outlines where needed to define the shapes further. Use a fine-tip pen to carefully outline the entire drawing if you want, or simply use a darker pencil.
Conclusion
Congratulations on completing your rooster drawing! I hope you enjoyed this step-by-step tutorial and that it helped you develop your drawing skills. Remember, practice is key to improvement, so don’t be afraid to try drawing roosters in different poses and styles. With time and dedication, you can create even more impressive artwork.
Now that you know how to draw a rooster, you can use this newfound skill to create stunning illustrations or simply enjoy the process of drawing. Keep exploring your creativity and have fun!
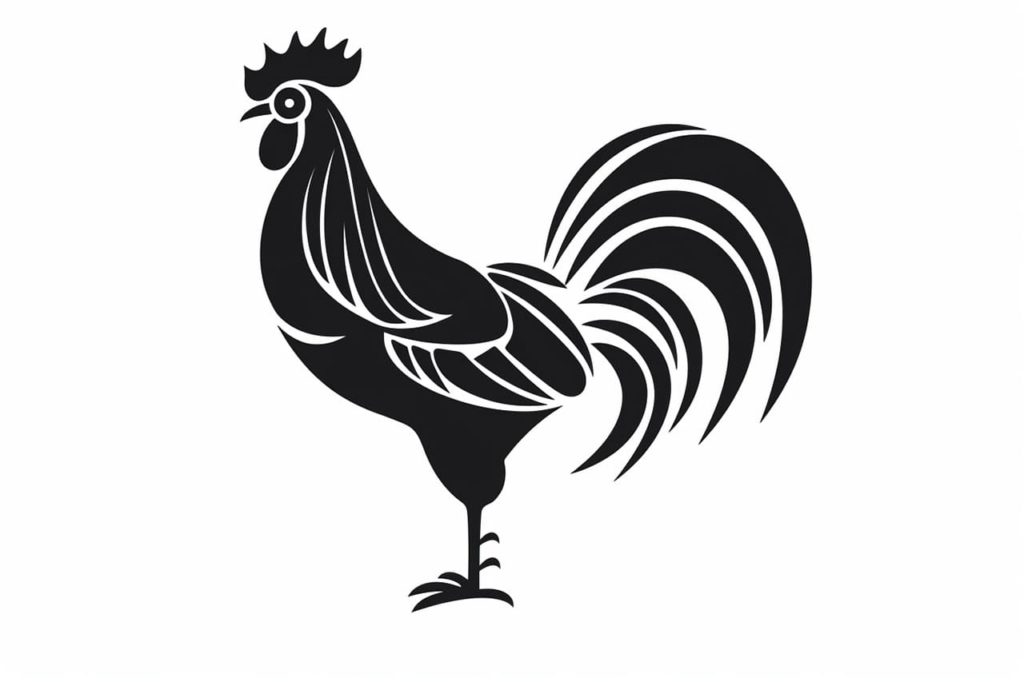
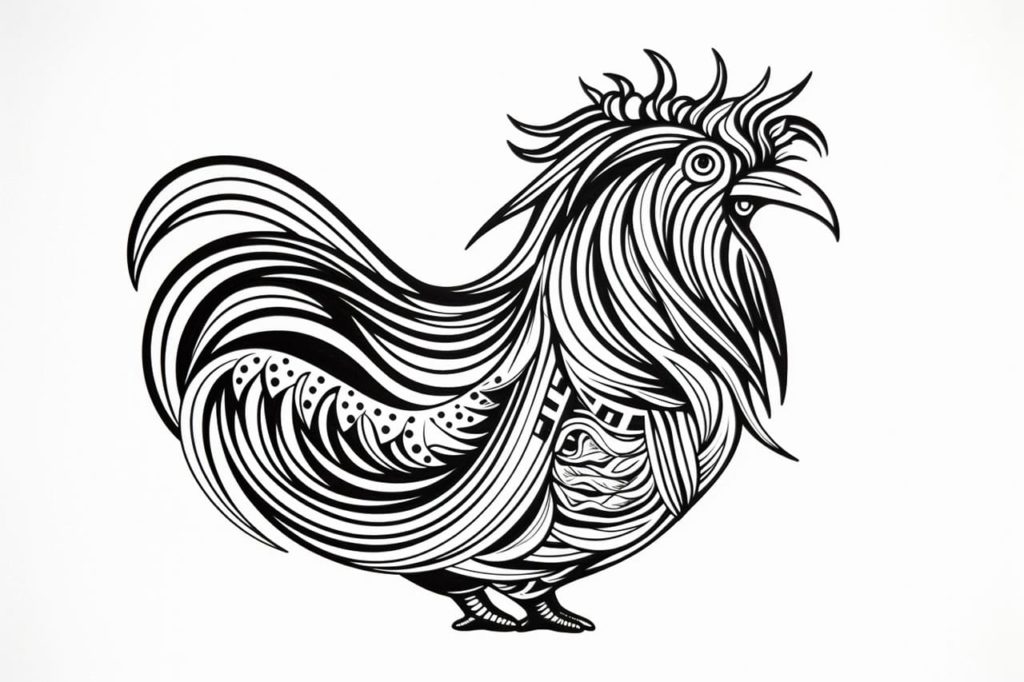
Gallery of Rooster Drawings