Welcome to this step-by-step guide on how to draw a tuna! Whether you are an experienced artist looking to expand your skills or a beginner who wants to try their hand at drawing marine life, this tutorial is perfect for you. By following these simple instructions, you’ll be able to create a realistic and detailed drawing of a tuna. So, let’s dive in!
Materials Required
Before we begin, make sure you have the following materials ready:
- Drawing paper
- Pencil (HB or 2B)
- Eraser
- Fine-tip black pen or marker
- Colored pencils or markers (optional)
Now that you have all the necessary materials, let’s start drawing!
Step 1: Basic Shapes
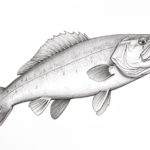
Begin by sketching the basic shapes that will serve as the foundation for your tuna drawing. Start with a large oval shape for the body, followed by a smaller oval shape for the head. Connect the two shapes with a curved line to form the neck.
Step 2: Tail and Fins
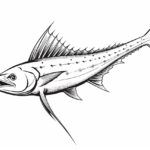
Draw the tail of the tuna by extending two long, curved lines from the bottom of the body. Add a triangle at the end of the lines to form the tail fin. Next, draw two large triangular-shaped fins on each side of the body to represent the pectoral fins. Finally, add a smaller triangular-shaped fin near the tail to represent the dorsal fin.
Step 3: Eye and Mouth
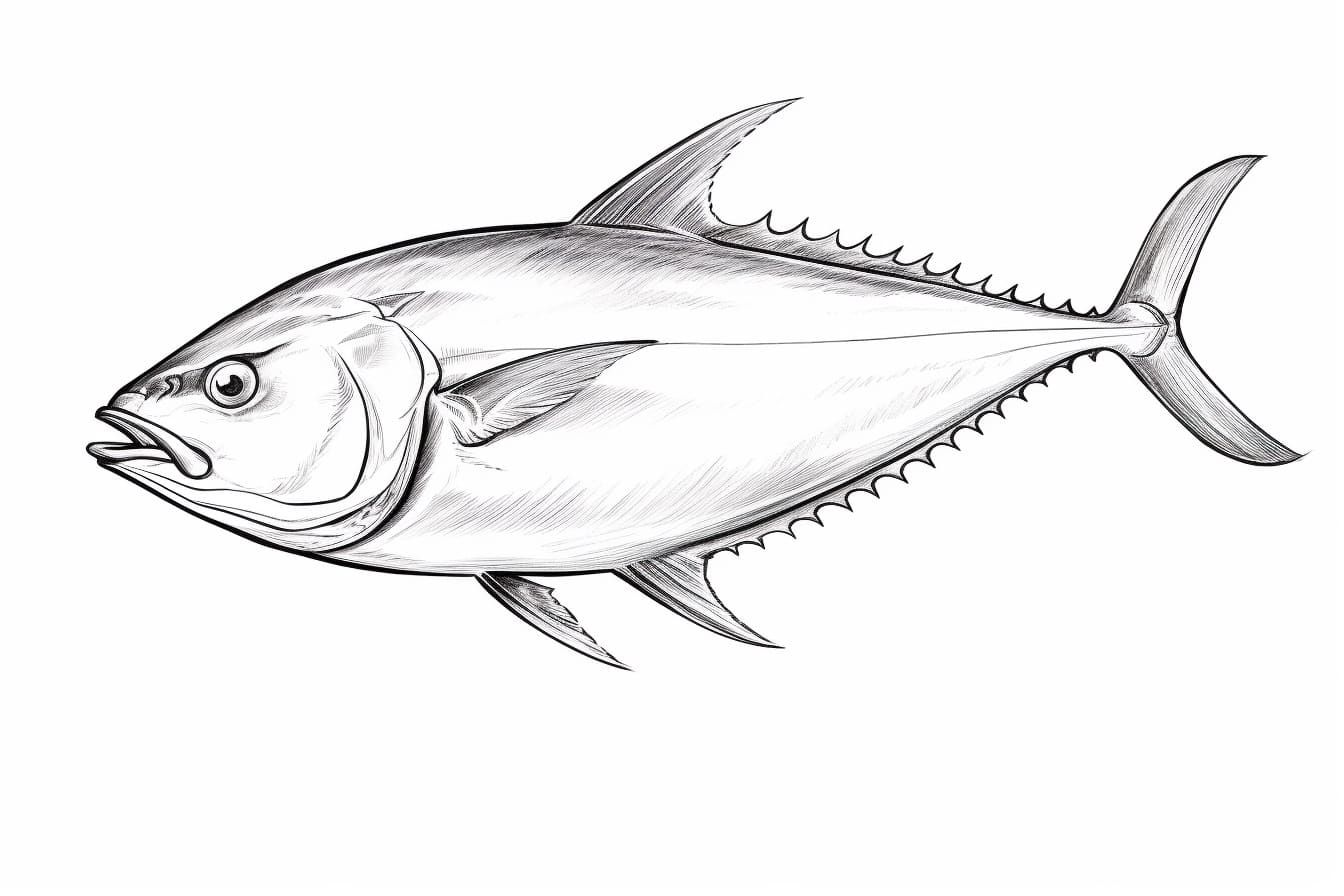
Now focus on the details of the head. Draw a circular shape for the eye, making sure to leave a small white spot to indicate the reflection. Add a curved line below the eye to represent the mouth. Don’t forget to include a small triangle-shaped fin just behind the eye.
Step 4: Scales
To give your tuna drawing a realistic look, it’s important to add scales. Start by drawing small, diagonal lines across the body, following the direction of the oval shape. These lines should overlap each other slightly, resembling fish scales. Continue adding scales across the entire body, including the fins and tail.
Step 5: Additional Details
Now it’s time to add some final details to your drawing. Begin by sketching a line along the bottom of the body to represent the belly. Next, add some curved lines around the eye to define the shape and give it depth. You can also draw some curved lines along the fins and tail to add texture and dimension.
Step 6: Outline and Refine
Once you are satisfied with the basic structure and details of your tuna drawing, it’s time to outline and refine it. Take your fine-tip black pen or marker and carefully trace over the pencil lines, making them bolder and more defined. Pay close attention to the contours and curves of the tuna’s body, fins, and tail.
Step 7: Erase Unnecessary Lines
After inking your drawing, give the ink some time to dry. Once the ink is dry, take your eraser and gently erase any unnecessary pencil lines. Be careful not to erase the bold ink lines that define the shape of the tuna.
Step 8: Color (Optional)
If you want to add some color to your tuna drawing, now is the time! Use colored pencils or markers to bring your artwork to life. Tuna fish are typically bluish-gray on top and silver-white on the bottom. Apply a light blue-gray shade to the top of the body and a lighter silver shade to the belly. You can also add some shading and highlights to enhance the three-dimensional look of your drawing.
Conclusion
Congratulations! You have successfully learned how to draw a tuna fish. By following these step-by-step instructions, you were able to create a realistic and detailed representation of this magnificent marine creature. Remember, practice makes perfect, so keep honing your drawing skills and explore other subjects in the world of art. We hope you enjoyed this tutorial and that it has inspired you to continue your artistic journey.