If you’ve ever wanted to capture the beauty of a tropical fish on paper, you’re in luck! In this step-by-step guide, we’ll walk you through the process of how to draw a tropical fish. Whether you’re a seasoned artist or just starting out, this tutorial will help you create a vibrant and realistic representation of these mesmerizing creatures.
Materials Required
Before we begin, let’s gather the materials you’ll need:
- Drawing paper or sketchbook
- Pencil
- Eraser
- Fine-tip markers or colored pencils
- Reference image of a tropical fish (you can find these online or in books)
Now that we have our materials ready, let’s dive into the artistic process of drawing a tropical fish!
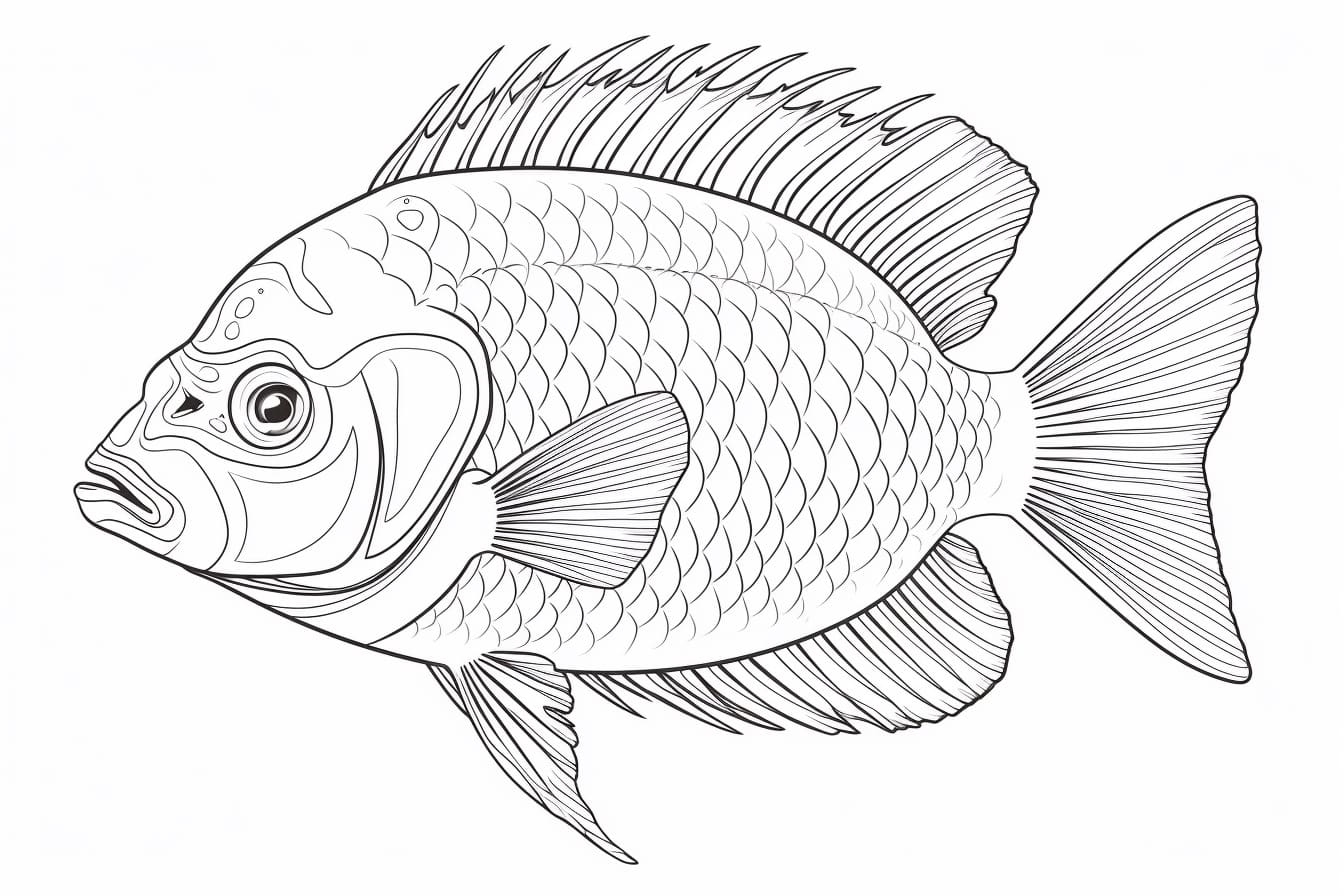
Step 1: Sketch the Basic Shapes
Start by lightly sketching the basic shapes that will serve as the framework for your fish. Begin with an oval for the fish’s body, followed by a triangle shape for the tail. Add a small circle for the fish’s head and a larger oval shape for its mouth. Remember to keep your lines light, as these initial sketches will be erased later.
Step 2: Refine the Fish’s Body
Using the basic shapes as a guide, start refining the fish’s body. Smooth out the lines, using gentle curves to give the fish a more organic and fluid appearance. Pay attention to the proportions of the body, tail, and head in relation to one another. Take your time with this step to ensure that the foundation of your drawing is well-balanced.
Step 3: Add the Details
Now that you have the main shape of the fish, it’s time to add some details. Take a look at your reference image and carefully observe the patterns and markings on the fish’s body. Lightly sketch these details onto your drawing, paying attention to the specific shapes and placements. The more accurate you are with these details, the more realistic your final drawing will appear.
Step 4: Define the Features
Next, focus on defining the fish’s features. Add an eye by drawing a small circle within the head shape, and then darken and thicken the outline of the mouth. If your fish has pectoral fins, dorsal fins, or any other distinctive features, indicate them with light, flowing lines. Take your time to ensure that each feature is well-proportioned and positioned correctly.
Step 5: Erase and Clean Up
Now that your fish is taking shape, it’s time to clean up your drawing. Use an eraser to gently remove any unwanted lines or smudges, being careful not to erase any of the important outlines and details. This step is crucial for creating a polished and professional-looking drawing.
Step 6: Add Color and Texture
Finally, it’s time to bring your tropical fish to life with color! Use fine-tip markers or colored pencils to add vibrant hues to your drawing. Refer back to your reference image to accurately recreate the colors and patterns of the fish. Start by layering light colors and gradually build up the intensity. Don’t forget to add subtle shading and texture to give your fish a three-dimensional appearance.
Conclusion
Congratulations! You have successfully learned how to draw a tropical fish from start to finish. By following these step-by-step instructions, using your creativity, and paying close attention to the details, you have created a stunning representation of these fascinating creatures. Remember to practice regularly and experiment with different colors and techniques to further enhance your drawing skills.