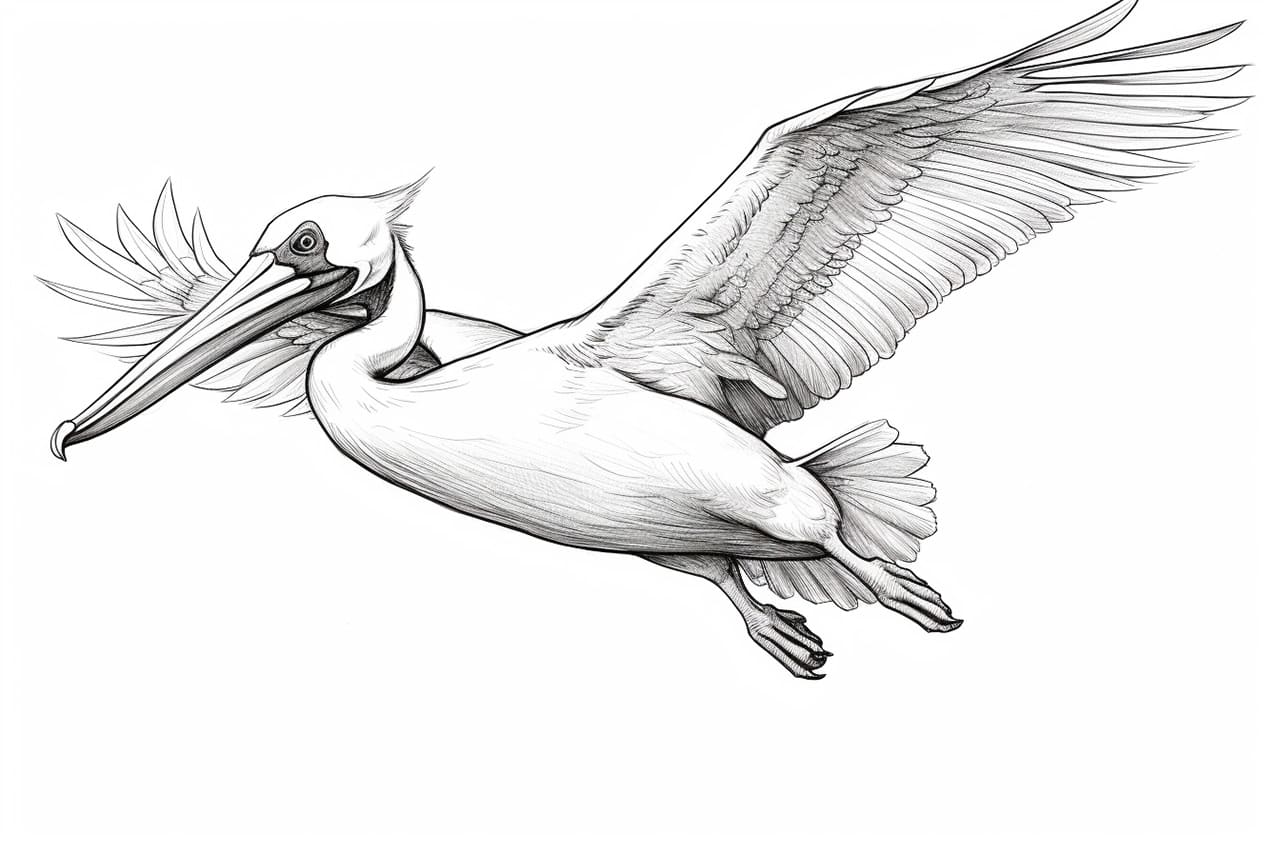
Welcome to this step-by-step guide on how to draw a pelican! Whether you are an aspiring artist or simply looking for a fun and creative activity, drawing a pelican can be a rewarding experience. Pelicans are fascinating birds with unique features, making them an interesting subject to draw. In this tutorial, we will break down the process into simple and easy-to-follow steps, allowing you to create a beautiful pelican drawing with confidence. So, let’s get started!
Materials Required
Before we begin, gather the following materials:
- Paper: You can use any type of paper you prefer. A sketch pad or drawing paper is recommended.
- Pencil: A regular graphite pencil will do. Make sure it is sharp for precise lines.
- Eraser: It’s always handy to have an eraser nearby for making corrections or lightening lines.
- Fine-tipped pen: This is optional, but using a pen to outline your drawing can give it a polished look.
- Coloring materials (optional): If you wish to add color to your drawing, gather colored pencils, markers, or watercolors.
Now that you have your materials ready, let’s dive into the step-by-step process of drawing a pelican.
Step 1: Sketch the Basic Shapes
Start by lightly sketching the basic shapes that make up the pelican’s body. Begin with an oval shape for the body and add a smaller oval on top for the head. Then, draw a curved line extending from the head for the neck. Next, draw a large triangle below the body for the beak, with the tip pointing downwards. Finally, add two small circles for the eyes.
Step 2: Refine the Head and Beak
Now, let’s add more detail to the pelican’s head and beak. Start by carefully shaping the head using gentle curves to define the bird’s features. Add a small bump on top of the head for the pelican’s crest. Next, refine the beak by giving it a slightly curved shape with a pointed tip. Add a small curve for the lower beak line, connecting it to the upper beak. Finally, add a small dot inside each eye for the pupils.
Step 3: Draw the Body and Wings
Moving on to the pelican’s body, sketch the main lines that define its shape. Start by drawing a curved line from the back of the head down to the lower body, creating the back and chest. Then, add a curved line below the chest to shape the belly. Next, draw the wings by extending curved lines from the body. Pelicans have long wings, so make sure they reach to the bottom of the drawing.
Step 4: Add the Feet and Tail
Pelicans have distinct feet and a long, fan-shaped tail. Begin by drawing the feet at the bottom of the body. Pelican feet have three webbed toes in the front and one toe at the back. Sketch these using a series of curved lines to create the shapes. Next, draw the tail by adding a curved line from the back of the body, extending it into a broad fan shape.
Step 5: Refine the Details
Now, it’s time to add more detail to your drawing. Take a closer look at the pelican’s features and begin refining the shapes. Smooth out any rough lines and make adjustments as needed. Pay attention to the texture of the feathers and add some short, curved lines to represent them. Also, refine the shape of the beak, eyes, and feet, ensuring they look proportionate and accurate.
Step 6: Outline Your Drawing
Once you are satisfied with your sketch, you can go over it with a pen or a darker pencil to create a more defined outline. Carefully trace along the main lines of your drawing, making bold and confident strokes. Pay attention to the details and make sure to capture the essence of the pelican’s features. You can also add some additional lines to emphasize the feathers and texture.
Step 7: Erase the Guidelines
Now that you have outlined your drawing, it’s time to erase the initial guidelines and sketchy construction lines. Use a soft eraser to gently remove any unwanted pencil marks, taking care not to smudge the ink or darken the drawing. This step will give your artwork a cleaner and more polished appearance.
Step 8: Add Color (Optional)
If you’d like to add color to your pelican drawing, now is the perfect time to do so. Use colored pencils, markers, or watercolors to bring your artwork to life. Observe reference images of pelicans to accurately choose and apply the appropriate colors for the body, beak, and eyes. Remember to blend and layer the colors to achieve depth and shading.
Conclusion
Congratulations! You have successfully learned how to draw a pelican. By following these step-by-step instructions and using your creativity, you have created a beautiful artwork capturing the elegance of this marvelous bird. Drawing is a wonderful way to express yourself artistically and explore the world of nature. We hope you enjoyed this tutorial and found it helpful. Happy drawing!


